

Drilling into wood might seem simple, but doing it right can save you time, effort, and frustration. Whether you’re fixing a shelf, building furniture, or tackling a DIY project, knowing how to drill properly makes all the difference.
In this guide, you’ll discover easy steps and insider tips to help you drill clean, precise holes every time. Ready to boost your skills and get your project done like a pro? Let’s dive in and make sure your next drill job is flawless.

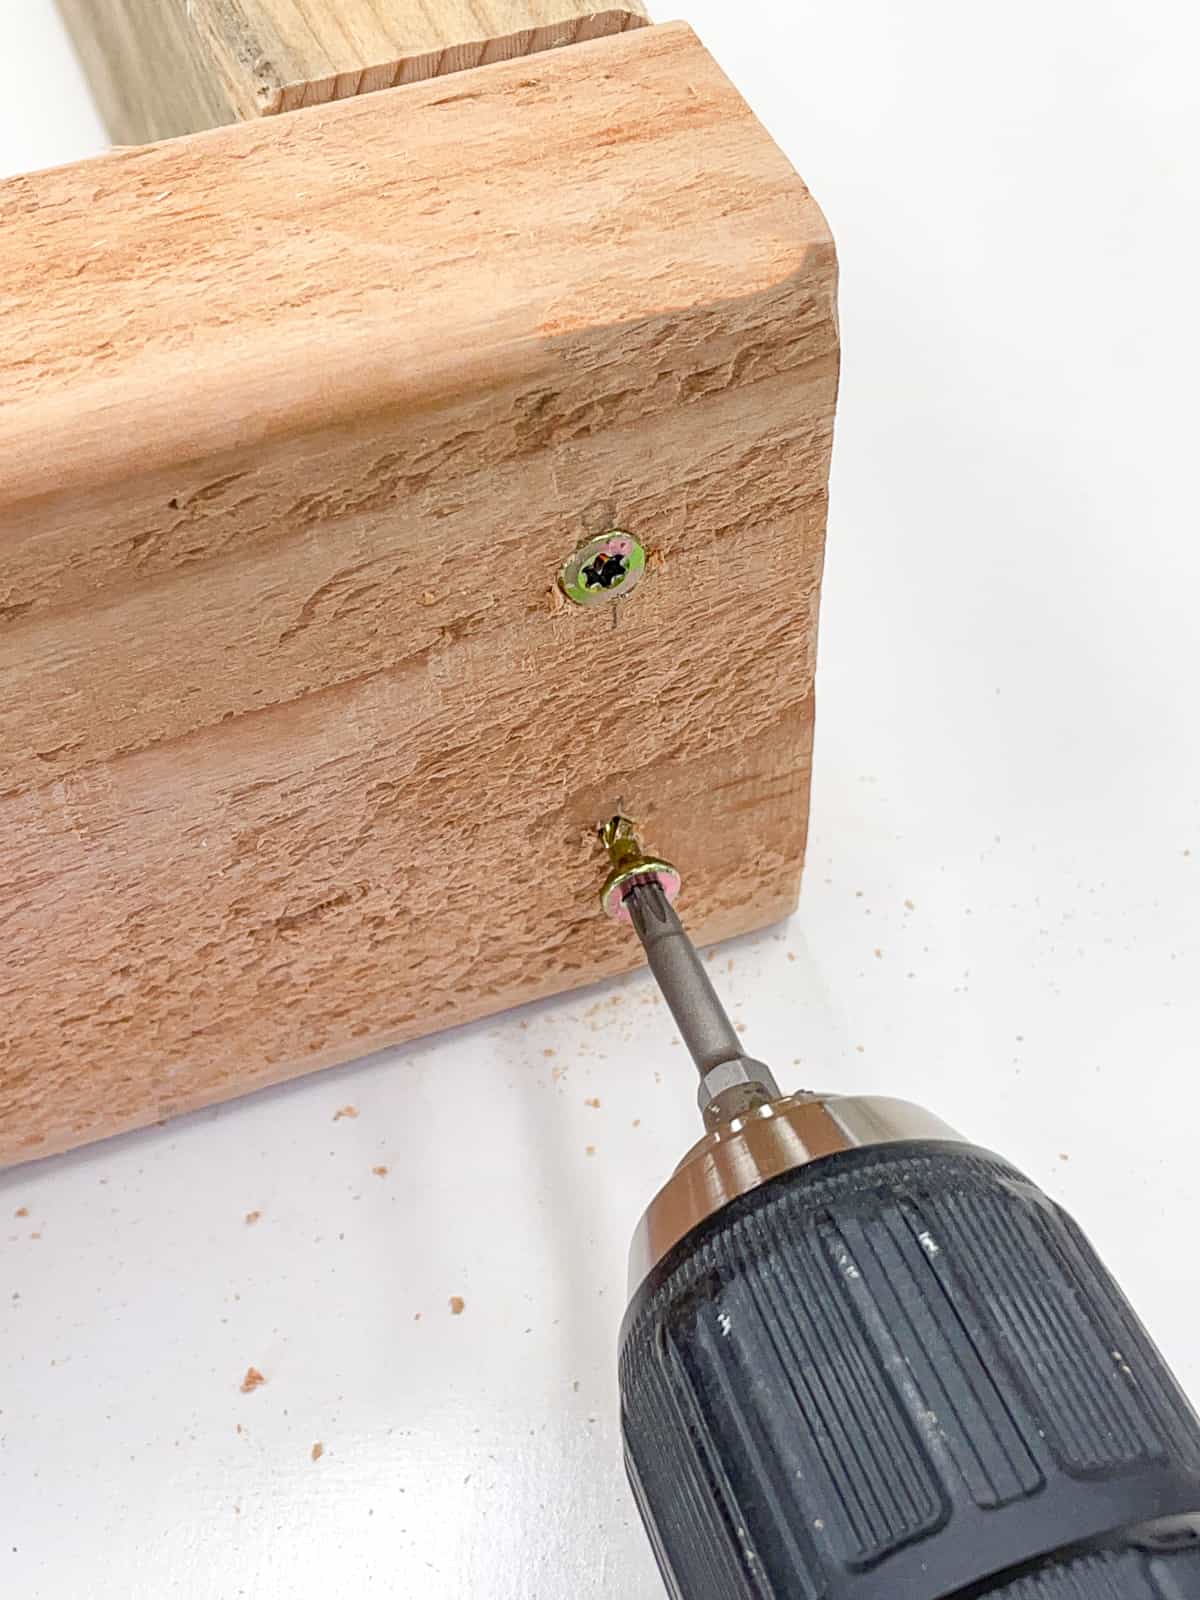
Credit: www.thehandymansdaughter.com
Choosing The Right Drill
Choosing the right drill is important before you start drilling into wood. The drill you pick affects how easy your work will be. It also impacts the quality of your holes. You need a drill that fits your project and skill level. Understanding key features helps you make the best choice.
Corded Vs Cordless Drills
Corded drills plug into power outlets. They provide steady power and do not run out of battery. Corded drills suit long tasks and heavy drilling. Cordless drills run on batteries. They offer more freedom to move around. Cordless drills are lighter and easier to handle. Battery life limits cordless drills. Choose corded for power and cordless for portability.
Drill Bit Types For Wood
Wood drill bits come in several types. Twist bits are common and work for soft wood. Spade bits create large holes quickly. For clean holes, use brad point bits. Auger bits drill deep, clean holes. Pick the bit based on hole size and wood type. Always use sharp bits for best results.
Power And Speed Considerations
Power helps the drill push through hard wood. Higher power means faster drilling and less effort. Speed controls affect hole quality. Low speed works well for big drill bits. High speed is good for small bits and soft wood. Variable speed drills give better control. Adjust speed to avoid burning the wood.
Preparing The Wood Surface
Preparing the wood surface is the first step to successful drilling. A smooth and stable surface helps make clean holes. It also keeps your project safe and precise.
Proper preparation saves time and avoids mistakes. It starts with marking the drill points clearly. Then, securing the wood to stop movement. Finally, taking steps to prevent splintering around the hole.
Marking Drill Points
Mark the exact spots where you want to drill. Use a pencil or a fine marker for accuracy. Small marks are better than large ones. They guide the drill bit precisely.
Double-check your measurements before marking. Measure twice, mark once to avoid errors. Clear marks help you keep holes aligned.
Securing The Wood
Clamp the wood to a sturdy surface. This stops it from moving during drilling. Movement can cause uneven holes or accidents.
Use strong clamps or a vise. Place padding between clamp and wood to avoid damage. A steady wood piece ensures clean drilling.
Preventing Splintering
Place a scrap piece of wood under the drilling spot. This supports the wood fibers and reduces splintering. Drill slowly and steadily to avoid tearing.
Use a sharp drill bit made for wood. Sharp bits cut cleanly and reduce rough edges. Splinter-free holes make your project look professional.
Drilling Techniques
Drilling into wood needs careful techniques for best results. Correct methods reduce mistakes and make holes clean and precise. Follow these simple tips to improve your drilling skills.
Setting The Drill Speed
Choose the right speed for the wood type. Softwood needs higher speed, hardwood requires slower speed. Adjust the drill speed before starting. A steady speed helps prevent burning and rough edges.
Maintaining Drill Angle
Keep the drill straight to the wood surface. A 90-degree angle gives the cleanest hole. Tilted drills cause uneven holes and damage the wood. Use a guide or mark to hold angle steady.
Applying Consistent Pressure
Push the drill gently but firmly. Too much force can split the wood. Too little pressure makes the drill slip. Keep pressure steady for smooth drilling and better control.
Handling Different Wood Types
Drilling into wood varies based on the type of wood you use. Each wood type reacts differently to drill bits and pressure. Understanding these differences helps avoid damage and achieves clean holes. Here are tips for handling softwood, hardwood, and engineered wood types like plywood and MDF.
Softwood Tips
Softwoods like pine and cedar are easier to drill. Use a sharp drill bit to prevent splintering. Start with a small pilot hole to guide the drill. Apply light pressure to avoid cracking the wood. Keep your drill speed moderate for smooth cuts.
Hardwood Tips
Hardwoods such as oak and maple are dense and tough. Use a strong, sharp bit designed for hardwood. Begin with a pilot hole to reduce splitting. Apply steady, firm pressure without forcing the drill. Slow down the drill speed to avoid overheating the bit.
Working With Plywood And Mdf
Plywood and MDF can chip or splinter easily. Use a brad-point or spade bit for cleaner holes. Place masking tape on the drilling spot to reduce splintering. Drill slowly and avoid pushing too hard. Support the wood beneath to prevent blowout on the back side.
Avoiding Common Mistakes
Drilling into wood seems simple but many beginners make avoidable mistakes. These errors can ruin your project and waste materials. Knowing common problems helps you work smarter and safer.
Understanding how to avoid these mistakes improves your drilling skills. This section covers key issues like drill bit slippage, overheating, and tear-out. Follow these tips to get clean, precise holes every time.
Preventing Drill Bit Slippage
Drill bit slippage causes uneven holes and damages wood. Start by marking the spot with a pencil or center punch. This creates a small dent to guide the drill bit.
Use a sharp drill bit for better grip. Hold the drill steady and apply firm, even pressure. Avoid pushing too hard as it can cause slipping or damage.
Avoiding Overheating
Overheating wears out drill bits and burns wood. Drill at a slow speed to keep the bit cool. Pause often to let the bit rest and cool down.
Use lubricant like wax or soap on the bit to reduce heat. Replace dull bits quickly to maintain efficiency and avoid heat buildup.
Dealing With Tear-out
Tear-out happens when wood splinters around the hole. Place a scrap piece of wood under the workpiece to support the fibers. Drill slowly as you approach the other side.
Use a backer board or tape over the drilling spot to reduce splintering. Sharp bits also help cut cleanly and prevent tear-out.

Credit: www.youtube.com
Finishing Touches
Finishing touches make your wood project look neat and last longer. These steps improve the hole’s function and appearance. Small efforts here give big results.
Cleaning The Hole
Remove dust and wood chips from the hole using a brush or compressed air. A clean hole helps screws fit better and hold firmly. Avoid leftover debris that can block screws or damage tools.
Countersinking And Counterboring
Countersink the hole to create a space for the screw head to sit flush. Counterbore if the screw needs to hide under a plug or cover. Both techniques protect the wood from splitting and give a smooth finish.
Sealing And Protecting
Apply wood sealant or finish around the hole to protect against moisture and wear. This step keeps wood strong and prevents damage over time. Choose a sealant that matches your project’s look and needs.
Safety Tips
Drilling into wood can be simple and quick with the right safety steps. Following safety tips helps avoid accidents and injury. It also protects your tools and work area. These tips keep your project smooth and safe.
Using Protective Gear
Always wear safety glasses to protect your eyes from wood chips. Use ear protection to reduce noise from the drill. Gloves can protect your hands but avoid loose ones that may catch in the drill. Wear a dust mask if drilling creates dust.
Safe Handling Practices
Hold the drill firmly with both hands. Keep your fingers away from the drill bit. Secure the wood piece on a stable surface or clamp it down. Start drilling at a slow speed to control the bit. Never force the drill into the wood.
Maintaining Your Drill
Check the drill bit for dullness or damage before use. Clean the drill after each use to remove dust and debris. Lubricate moving parts to keep the drill running smoothly. Store the drill in a dry place to avoid rust. Regular maintenance extends the tool’s life.
Credit: www.thehandymansdaughter.com
Frequently Asked Questions
How Do I Choose The Right Drill Bit For Wood?
Select a drill bit designed for wood, such as spade, brad point, or auger bits. They create clean holes without splintering. Match the bit size to your screw or hole requirement for best results.
What Speed Should I Use When Drilling Wood?
Use a medium to high speed for drilling wood, usually between 1500 to 3000 RPM. Adjust speed based on wood hardness; softer wood requires higher speed, while hardwood needs slower speed to avoid burning.
How Can I Prevent Wood From Splitting When Drilling?
Drill a pilot hole smaller than your screw size to prevent splitting. Use a sharp drill bit and apply steady, moderate pressure. Consider placing tape over the drilling spot to reduce splintering.
Should I Use A Drill Or Screwdriver For Wood Screws?
Use a drill with a screwdriver bit for faster, easier screw driving. It provides better control and torque, reducing the risk of stripping screws or damaging the wood surface.
Conclusion
Drilling into wood can be simple with the right tools and steps. Always choose the correct drill bit for your wood type. Keep your drill steady and go slow at first. Mark your spot clearly to avoid mistakes. Safety matters—wear goggles and work carefully.
Practice a few times to gain confidence. With patience and care, your project will turn out great. Just follow these tips, and drilling wood will become easy.