

Drilling straight holes can be tricky, especially with a cordless drill that feels a bit unwieldy in your hands. If you’ve ever ended up with crooked holes that ruin your project, you’re not alone.
But imagine the confidence you’ll have when every hole you drill is perfectly straight—making your work look sharp and professional. You’ll discover simple, practical tips to master drilling straight with your cordless drill. Keep reading, and you’ll soon drill like a pro every time.

Credit: www.youtube.com
Choosing The Right Drill And Bit
Choosing the right drill and bit is key to drilling straight holes. A good cordless drill and the correct bit make the task easier. They help you work faster and with more control. Picking the right tools prevents mistakes and saves effort.
Cordless Drill Features To Look For
Choose a drill with a comfortable grip. This helps you hold it steady. A drill with adjustable speed lets you control drilling power. Look for a drill with a level or guide to keep holes straight. Battery life matters for longer jobs. Choose a drill with enough power for your projects.
Selecting The Correct Drill Bit
Pick a bit that matches the material you drill. Wood bits work best on wood. Metal bits cut through metal smoothly. Use masonry bits for concrete or brick. Match the bit size to the hole you want. Sharp bits make cleaner holes and reduce slipping.
Maintaining Drill Bits For Accuracy
Keep bits sharp for better drilling. Dull bits wander and cause uneven holes. Clean bits after use to remove debris. Store bits in a dry place to avoid rust. Replace bits if they become worn or damaged. Well-maintained bits improve your drilling precision.

Credit: www.ebay.com
Preparing Your Workspace
Preparing your workspace is the first step to drill straight with a cordless drill. A clean and organized area helps you focus. It reduces mistakes and keeps you safe. Take time to set up before starting your project.
Securing Your Material
Hold your material firmly in place. Use clamps or a vise to stop movement. Moving material causes crooked holes and damage. Secure material ensures your drill bit stays on target. Safety increases with a steady workpiece.
Marking Precise Drill Points
Use a pencil or marker to mark drill spots. Measure carefully for exact placement. A small indentation with a nail helps guide the drill bit. Clear marks prevent guessing and reduce errors. Precise points mean straight holes every time.
Setting Up Proper Lighting
Bright lighting improves visibility of drill marks and material edges. Use a work lamp or natural light near your workspace. Shadows make it hard to see and cause mistakes. Good lighting helps you drill straight and safe.
Techniques For Drilling Straight
Drilling straight is key for any project using a cordless drill. It ensures holes are neat, precise, and fit perfectly. Straight holes also protect your materials from damage. Use these simple techniques to improve your drilling accuracy and confidence.
Aligning The Drill Correctly
Start by holding the drill so it is square to the surface. Look directly at the drill bit and the spot you want to drill. Adjust your angle until the bit points straight down. Use both hands to keep the drill steady and aligned. Avoid tilting the drill to keep the hole straight.
Using A Drill Guide Or Jig
A drill guide or jig helps keep the drill bit in place. Attach the guide to your workpiece before drilling. It acts as a physical barrier, preventing the drill from moving off course. This tool is useful for beginners and complex projects. It ensures consistent, straight holes every time.
Controlling Speed And Pressure
Start drilling at a slow speed to gain control. Apply steady, even pressure without forcing the drill. Let the drill bit do the work, reducing wobble. Speed up only after the bit is firmly in the material. Proper control prevents mistakes and improves hole quality.
Common Mistakes To Avoid
Drilling straight with a cordless drill takes practice and attention. Many beginners make simple mistakes that cause crooked holes. Avoiding these errors helps you get clean, precise results every time.
Tilting The Drill Mid-drill
Keep the drill steady and straight throughout the drilling process. Tilting the drill halfway changes the hole angle. This leads to uneven or angled holes. Hold the drill perpendicular to the surface. Use a guide or level if needed. Stay focused on your hand position for better control.
Applying Excessive Force
Pressing too hard on the drill causes problems. It can bend the drill bit or damage the material. Let the drill do the work. Apply gentle, steady pressure. This prevents the drill from slipping or wandering off course. Slow down if the drill bit gets stuck or overheated.
Ignoring Drill Bit Wear
Dull or worn drill bits make drilling harder. They increase the chance of angled or rough holes. Check your drill bits before starting. Replace or sharpen bits that look worn out. Using sharp bits saves time and improves accuracy.
Advanced Tips For Professionals
Advanced tips help professionals drill straighter holes with cordless drills. These techniques improve accuracy and save time. Precision is key in professional work. Small changes make big differences.
Using Laser Guides
Laser guides attach to cordless drills. They project a straight line on the surface. This line shows where the drill bit will go. It helps keep the drill steady and straight. Laser guides reduce mistakes and improve hole placement. They work well on flat and angled surfaces.
Drilling Pilot Holes
Pilot holes are small starter holes. Drill them before the main hole to guide the bit. They reduce slipping and wandering. Pilot holes make it easier to drill deep holes straight. Use a smaller bit for the pilot hole. This tip helps with hard or thick materials.
Handling Different Materials
Different materials need different drill speeds and pressure. Soft wood requires less pressure and higher speed. Hard wood and metal need slower speeds and steady pressure. For tiles or glass, use a special bit and low speed. Adjust your technique based on the material for clean, straight holes.
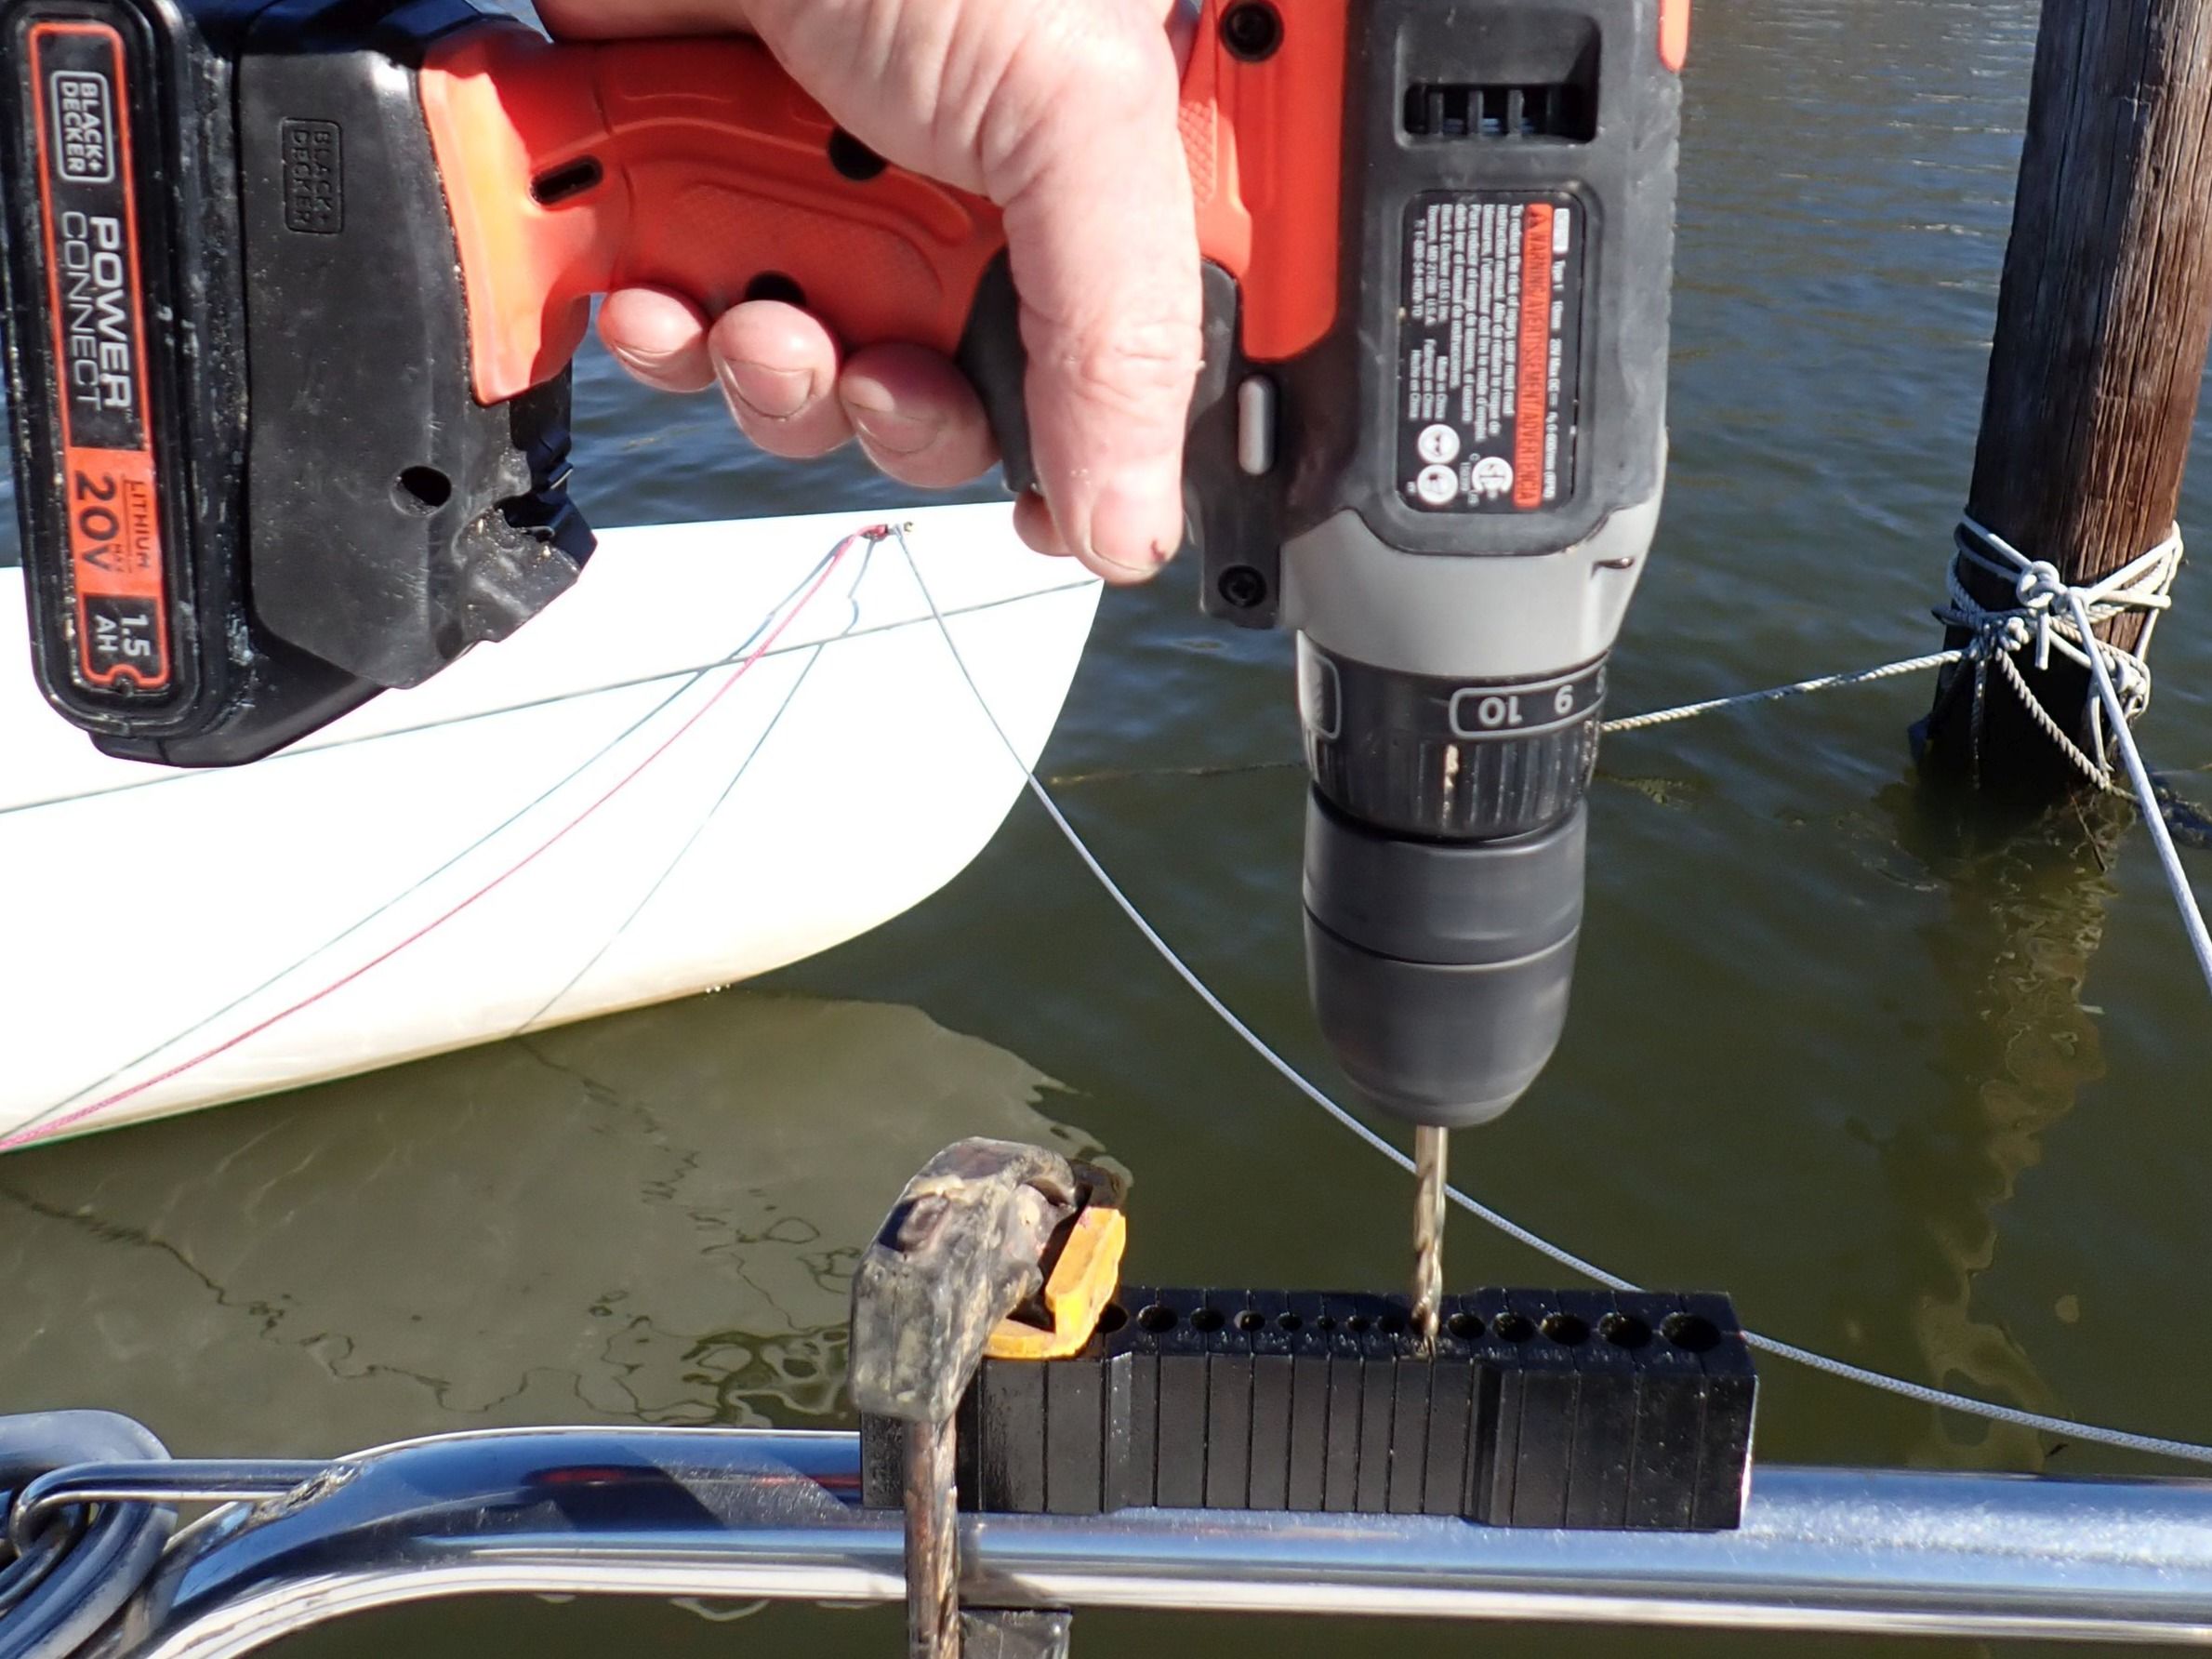
Credit: www.practical-sailor.com
Safety Measures During Drilling
Drilling with a cordless drill can be safe when following important safety steps. Protecting yourself and handling the tool correctly lowers risks. Understanding what to do during problems also helps prevent accidents. Safety is the first step to a good drilling job.
Protective Gear Essentials
Wear safety glasses to protect your eyes from dust and debris. Use ear protection to avoid loud noise damage. Gloves help protect your hands from sharp objects. Wear a dust mask if drilling creates fine particles. Proper shoes prevent slips or injuries.
Safe Drill Handling
Hold the drill firmly with both hands. Keep your body steady and balanced. Do not force the drill; let it work at its speed. Make sure the drill bit is tight before starting. Always unplug or remove the battery before changing bits.
Dealing With Drill Jams
Stop drilling immediately if the drill bit jams. Remove the drill from the material carefully. Turn off the drill and remove the battery. Gently clear the jam by hand or with pliers. Restart only when the drill bit moves freely again.
Frequently Asked Questions
How Do I Keep My Drill Straight When Drilling?
Use a drill guide or a level to maintain alignment. Mark your spot clearly. Hold the drill steady and apply even pressure while drilling.
What Speed Setting Is Best For Drilling Straight?
Use a low to medium speed setting for better control. High speeds can cause the drill to wander off course.
How Can I Prevent The Drill Bit From Slipping?
Start with a pilot hole to guide the bit. Use a sharp drill bit and ensure the surface is clean.
Does Drill Bit Type Affect Drilling Accuracy?
Yes, using the right drill bit for your material improves accuracy. Sharp, quality bits reduce wandering and ensure straighter holes.
Conclusion
Drilling straight takes practice and patience. Keep your drill steady and check your angle often. Use guides or clamps to help hold your work. Take your time; rushing leads to mistakes. With these tips, your drilling will improve each time.
Stay focused, and soon straight holes will come naturally. Simple steps make a big difference in your projects. Keep practicing, and you will see great results.