

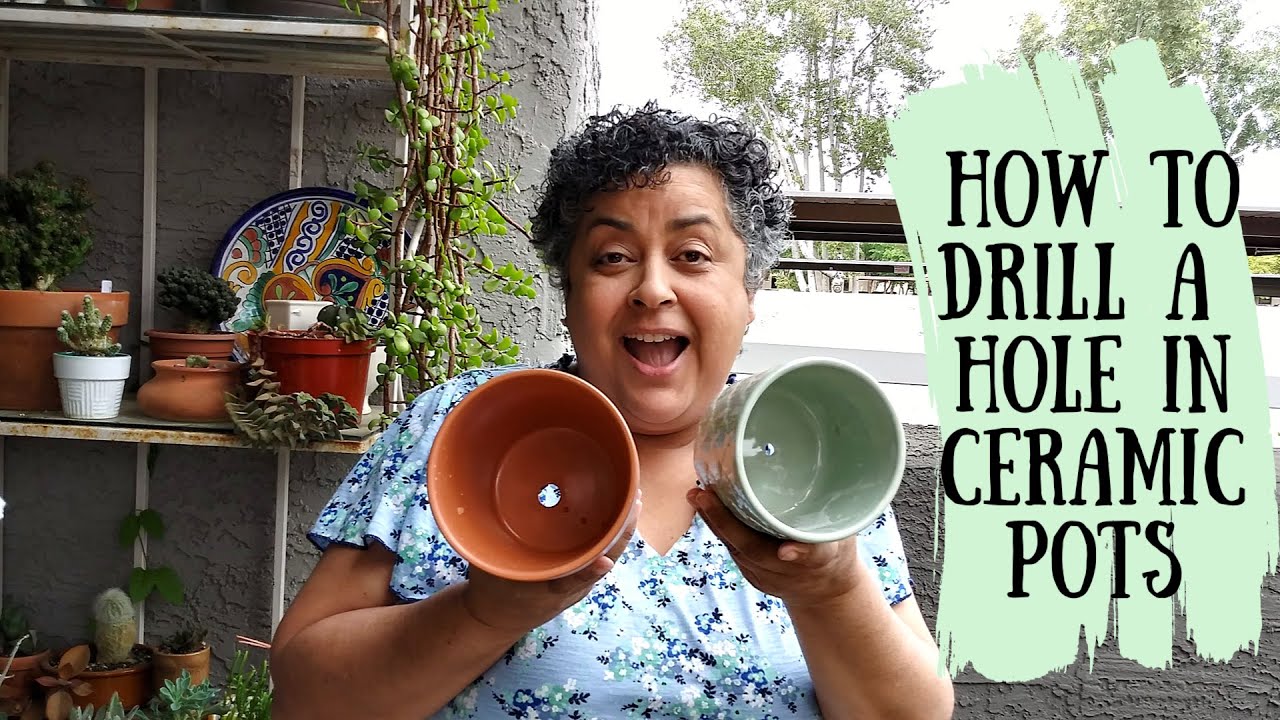
Have you ever wanted to personalize your ceramic pot but didn’t know how to start? Drilling through ceramic might sound tricky or even risky, but with the right tools and steps, you can do it safely and easily.
Imagine adding drainage holes to your favorite pot or creating unique designs that make your space stand out. In this guide, you’ll learn exactly how to drill through ceramic pots without cracking or damaging them. Keep reading, and you’ll gain the confidence to take on this simple DIY project yourself.
Tools Needed
Drilling through ceramic pots requires specific tools to avoid cracks and damage. Using the right equipment makes the job easier and safer. Prepare all tools before you start to save time and reduce stress.
Focus on drill bits designed for hard surfaces and protect yourself with the proper safety gear. This will help you get clean holes without breaking the pot or hurting yourself.
Choosing The Right Drill Bit
Select a diamond-tipped or carbide-tipped drill bit. These bits cut through ceramic smoothly and reduce chipping. Avoid regular steel bits as they can crack the pot. Use a small bit first to make a pilot hole. Then, switch to a larger bit for the final size. This method lowers the risk of breakage.
Safety Gear Essentials
Wear safety glasses to protect your eyes from ceramic dust and shards. Use a dust mask to avoid breathing in particles. Gloves can protect your hands from sharp edges but ensure they do not interfere with grip. Work in a well-ventilated area to keep fresh air flowing. Keep a towel or cloth nearby to catch dust and debris.

Credit: www.youtube.com
Preparing The Pot
Preparing the ceramic pot is the first step before drilling. A well-prepared pot ensures a clean and safe drilling process. It also helps avoid cracks or damage. Take your time to get this step right.
Cleaning The Surface
Clean the pot thoroughly. Remove dirt, dust, and grease from the drilling area. Use a soft cloth with warm water and mild soap. Dry the pot completely before drilling. A clean surface helps the drill bit grip better.
Marking The Drill Spot
Choose the exact spot for the hole. Use a pencil or marker to make a small dot. Make sure the mark is clear but not too big. Double-check the spot to avoid mistakes. Precise marking guides the drill and prevents slipping.
Drilling Techniques
Drilling through ceramic pots needs care and the right method. Using proper drilling techniques prevents cracks and breaks. It also helps you make clean, precise holes.
Follow these steps to drill safely and effectively. The right approach makes the task easier and protects your pot.
Starting With A Pilot Hole
Begin by making a small pilot hole. Use a small drill bit designed for ceramics. This guides the larger bit and stops it from slipping. A pilot hole reduces stress on the pot’s surface.
Maintaining Steady Pressure
Apply firm but gentle pressure while drilling. Avoid pushing too hard. Steady pressure keeps the drill bit in control and prevents cracks. Let the drill bit do the work at its own pace.
Cooling The Drill Bit
Keep the drill bit cool during the process. Use water or a damp cloth to cool it down. Cooling stops overheating, which can damage both bit and pot. A cool bit drills cleaner and lasts longer.
Credit: www.youtube.com
Avoiding Common Mistakes
Drilling through a ceramic pot can be tricky. Small mistakes cause cracks or chips. Avoiding these errors helps keep your pot intact and looking good. Follow simple steps to make drilling smooth and safe.
Preventing Cracks And Chips
Use a drill bit made for ceramic or glass. Regular bits can break the pot. Start with a small hole before making it bigger. Keep the drill speed slow to stop heat build-up. Heat causes cracks easily. Place masking tape where you want to drill. It helps stop the drill from slipping. Cool the drill area with water during drilling. Water lowers heat and protects the pot.
Handling Drill Slippage
Slippage can ruin your pot and cause injury. Begin drilling at a low speed and steady pressure. Use a marker to mark the spot clearly. Hold the pot firmly or clamp it safely. Avoid pushing hard; let the drill do the work. A guide or a small indentation helps the drill stay in place. Check your drill bit often for wear. Replace dull bits to keep control and precision.
Finishing Touches
After drilling through your ceramic pot, the work is not quite done. Finishing touches help make the hole safe and clean. These steps protect the pot and improve its look. Taking time now prevents damage later and makes your pot ready for use.
Smoothing Rough Edges
The drilled hole often has sharp or rough edges. These edges can cause cracks or cuts. Use a sanding block or fine sandpaper to smooth them. Move gently in a circular motion around the hole. This removes sharp bits and makes the hole safer to handle. Check the edges with your fingers to feel for rough spots. Repeat sanding until the edges feel smooth and even.
Cleaning Up Debris
Drilling creates dust and small ceramic pieces. These bits can scratch surfaces or cause messes. Use a soft brush or cloth to clear the debris. A vacuum cleaner helps remove dust from hard-to-reach spots. Clean both inside and outside of the hole well. This keeps your pot tidy and ready for planting or decoration. Proper cleanup protects your workspace and tools too.

Credit: eternaltools.com
Frequently Asked Questions
How Do I Drill Through Ceramic Pots Safely?
Use a carbide-tipped drill bit designed for ceramics. Secure the pot, drill slowly with light pressure, and keep the bit cool by dipping it in water frequently.
What Drill Bit Is Best For Ceramic Pots?
A diamond-tipped or carbide-tipped drill bit works best. These bits cut smoothly through hard ceramic without cracking or chipping the surface.
Can I Drill Ceramic Pots Without Cracking Them?
Yes, by drilling slowly, applying light pressure, and cooling the drill bit with water. Using the right drill bit also prevents cracking.
How Do I Prevent Ceramic Pots From Breaking While Drilling?
Place the pot on a soft surface. Drill at low speed, avoid excessive force, and keep the drill bit cool to prevent cracks and chips.
Conclusion
Drilling through ceramic pots takes care and the right tools. Start slow and use a drill bit made for tile or glass. Keep the drill steady and cool the area with water often. Take your time to avoid cracks or breaks.
With patience, you can create clean holes safely. Now, you can hang plants or add decorations easily. Practice on a spare pot if needed. Stay careful, and your ceramic pots will look great for years.