

Drilling through ceramic tile can feel like a tricky task. You want to add shelves, hang pictures, or install fixtures, but the fear of cracking or breaking your tile holds you back.
What if you could make that hole perfectly without damaging your beautiful tile? You’ll discover simple, effective steps that help you drill through ceramic tile safely and confidently. Keep reading, and you’ll learn how to protect your tile and get the job done right the first time.

Credit: www.thisoldhouse.com
Choosing The Right Drill And Bit
Choosing the right drill and bit is key to drilling through ceramic tile without cracking it. The wrong tools can cause chips or breaks. Selecting tools made for tile protects your surface and saves time. This guide helps you pick the best drill and bit for the job.
Types Of Drill Bits For Tile
Ceramic tile needs special drill bits. Carbide-tipped bits work well for thin tiles. Diamond-tipped bits are best for thick or hard tiles. These bits cut through tile smoothly and reduce slipping. Avoid using regular wood or metal bits. They can crack your tile easily.
Using A Variable Speed Drill
A variable speed drill gives better control. Start drilling at a low speed to prevent cracks. Slow speed lets the bit make a small groove first. Increase speed slightly as the hole gets deeper. This method helps keep the tile intact.
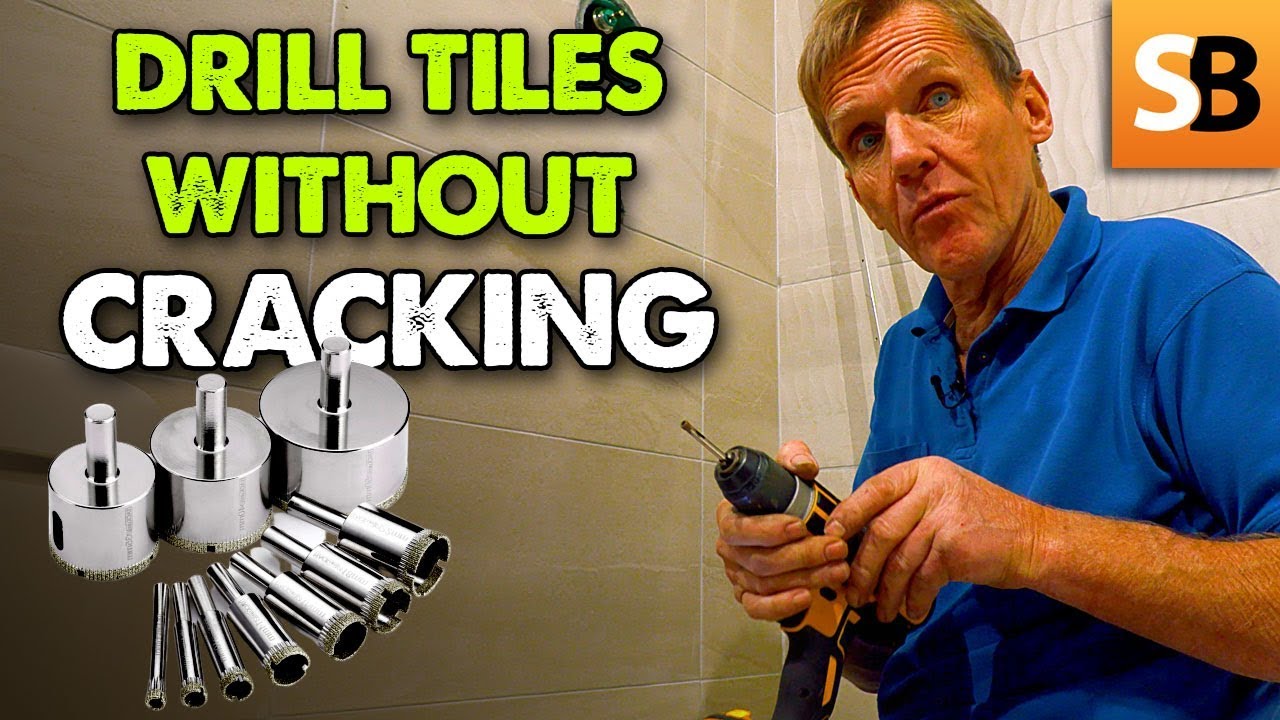
Credit: www.youtube.com
Preparing The Tile Surface
Preparing the tile surface is the first step to drill without breaking it. Careful preparation helps protect the tile from cracks and chips. It also makes drilling easier and more accurate.
Two important tasks must be done before drilling: marking the drill spot and securing the tile. These steps ensure the drill bit stays in place and the tile does not move.
Marking The Drill Spot
Use a pencil or marker to mark the exact drill point on the tile. Precision is key. The mark guides the drill bit and prevents slipping. Avoid pressing too hard to keep the tile surface intact.
Place a piece of masking tape over the mark. This tape adds grip and reduces the chance of the drill bit sliding. It also protects the tile’s surface during drilling.
Securing The Tile
Hold the tile firmly in place. Movement causes the drill bit to jump and may crack the tile. Use clamps or a non-slip mat to keep the tile steady.
Support the tile from underneath if possible. This support reduces stress and helps avoid breakage. Stability is the key to a clean, safe hole.
Drilling Techniques For Tile
Drilling through ceramic tile requires careful handling to avoid cracks and chips. Using the right techniques helps keep the tile intact. These methods make drilling easier and safer.
Starting With A Pilot Hole
Begin by making a small pilot hole. Use a carbide-tipped or diamond-tipped drill bit. Mark the spot with masking tape to prevent slipping. Drill slowly at first to create a guide hole. This step keeps the main drill bit steady.
Applying Consistent Pressure
Use steady, gentle pressure while drilling. Press too hard, and the tile may crack. Press too lightly, and the drill bit may slip. Keep your hand firm but relaxed. Let the drill bit do the work.
Using Water For Cooling
Water helps cool the drill bit and tile surface. Overheating can cause the tile to break. Wet the drill area frequently with a spray bottle or a wet sponge. Keep the tile and bit cool throughout drilling. This reduces dust and extends bit life.
Avoiding Common Mistakes
Drilling through ceramic tile needs care to avoid costly mistakes. Many beginners rush and end up cracking the tile or slipping with the drill. Knowing common errors helps keep the tile intact and the process smooth. This section highlights key points to watch out for during drilling.
Preventing Tile Cracks
Start with a small hole before drilling the full size. Use a drill bit made for tile, like a carbide or diamond bit. Drill slowly, applying light pressure. Fast drilling causes heat and cracks the tile. Cooling the bit with water helps reduce heat build-up. Avoid pushing hard. Let the drill do the work.
Handling Slippage
Slippage causes scratches and uneven holes. Use masking tape on the tile surface to create grip. Mark the drill spot on the tape for accuracy. Begin drilling at a low speed to keep the bit steady. Hold the drill firmly but without forcing it. Start at an angle, then straighten once the hole begins. This stops the bit from moving.
Finishing And Cleaning The Hole
After drilling through ceramic tile, finishing the hole is important. This step helps keep the tile strong and neat. Cleaning and smoothing the hole prevents cracks and sharp edges. It also prepares the hole for screws or anchors.
Removing Debris
Clear out dust and small pieces from the hole. Use a small brush or a vacuum cleaner. This removes loose particles that can stop screws from fitting well. Clean holes also look better and last longer.
Smoothing Rough Edges
Check the hole edges for chips or sharp parts. Use fine sandpaper or a nail file to smooth them gently. Smooth edges stop cracks from starting around the hole. Take your time to avoid breaking the tile further.
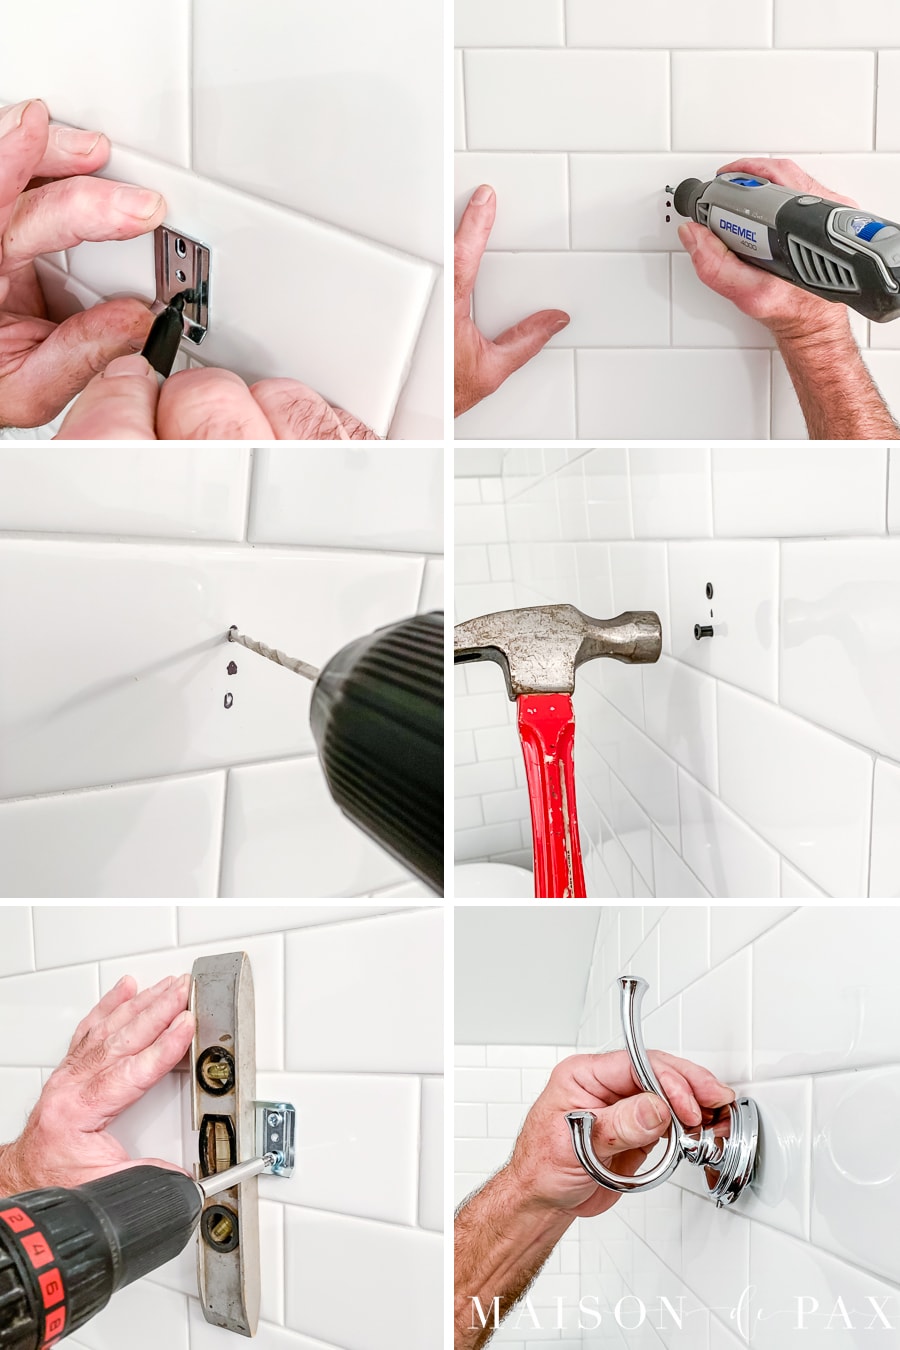
Credit: www.maisondepax.com
Tools And Materials Checklist
Drilling through ceramic tile needs the right tools and materials. Using the correct items helps prevent cracks and chips. Prepare well to protect your tile and finish the job cleanly.
Each tool plays a role in making the drilling smooth. Choose them carefully to avoid damage and save time. Below is a list to check before you start.
Diamond-tipped Drill Bit
This drill bit cuts through hard ceramic easily. It lasts longer and creates clean holes. Use a bit made for tile or glass for best results.
Masking Tape Or Painter’s Tape
Place tape on the tile before drilling. It stops the drill bit from slipping. The tape also helps mark the drilling spot clearly.
Drill With Variable Speed
A drill with adjustable speed controls is safer for tiles. Slow speed reduces heat and cracking risk. Steady pressure and low speed work best.
Safety Glasses
Protect your eyes from dust and small tile pieces. Safety glasses keep your vision safe during drilling. Never skip this essential safety step.
Marker Or Pencil
Mark the exact spot for the hole on the tape. Clear marks guide the drill bit precisely. Use a pencil for easy removal later.
Water Spray Bottle
Keep the tile cool by spraying water while drilling. Water lowers heat and prevents tile damage. Spray lightly and often for smooth drilling.
Cloth Or Sponge
Use a cloth to wipe away dust and water. Keeping the surface clean helps see progress. It also stops dust from spreading.
Frequently Asked Questions
How Do I Prevent Tile From Cracking When Drilling?
Use a carbide-tipped drill bit and start with a small pilot hole. Apply gentle, steady pressure and keep the drill speed low. Use masking tape on the tile to reduce slippage and cool the bit with water to avoid overheating.
What Type Of Drill Bit Is Best For Ceramic Tiles?
A diamond-tipped or carbide-tipped drill bit works best for ceramic tiles. These bits cut through the hard surface without cracking. Avoid using regular wood or metal drill bits as they can damage the tile and cause breakage.
Should I Use Water When Drilling Ceramic Tiles?
Yes, using water is essential to keep the drill bit cool and reduce friction. It prevents overheating, which can crack the tile or damage the bit. Apply water continuously or use a damp sponge while drilling for the best results.
Can I Drill Ceramic Tiles Without A Drill Guide?
While possible, using a drill guide or template improves accuracy and reduces tile damage. It helps keep the drill bit steady and prevents slipping on the smooth tile surface. For best results, use a guide or clamp to secure the tile.
Conclusion
Drilling through ceramic tile takes care and patience. Use the right drill bit and low speed. Keep the tile wet to avoid cracks. Mark the spot clearly before you start. Take your time and don’t rush the process. Small steps help prevent damage and save money.
With careful work, your tile will stay intact. Now, you can hang shelves or fixtures safely. Simple tips make this task easier and less stressful. You’ve got this!