

If your Bostitch nail gun isn’t firing properly, don’t worry. This guide walks you through troubleshooting and fixing common problems, helping you restore your tool’s performance quickly and safely.
How to Fix a Bostitch Nail Gun
If your Bostitch nail gun isn’t working as it should, don’t panic. Sometimes, the problem is simple, like a jam or a loose connection. Other times, you might need to replace a worn-out part. This guide will walk you through the most common issues and show you how to fix your nail gun safely and effectively.
Key Takeaways
- Identify the problem: Understand common issues like jams, air leaks, or failure to fire.
- Safety first: Always disconnect the nail gun from power and release residual pressure before starting repairs.
- Regular maintenance: Keep your nail gun clean and lubricated to prevent issues.
- Clear jams properly: Use the correct method to remove jammed nails without damaging the gun.
- Replace worn parts: Regularly inspect and replace parts like O-rings, trigger mechanisms, or the driver blade.
- Consult the manual: Refer to your Bostitch model’s manual for specific instructions and part numbers.
Understanding Your Bostitch Nail Gun
Before diving into repairs, it’s good to understand how your Bostitch nail gun works. It uses compressed air to drive nails into wood or other materials. Key components include the trigger, driver blade, magazine, air hose connection, and various seals and O-rings. Knowing these parts helps you identify issues more easily.
Safety Precautions
Always prioritize safety when working on your nail gun:
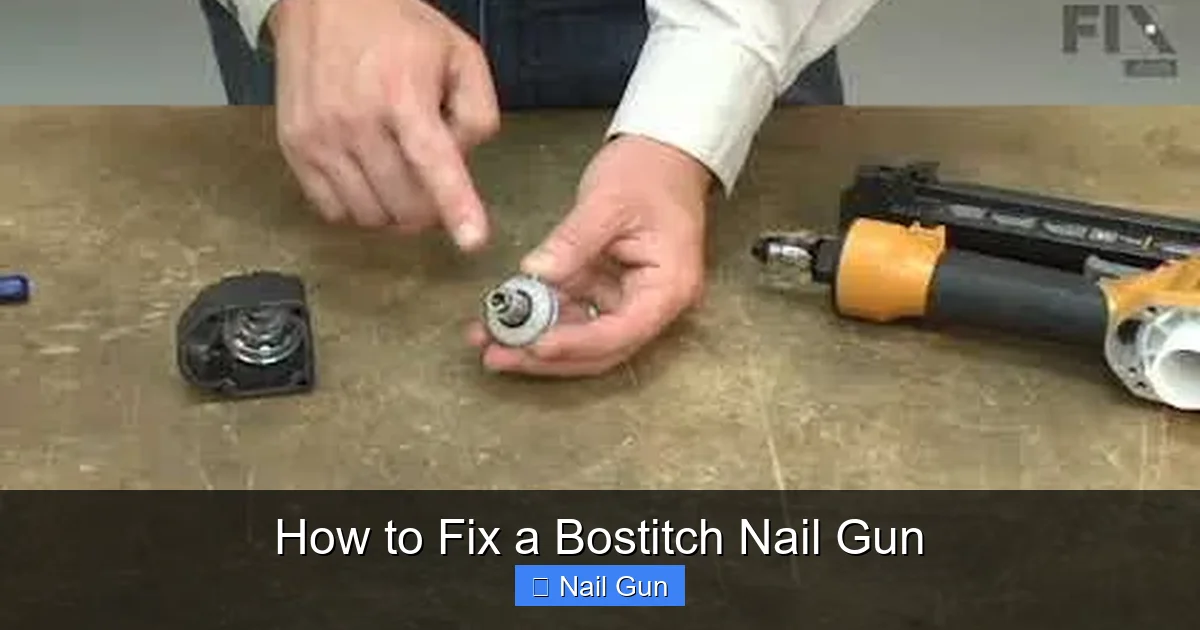
Visual guide about How to Fix a Bostitch Nail Gun
Image source: i.ytimg.com
- Disconnect power: Unplug the nail gun or disconnect it from the air compressor.
- Release pressure: Depress the trigger to release any residual air pressure.
- Wear safety gear: Use safety glasses and gloves to protect yourself from accidental injury.
Step 1: Troubleshooting Common Problems
1. Nail Gun Won’t Fire
This is a common issue. It may be caused by a jam, lack of power, or a faulty trigger.

Visual guide about How to Fix a Bostitch Nail Gun
Image source: i.ytimg.com
2. Nail Jams Frequently
Frequent jams waste time and can damage the gun. Clearing jams properly helps maintain your tool.
3. Air Leaks
Air leaks reduce pressure, making the nailer less effective. Leaks often come from worn seals or loose connections.
4. Nails Not Driving Fully
This can be caused by worn driver blades, incorrect nail size, or insufficient air pressure.
Step 2: Fixing a Nail Jam
Jams are the most common issue. Follow these steps:
1. Disconnect and Depressurize
- Unplug the nail gun or disconnect from the air source.
- Hold the trigger to release residual air.
2. Remove the Magazine
- Locate the magazine latch or release mechanism.
- Carefully slide out the magazine.
3. Clear the Jam
- Inspect the magazine and chamber for jammed nails.
- Use a screwdriver or pliers to gently remove stuck nails.
- Be cautious not to damage the driver or other parts.
4. Reassemble and Test
- Slide the magazine back into place.
- Reconnect the air supply and test the nail gun on scrap material.
Step 3: Fixing Air Leaks
Air leaks can be frustrating. Here’s how to fix them:
1. Identify the Leak
- Apply soapy water to connections and seals.
- Look for bubbles indicating leaks.
2. Tighten Connections
- Check all fittings and tighten any loose connections.
3. Replace Worn Seals or O-Rings
- Disassemble the relevant parts following your manual.
- Inspect O-rings and seals; replace if cracked or worn.
- Lubricate new O-rings with appropriate oil before installation.
Step 4: Fixing a Nail Gun That Doesn’t Fire
This issue may be caused by a faulty trigger, a broken driver, or a lack of power.
1. Inspect the Trigger Mechanism
- Disassemble the trigger assembly following your manual.
- Check for damage or debris.
- Replace if necessary.
2. Check the Driver Blade
- Remove the driver blade assembly.
- Inspect for wear or damage.
- Replace if worn out or damaged.
3. Verify Air Pressure
- Ensure your compressor supplies the correct psi (usually 70-120 psi).
- Adjust pressure if needed.
Step 5: Maintaining Your Bostitch Nail Gun
Proper maintenance extends the life of your tool:
- Clean the nail gun after each use to remove dust and debris.
- Lubricate with a few drops of pneumatic tool oil in the air inlet before each use.
- Regularly inspect seals, O-rings, and driver blades for wear.
- Store in a dry, clean place to prevent rust and damage.
Conclusion
Fixing a Bostitch nail gun isn’t complicated if you follow these steps carefully. Always prioritize safety, and don’t hesitate to replace worn parts to keep your tool in top shape. With a little patience and some basic tools, you can troubleshoot and repair your nail gun efficiently, saving time and money.
Additional Tips
- Keep an extra set of replacement parts like O-rings and driver blades.
- Refer to your specific Bostitch model’s manual for detailed instructions and part numbers.
- Consider professional repair if problems persist or if you’re uncomfortable performing repairs yourself.
Remember:
Regular maintenance and proper operation are key to preventing most issues with your Bostitch nail gun. Keep it clean, lubricated, and store it properly for the best performance.