

Fixing a framing nail gun can seem daunting, but with the right tools and knowledge, you can troubleshoot and repair common problems yourself. This guide covers everything from basic cleaning to part replacements, helping you get back to work efficiently.
Key Takeaways
- Regular maintenance: Clean and lubricate your nail gun to prevent jams and malfunctions.
- Identifying issues: Common problems include jams, air leaks, or firing inconsistencies—knowing the signs helps in troubleshooting.
- Safety first: Always disconnect the nailer from power and release pressure before attempting repairs.
- Replacing parts: Worn or damaged parts like o-rings and driver blades are often the cause of malfunctions and can be replaced easily.
- Proper tools: Use the correct tools and parts recommended by the manufacturer for effective repairs.
- When to seek help: If problems persist after troubleshooting, consult a professional or contact the manufacturer for repairs.
Introduction
If you’re a DIY enthusiast or a professional contractor, a framing nail gun is an essential tool. But like any device, it can develop issues over time. Knowing how to fix a framing nail gun saves you time and money, and keeps your projects on schedule. In this comprehensive guide, we’ll walk you through common problems, troubleshooting steps, and repairs. Whether your nailer isn’t firing, jams frequently, or leaks air, you’ll learn how to diagnose and fix these issues safely and effectively.
Understanding Your Framing Nail Gun
Before diving into repairs, it’s helpful to understand how your framing nail gun works. Most pneumatic nailers operate using compressed air to drive nails. They have key components like the driver blade, magazine, seals and o-rings, and trigger mechanism. Recognizing these parts helps in identifying which might be causing problems.
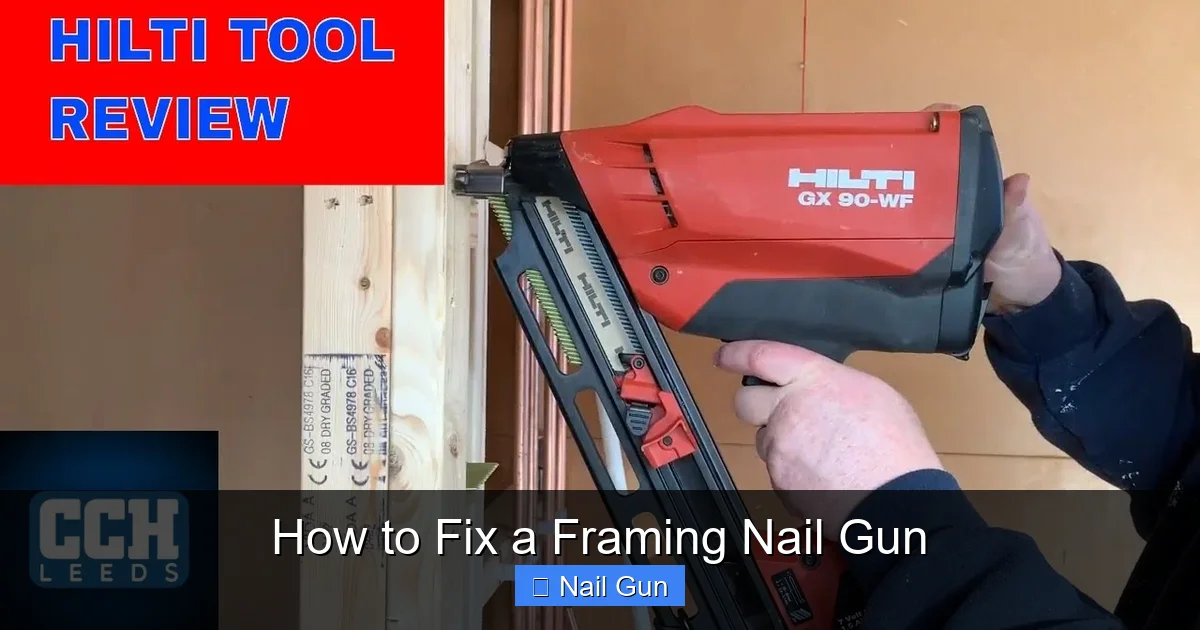
Visual guide about How to Fix a Framing Nail Gun
Image source: i.ytimg.com
Tools and Safety Precautions
- Tools Needed: Wrench set, screwdriver, replacement parts (o-rings, driver blades), cleaning brush, lubricant, safety glasses, gloves.
- Safety Tips: Always disconnect the nail gun from the air supply before starting repairs. Release any remaining pressure and wear protective gear.
Step-by-Step Guide to Fixing a Framing Nail Gun
1. Disconnect and Prepare
Start by unplugging the nail gun from the air compressor. Depress the trigger to release any residual pressure. Remove the nail magazine and ensure the tool is completely depressurized before proceeding.
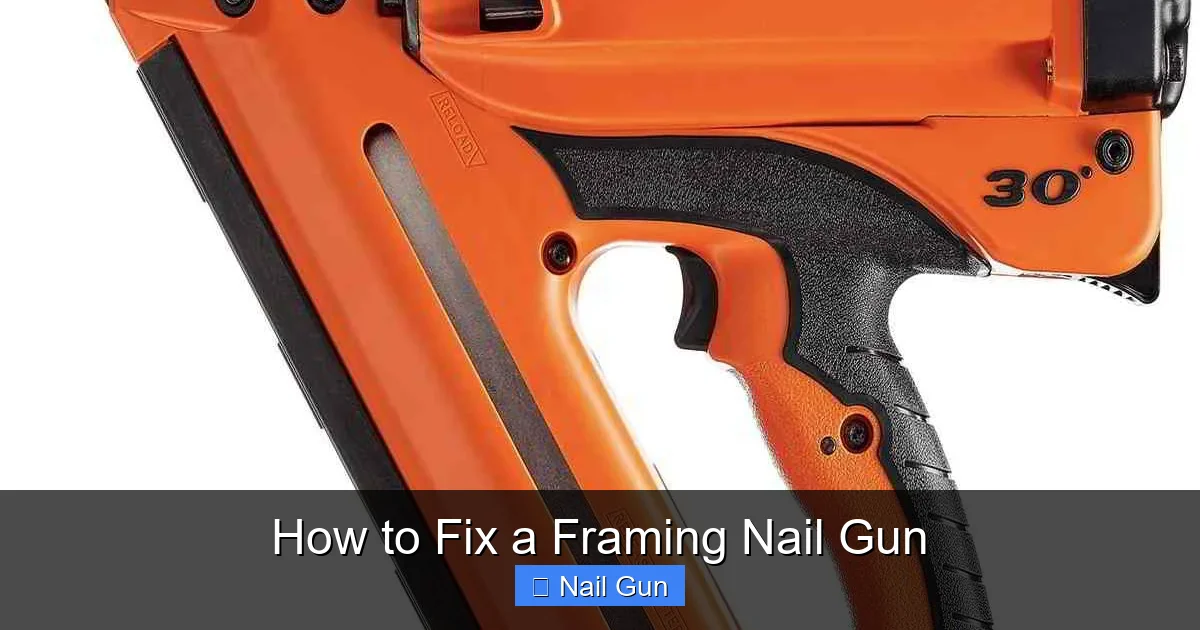
Visual guide about How to Fix a Framing Nail Gun
Image source: nailerpros.com
2. Clear Jams and Obstructions
- Identify the jam: Look inside the magazine and near the driver blade for stuck nails or debris.
- Remove jammed nails: Use pliers or a nail removal tool to carefully extract any stuck nails.
- Clean the magazine: Wipe away dust, debris, and residual nails with a brush or cloth.
Tip: Regular cleaning prevents future jams and keeps the nailer working smoothly.
3. Inspect and Replace Worn Parts
- Check the o-rings: Look for cracks, tears, or wear. Damaged o-rings can cause air leaks.
- Inspect the driver blade: Look for dents or wear. A damaged driver can cause misfiring or jams.
- Replace damaged parts: Use manufacturer-approved replacements. Lubricate o-rings with pneumatic tool oil before installation.
Tip: Keep spare parts handy for quick repairs.
4. Clean and Lubricate
- Clean internal components: Use a brush to remove dust and debris from the firing chamber and driver area.
- Lubricate: Apply a few drops of pneumatic tool oil to the air inlet and moving parts to ensure smooth operation.
Note: Do not over-lubricate, as excess oil can attract dust and cause jams.
5. Reassemble and Test
- Reassemble the nailer: Put all parts back together carefully.
- Reconnect to air supply: Attach the nailer to your compressor, set the pressure correctly (usually around 80-120 PSI).
- Test fire: Use a scrap piece of wood to ensure the nail gun fires properly and No issues persist.
Common Problems and Troubleshooting
Problem 1: Nail Gun Not Firing
Possible causes include a jam, insufficient air pressure, or worn parts. Clear jams first, then check air pressure, and replace worn parts if needed.
Problem 2: Nails Not Driving Fully
This can be due to worn driver blades, incorrect air pressure, or clogged feed mechanisms. Inspect the driver and feed system, then replace or clean as needed.
Problem 3: Air Leaks
Leaking air around seals or o-rings causes loss of power. Replace damaged o-rings and ensure all connections are tight.
Problem 4: Frequent Jamming
Ensure nails are the correct size and properly loaded. Regular cleaning and lubrication also help prevent jams.
Conclusion
Knowing how to fix a framing nail gun empowers you to troubleshoot common issues quickly. Regular maintenance, timely part replacements, and careful handling extend the life of your tool. Always prioritize safety, follow manufacturer instructions, and don’t hesitate to seek professional help if problems persist. With these tips, your nail gun will stay in top shape, ready for your next project.
Additional Tips
- Store your nail gun in a clean, dry place.
- Use the correct nails specified by the manufacturer.
- Perform routine maintenance after heavy use.