

A jammed Bostitch nail gun can halt your project unexpectedly. This guide shows you easy-to-follow steps to safely clear jams, troubleshoot common issues, and restore your nail gun’s performance. With these tips, you’ll be back to work in no time.
Key Takeaways
- Identify the jam: Recognize signs of a jam to prevent further damage.
- Safety first: Always disconnect the nail gun before attempting repairs.
- Clear the jam carefully: Follow proper steps to remove stuck nails or debris.
- Use the right tools: Employ tools like pliers or a cleaning brush for effective troubleshooting.
- Regular maintenance: Keep your nail gun clean to prevent future jams.
- Consult the manual: Refer to your specific Bostitch model for detailed instructions.
Introduction
If you’ve been using your Bostitch nail gun and suddenly it stops firing or gets stuck, you’re probably dealing with a jam. Jamming is common with pneumatic nailers, especially if nails are not loaded correctly or debris enters the mechanism. But don’t worry! This guide will walk you through how to fix a jammed Bostitch nail gun safely and effectively. Whether you’re a DIY enthusiast or a professional, these tips will help you troubleshoot and resolve the issue quickly so you can get back to your project.
Understanding Why a Nail Gun Jams
Before jumping into repairs, it’s helpful to know why jams happen. Common causes include:
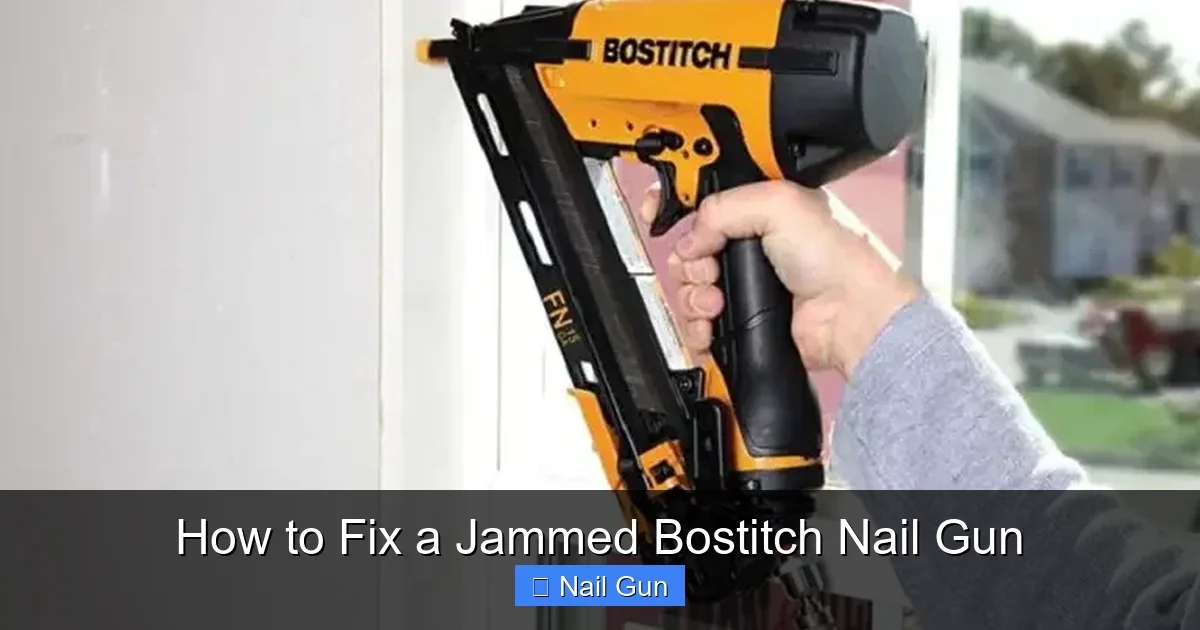
Visual guide about How to Fix a Jammed Bostitch Nail Gun
Image source: stapleslinger.com
- Overloaded nails or incorrect nail size
- Dirty or clogged mechanism
- Misaligned nails or improper loading
- Worn or damaged parts
- Using low-quality nails or incompatible nails
Understanding these causes can help prevent future jams and extend the life of your nail gun.
Safety Precautions
Always prioritize safety when fixing your nail gun. Here are essential safety tips:
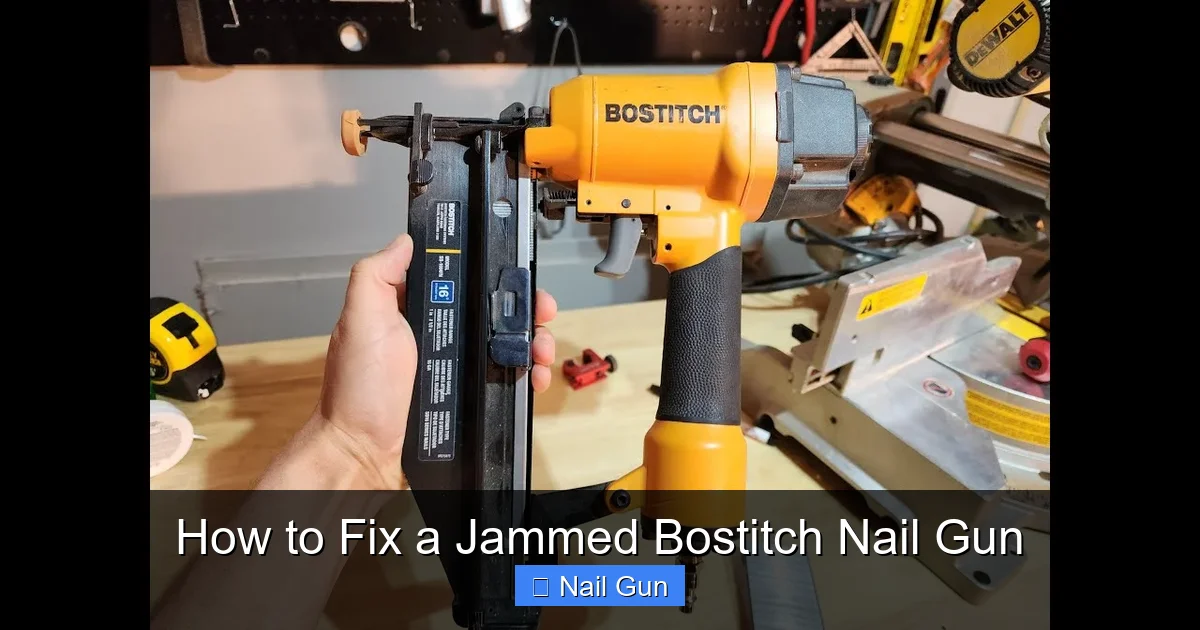
Visual guide about How to Fix a Jammed Bostitch Nail Gun
Image source: i.ytimg.com
- Disconnect power: Unplug the nail gun from the air compressor or remove the battery if cordless.
- Wear safety gear: Use safety glasses and gloves to protect against debris.
- Work in a clean area: Clear your workspace to avoid accidents.
- Handle parts carefully: Be cautious when removing nails or cleaning internal parts.
Tools and Materials Needed
Gather these tools before starting:
- Safety glasses and gloves
- Phillips screwdriver or Allen wrench (depending on your model)
- Pliers (needle-nose or standard)
- Cleaning brush or compressed air
- Replacement parts (if needed)
- Lubricant suitable for pneumatic tools
Step-by-Step Instructions to Fix a Jammed Bostitch Nail Gun
1. Disconnect and Prepare
First, ensure your nail gun is disconnected from the power source. For pneumatic models, unplug from the air compressor. For cordless, remove the battery. This prevents accidental firing and injury.
Next, clear your workspace and wear safety gear.
2. Inspect the Nail Gun
Look at the nail gun to identify the jam. Common signs include:
- Inability to fire or trigger sticking
- Nails stuck in the nose or magazine
- Unusual sounds or resistance
Check the magazine for jammed nails and note any visible obstructions.
3. Remove the Nails
Open the magazine to access the nails. Carefully remove any jammed or stuck nails using pliers. Be gentle to avoid damaging the magazine or internal parts.
If nails are difficult to remove, use needle-nose pliers for better grip and control.
4. Clear Debris and Clean
Use compressed air or a cleaning brush to blow out dust, debris, or wood splinters from the internal mechanism. Ensure all parts are clean and free of obstructions.
Check the chamber, firing pin, and other moving parts for buildup.
5. Check for Worn or Damaged Parts
Inspect the firing pin, O-rings, and other components for signs of wear or damage. Replace any faulty parts following the manufacturer’s instructions.
Worn parts can cause misfires or jams, so replacing them can prevent future issues.
6. Lubricate Moving Parts
Apply a few drops of pneumatic tool oil to the moving parts to ensure smooth operation. Avoid over-lubricating, as excess oil can attract dirt.
This step helps keep your nail gun functioning properly and reduces jamming risk.
7. Reassemble and Test
Carefully reassemble the nail gun, making sure all parts are in their correct positions. Load the correct size nails into the magazine.
Reconnect the power source and test the nail gun on scrap material to ensure it fires correctly.
Additional Tips for Preventing Future Jams
- Use high-quality, compatible nails for your specific model.
- Avoid overloading the magazine—only load the recommended number of nails.
- Regularly clean and lubricate your nail gun.
- Store nails in a dry place to prevent rusting or debris entry.
- Follow the manufacturer’s maintenance guidelines.
Troubleshooting Common Issues
Nail Gun Still Jamming?
If your nail gun continues to jam after cleaning, check for:
- Misaligned nails—reload properly
- Worn or broken firing pin—replace if necessary
- Incorrect nail size—use compatible nails
Firing Power Is Weak
This could be due to low air pressure, dirty parts, or worn components. Adjust air pressure, clean internal parts, or replace worn components.
Conclusion
Fixing a jammed Bostitch nail gun is straightforward if you follow these steps carefully. Remember to prioritize safety and use the right tools. Regular maintenance will help prevent future jams and keep your nail gun running smoothly. With patience and proper care, your nail gun will be back in action quickly, ready to handle your next project.
Final Tips
Always consult your specific Bostitch model’s manual for detailed instructions. If problems persist, consider contacting a professional or the manufacturer for assistance. Proper care and maintenance extend your tool’s life and save you time and money.