

A jammed nail gun can halt your project in its tracks. In this guide, you’ll learn how to safely and effectively clear jams, troubleshoot common issues, and maintain your nailer for optimal performance. Whether you’re a DIY enthusiast or a professional, mastering this skill will save you time and frustration.
Key Takeaways
- Identify the jam: Recognize signs of a jam to target your efforts effectively.
- Safety first: Always disconnect the nail gun from power or air before attempting repairs.
- Use proper tools: Use the correct tools like pliers and brushes to avoid damaging the nailer.
- Clear the jam carefully: Follow step-by-step procedures to prevent further damage or injury.
- Regular maintenance: Keep your nail gun clean and lubricated to prevent jams.
- Troubleshoot common issues: Learn to identify and fix typical problems that cause jams.
How to Fix a Jammed Nail Gun
If you’ve ever used a nail gun, you know nothing is more frustrating than a jam. A jam can happen for many reasons—overloaded nails, debris, or improper use. Fortunately, fixing a jam is usually straightforward if you follow the right steps. In this guide, we’ll walk you through how to safely and effectively clear a jammed nail gun, troubleshoot common problems, and keep your tool in top shape.
Note: Always follow safety precautions. Disconnect the nail gun from power source or air supply before attempting any repairs.
Understanding Why Nail Guns Jam
Nail gun jams happen when nails become stuck inside the gun or misfire. Common causes include:
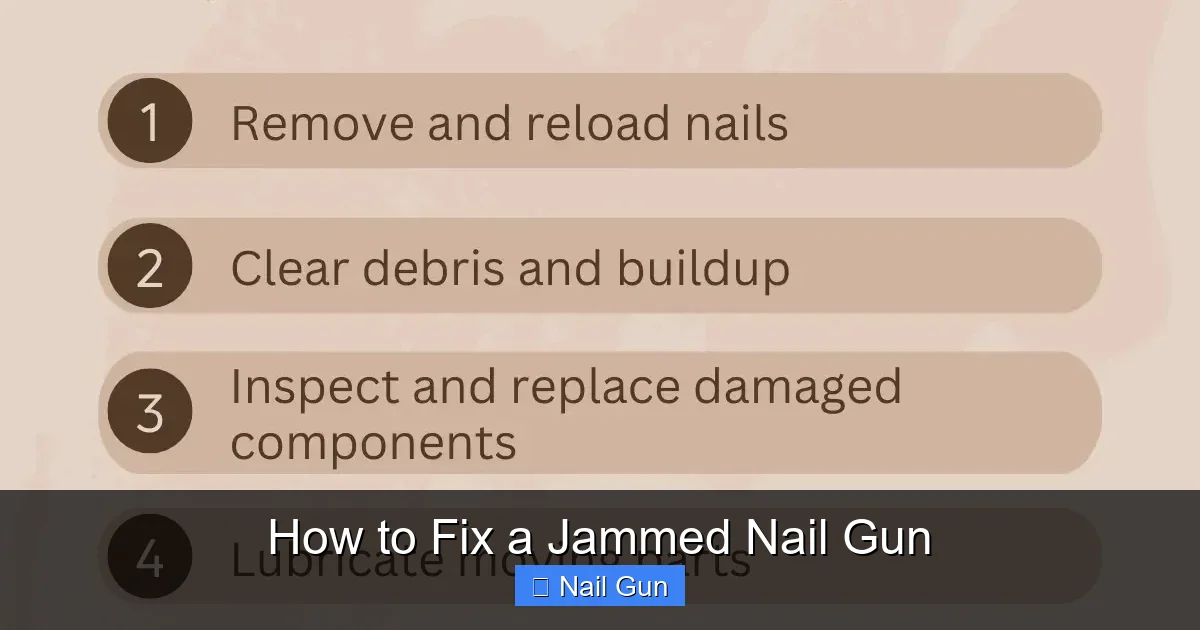
Visual guide about How to Fix a Jammed Nail Gun
Image source: woodworkly.com
- Overloading: Loading too many nails can cause jams.
- Dirty or clogged components: Dust, debris, or dried lubricant can block the mechanism.
- Incorrect nail size or type: Using incompatible nails can cause jams.
- Worn or damaged parts: Springs, driver blades, or magazines may need replacement.
Understanding these causes helps you prevent future jams and troubleshoot more effectively.
Safety Precautions Before You Start
Before attempting to fix a jam, ensure safety is your top priority:
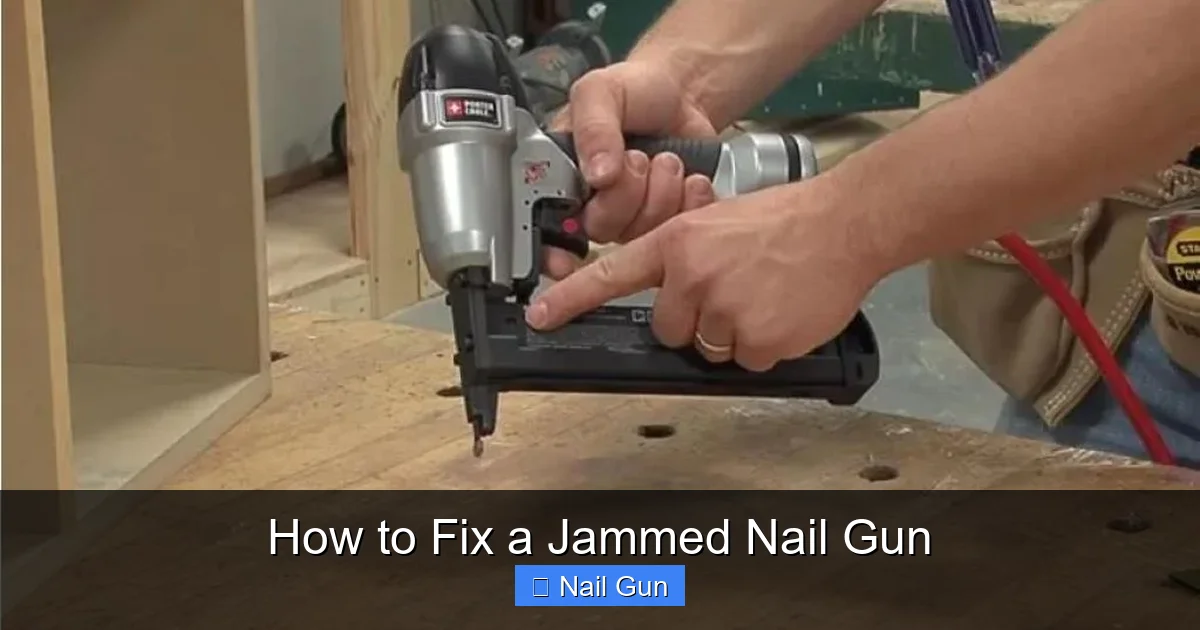
Visual guide about How to Fix a Jammed Nail Gun
Image source: bestusatools.com
- Disconnect power: Unplug the nail gun or disconnect it from the air compressor.
- Wear safety gear: Use safety glasses and gloves to protect yourself from accidental nails or debris.
- Work in a clean area: Clear your workspace to prevent accidents.
With safety gear on, you’re ready to proceed.
Step-by-Step Guide to Fix a Jammed Nail Gun
Step 1: Disconnect and Inspect
Start by ensuring the nail gun is completely disconnected from its power source. For electric models, unplug it. For pneumatic models, disconnect the air hose. Once safe, inspect the magazine and the area around the driver blade for visible obstructions.
Step 2: Remove the Nails
Open the magazine and carefully remove any jammed nails. Use pliers if necessary, but avoid forcing nails out to prevent damage. If nails are deeply lodged, skip to the next step.
Step 3: Clear the Jammed Nails and Debris
Use a small brush or compressed air to clear dust, debris, or small nails from the magazine and internal parts. Be gentle to avoid damaging delicate components. If debris persists, proceed to disassemble the nail gun.
Step 4: Disassemble the Nail Gun (If Necessary)
If the jam persists, you’ll need to disassemble parts of the nailer. Refer to your user manual for specific instructions, but generally:
- Remove the cover or casing using a screwdriver.
- Inspect the driver blade, piston, and feed mechanism.
- Look for bent, broken, or stuck parts.
Keep track of screws and small parts as you disassemble.
Step 5: Manually Clear the Jam
Carefully remove any nails, staples, or debris lodged inside. You may need to tap the driver blade gently with a rubber mallet or use pliers. Be cautious not to damage the internal mechanics.
Step 6: Check for Damage and Wear
Inspect parts like the driver blade and magazine for damage or excessive wear. Replace any worn or broken parts before reassembling.
Step 7: Lubricate and Reassemble
Apply a few drops of pneumatic tool oil or manufacturer-recommended lubricant to moving parts. Reassemble the nail gun carefully, ensuring all screws and parts are secure.
Step 8: Test the Nail Gun
Reconnect the power or air supply and test the nailer on a scrap piece of wood. Ensure it feeds nails smoothly and fires correctly. If it still jams, repeat the process or consult a professional.
Practical Tips for Preventing Future Jams
- Use the right nails: Always use nails recommended for your specific nail gun model.
- Clean regularly: Keep the magazine and internal parts free of dust and debris.
- Avoid overloading: Do not load more nails than the specified capacity.
- Lubricate periodically: Follow the manufacturer’s guidelines for lubrication.
- Store properly: Keep your nailer in a dry, clean place when not in use.
Troubleshooting Common Problems
Nails not feeding properly
This may be caused by debris, misaligned nails, or worn feed mechanisms. Clean the magazine and check for proper nail alignment.
Nail gun misfires or double fires
Check for damaged springs or driver blades. Also, ensure that the safety contacts are functioning correctly.
The nailer won’t fire at all
Confirm the power or air supply. Inspect for jammed nails or worn parts that may inhibit firing.
Conclusion
Fixing a jammed nail gun is a manageable task when approached carefully and safely. By understanding the causes, following proper procedures, and maintaining your tool, you can keep your nail gun running smoothly. Remember, regular maintenance and proper use are key to preventing future jams and extending the life of your tool.
With patience and the right tools, you’ll be back to completing your projects in no time!
Additional Resources
Always consult your nail gun’s user manual for specific instructions and safety warnings. If you’re unsure or uncomfortable with disassembly, consider seeking help from a professional repair technician.