

If your Porter Cable nail gun isn’t working properly, don’t worry. This comprehensive guide will help you diagnose and fix common problems so you can get back to your project quickly. From basic maintenance to troubleshooting, we’ve got you covered.
Key Takeaways
- Identify the problem: Understand common issues like jams, air leaks, or firing problems.
- Safety first: Always disconnect the nail gun from power before starting repairs.
- Clean regularly: Keep parts like the magazine and nose clean for optimal performance.
- Check and replace parts: Worn-out o-rings and driver blades often cause issues and should be replaced.
- Properly maintain air pressure: Ensure your compressor provides the correct PSI for your nailer.
- Consult the manual: Refer to your Porter Cable model’s manual for specific troubleshooting tips.
Introduction
If you’re a DIY enthusiast or a professional carpenter, a Porter Cable nail gun is a valuable tool. But even the best tools can sometimes run into problems. Whether your nailer won’t fire, jams frequently, or leaks air, this guide will walk you through the process of fixing a Porter Cable nail gun. You’ll learn how to troubleshoot common issues, perform basic repairs, and maintain your nailer for long-lasting performance. Remember, safety is key—always disconnect the tool from the power source before starting any repair work.
Understanding Your Porter Cable Nail Gun
Before diving into repairs, it’s helpful to understand how your nail gun works. A typical pneumatic Porter Cable nailer uses compressed air to drive nails into wood or other materials. Key parts include the magazine, driver blade, o-rings, trigger, nose, and air inlet. Problems often stem from wear and tear, dirt, or improper maintenance. Identifying the specific issue is the first step toward fixing your nailer.
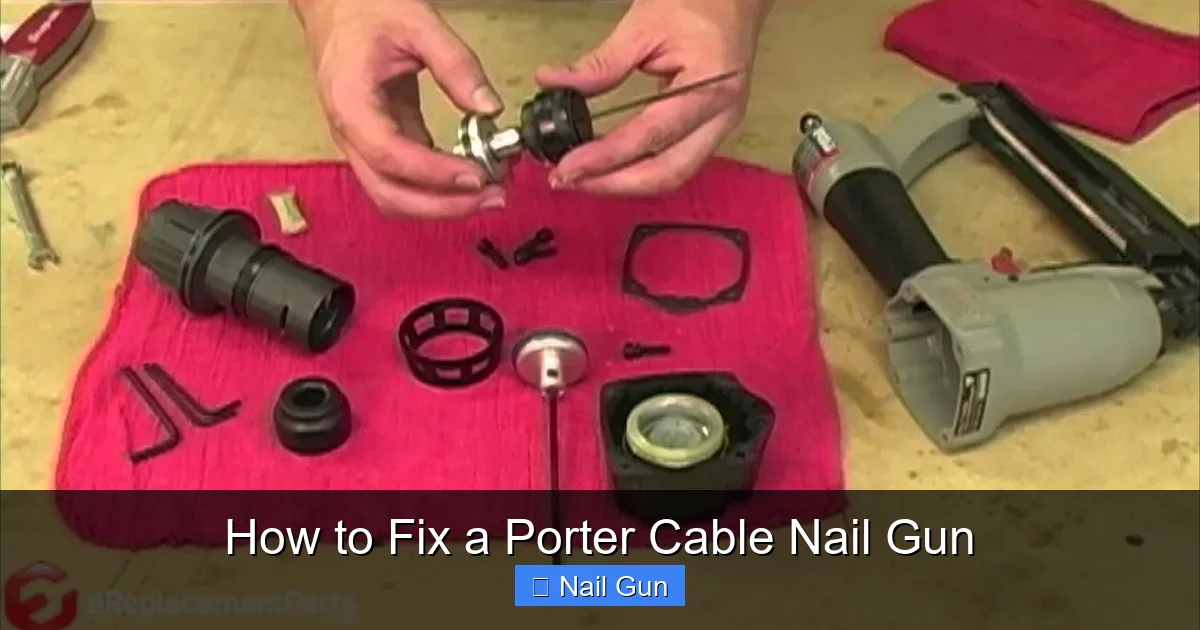
Visual guide about How to Fix a Porter Cable Nail Gun
Image source: i.ytimg.com
Step-by-Step Guide to Fix Your Porter Cable Nail Gun
1. Safety Precautions
Before starting any repairs, ensure your nail gun is disconnected from the air compressor or power source. Remove any nails from the magazine. Wear safety goggles and gloves to protect yourself from accidental injuries. Working safely minimizes risks and helps you repair more effectively.
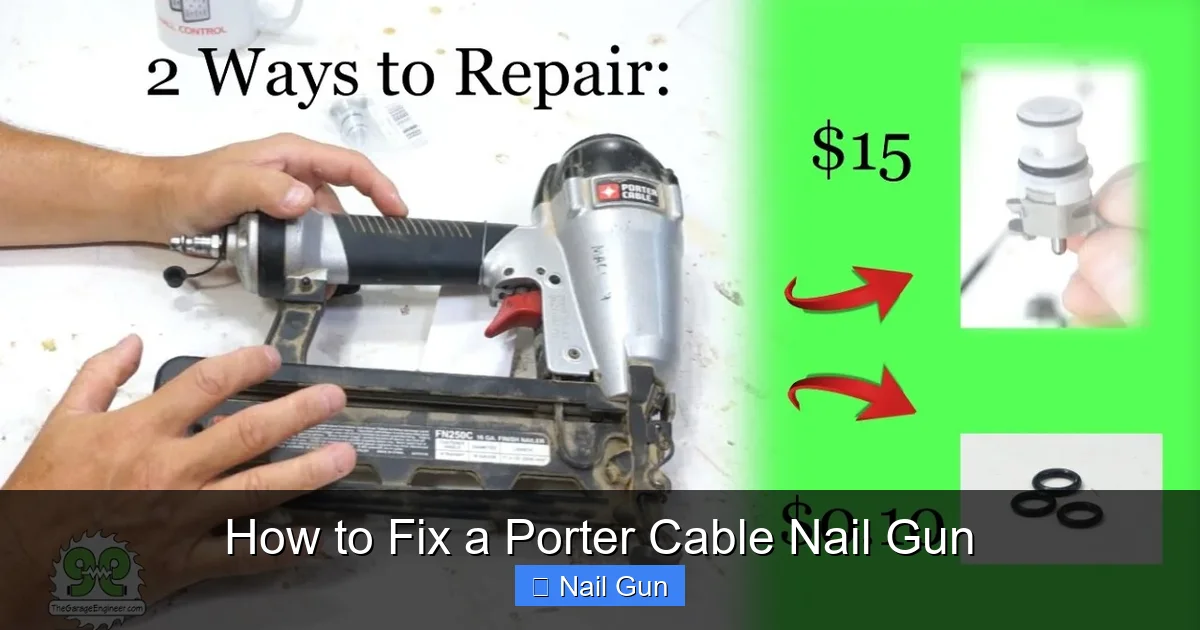
Visual guide about How to Fix a Porter Cable Nail Gun
Image source: i.ytimg.com
2. Diagnose the Problem
Identify what’s wrong with your nail gun. Common issues include:
- It won’t fire or makes no noise
- It jams frequently
- Air leaks from the nose or other parts
- It fires multiple nails at once
- It doesn’t load nails properly
Understanding the specific problem guides your repair process.
3. Clearing Jams and Blockages
Step 1: Remove the Nail Magazine
Locate the magazine release latch and slide it to detach the magazine. Remove any nails and debris inside.
Step 2: Clear the Jam
Check the nose and feeding path for jammed nails. Use a pair of pliers or a small screwdriver to gently remove stuck nails. Be cautious to avoid damaging internal parts.
Practical Tip:
Regularly clear jams to prevent damage and maintain smooth operation.
4. Inspect and Replace Worn Parts
Driver Blade
If the driver blade is bent or worn, it won’t drive nails properly. Remove the nose cap and inspect the blade. Replace if damaged.
O-Rings and Seals
Worn or cracked o-rings can cause air leaks. Locate the o-rings (usually inside the nose or near the air inlet), carefully remove them, and replace with new ones. Lubricate the new o-rings with a few drops of pneumatic tool oil.
Driver Spring or Firing Pin
Check for signs of wear or damage. Replace if necessary, following your model’s specific instructions.
5. Fixing Air Leaks
Identify Leak Points
Spray soapy water on the nose, air inlet, and other seals while pressing the trigger. Bubbles indicate leaks.
Replace Faulty O-Rings or Seals
Remove and replace damaged seals as described above. Ensure all parts are seated correctly to prevent leaks.
Tip:
Maintain proper air pressure (usually 70-120 PSI) for optimal performance.
6. Troubleshooting Firing and Loading Issues
- Gun won’t fire: Check for jams, worn driver blades, or low air pressure.
- Multiple nails firing: Adjust the trigger or replace the trigger mechanism if faulty.
- Loading problems: Reload nails properly, ensuring they are the correct size and type for your model.
7. Reassemble and Test
Once repairs are complete, reassemble the nailer carefully. Reattach the magazine, ensure all screws and parts are tight. Connect the air supply and test the nail gun on scrap wood to verify it’s working properly.
Additional Tips for Maintaining Your Porter Cable Nail Gun
- Lubricate your nailer regularly with pneumatic tool oil—just a few drops per use.
- Clean the magazine and nose after each use to prevent buildup of dust and debris.
- Check and replace worn parts periodically to prevent breakdowns.
- Maintain proper air pressure as specified in your manual.
- Store your nailer in a dry, clean place to prevent rust and corrosion.
Troubleshooting Common Problems
- Nail gun not firing: Check for jams, low air pressure, or faulty trigger.
- Air leaks: Inspect seals and replace damaged o-rings.
- Jamming: Clear nails and clean feeding mechanism regularly.
- Multiple nails firing: Adjust trigger sensitivity or replace trigger assembly.
Conclusion
Fixing a Porter Cable nail gun doesn’t have to be complicated. With the right knowledge and a few basic tools, you can troubleshoot and repair common issues yourself. Regular maintenance is key to keeping your nailer in top shape. Remember, safety always comes first—disconnect the tool before attempting repairs. By following this guide, you’ll save money, time, and frustration, ensuring your nail gun works reliably for years to come.