

If your Bostitch nail gun isn’t working properly, don’t worry. This comprehensive guide will walk you through diagnosing problems, performing repairs, and maintaining your nail gun to ensure it functions smoothly. Whether it’s misfiring, jamming, or not firing at all, you’ll find practical solutions to fix your tool quickly and safely.
How to Fix Bostitch Nail Gun
If your Bostitch nail gun is acting up, it can be frustrating. Whether it’s misfiring, jamming, or refusing to fire, most issues have simple solutions. This guide will teach you how to troubleshoot and fix common problems with your Bostitch nail gun. Remember, safety is top priority—always disconnect the tool from its power or air supply before starting repairs.
Key Takeaways
- Identify the problem: Understand common issues like jams, air leaks, or misfires to target your repair efforts.
- Safety first: Always disconnect the nail gun from power or air supply before starting repairs.
- Clean regularly: Keep the nail gun clean to prevent jams and ensure smooth operation.
- Check parts: Inspect components like the firing pin, o-rings, and driver blade for wear or damage.
- Replace worn parts: Use genuine Bostitch parts for repairs to maintain performance and safety.
- Perform routine maintenance: Regular lubrication and cleaning can prevent many common issues.
- Consult the manual: Refer to your specific model’s manual for detailed instructions and safety precautions.
Understanding Your Bostitch Nail Gun
Before diving into repairs, it’s helpful to understand how your Bostitch nail gun works. Most Bostitch models are pneumatic, powered by compressed air. They have several key parts:
- Magazine: Holds nails and feeds them into the firing chamber.
- Firing pin: Strikes the nail to drive it into the surface.
- Driver blade: pushes the nails forward.
- O-rings and seals: Prevent air leaks and ensure proper pressure.
- Trigger mechanism: Activates firing when pressed.
Knowing these parts helps you diagnose issues accurately.
Tools and Materials Needed
- Basic screwdriver set
- Replacement parts (o-rings, firing pin, driver blade, seal kits)
- Lubricant (air tool oil)
- Cleaning brush or compressed air
- Protective gloves and safety glasses
Step-by-Step Guide to Fix Your Bostitch Nail Gun
1. Safety Precautions
Before starting, always disconnect the nail gun from the air compressor or power source.
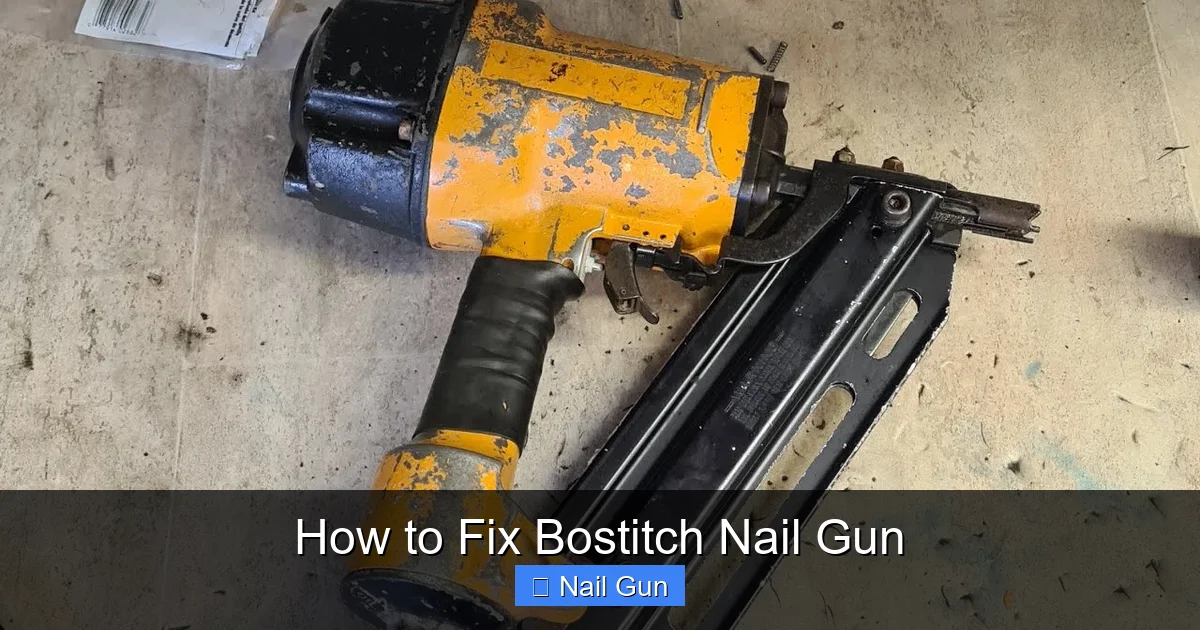
Visual guide about How to Fix Bostitch Nail Gun
Image source: i.ytimg.com
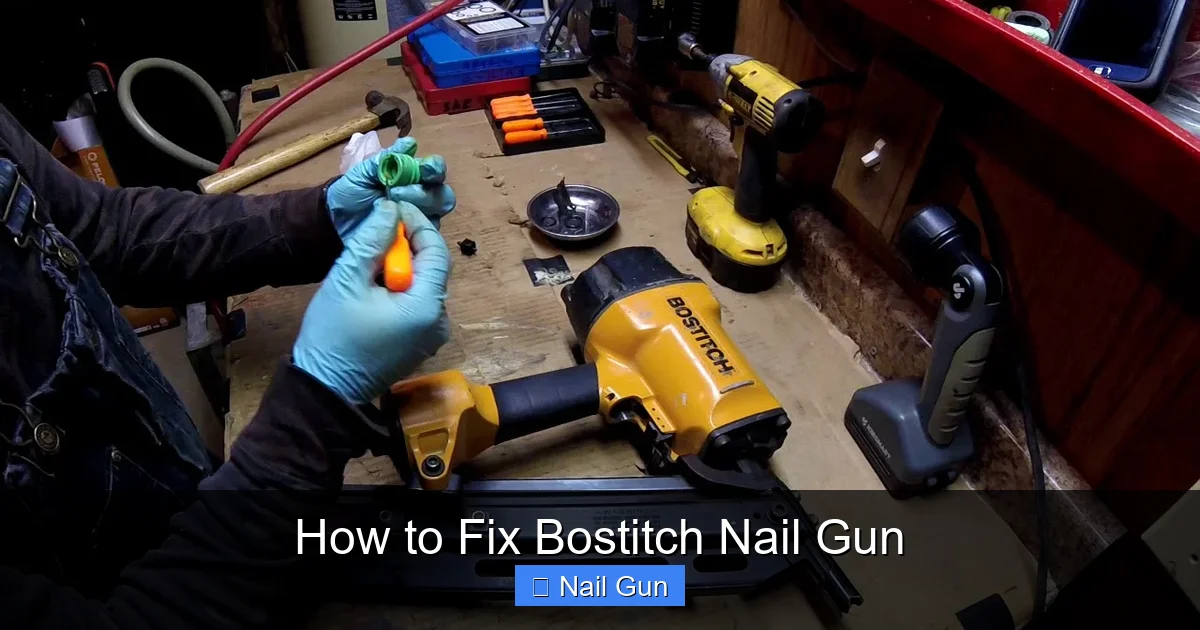
Visual guide about How to Fix Bostitch Nail Gun
Image source: i.ytimg.com
- Unplug the nail gun or disconnect air hose.
- Wear safety glasses and gloves.
- Ensure the tool is depressurized and unloaded.
2. Identify the Issue
Common problems include:
- Jamming nails: Nails get stuck in the magazine or firing chamber.
- Misfiring or no firing: The tool doesn’t shoot nails or fires intermittently.
- Air leaks: Air escapes from around the tool, reducing power.
- Firing pin stuck: The nail gun fires continuously or not at all.
Pinpointing the problem helps determine which parts need repair or replacement.
3. Clearing Jams
If nails are jammed:
- Remove the nail magazine.
- Use a screwdriver or pliers to carefully remove jammed nails.
- Check for bent nails or debris causing the jam.
- Clean out the magazine and chamber thoroughly.
Reassemble and test the gun after clearing jams.
4. Inspect and Replace Worn or Damaged Parts
Common parts that wear out include:
- Firing pin: Sticks or breaks, preventing proper firing.
- O-rings and seals: Crack or leak air, causing power loss.
- Driver blade: Wears down over time, affecting nail driving.
To inspect:
- Disassemble the tool following the manufacturer’s instructions.
- Look for visible damage, cracks, or wear on parts.
Replace any damaged parts with genuine Bostitch replacements for best results.
5. Cleaning and Lubrication
A clean and well-lubricated nail gun works better and lasts longer.
- Use compressed air or a brush to remove dust and debris from inside.
- Apply a few drops of air tool oil to the moving parts, especially the piston and trigger mechanism.
- Reassemble the tool carefully.
Regular lubrication helps prevent sticking and jams.
6. Fixing Air Leaks
If your nail gun leaks air:
- Check the O-rings for cracks or damage.
- Replace worn or damaged O-rings with new ones.
- Ensure all fittings and connections are tight.
Apply a small amount of thread sealant if needed, but only if compatible with your tool.
7. Testing and Final Checks
After repairs:
- Reconnect the air supply.
- Adjust pressure settings according to the manual.
- Test the nail gun on scrap material.
- Observe for proper firing, no leaks, and smooth operation.
If issues persist, revisit the troubleshooting steps or consult the manual.
Troubleshooting Tips
- Tool fires nails but not consistently: Check the firing pin and driver blade for wear.
- Jams are frequent: Keep the magazine clean and use quality nails.
- Air leaks persist: Replace all damaged O-rings and seals.
- Firing pin stuck: Clean or replace the firing pin assembly.
Conclusion
Fixing your Bostitch nail gun is often straightforward with proper diagnosis and care. Regular maintenance, timely replacement of worn parts, and proper cleaning can prevent many issues. Always prioritize safety, follow the manufacturer’s instructions, and use genuine parts for the best results. With these steps, your nail gun can serve you well for many projects to come.
Additional Tips
- Store your nail gun in a dry, clean place.
- Lubricate after each use or if you notice a drop in performance.
- Use high-quality nails compatible with your model.