

Installing baseboards without a nail gun is achievable with the right tools and techniques. This guide walks you through simple steps, tips, and tricks to get professional-looking results without using a nail gun.
Key Takeaways
- Use the right adhesive: Strong construction adhesive provides a reliable bond without nails.
- Employ finishing nails and a hammer: Small finishing nails can secure baseboards firmly when hammered in carefully.
- Prepare your surfaces: Clean and sand surfaces for better adhesion and a smooth finish.
- Use spacers and clamps: Keep the baseboard in place while the adhesive dries for a perfect fit.
- Fill nail holes and seams: Use wood filler and caulk for a seamless, professional look.
- Take your time: Patience during installation results in a cleaner, more polished appearance.
Introduction
Installing baseboards adds a finishing touch to any room. Usually, a nail gun makes this job quick and easy. But what if you don’t have one? Don’t worry! You can still install baseboards effectively using simple tools and techniques. In this guide, we’ll show you how to install baseboards without a nail gun, step-by-step, with practical tips to help you achieve professional-looking results.
Tools and Materials Needed
- Construction adhesive: Heavy-duty adhesive designed for trim and baseboards
- Finishing nails: Small nails (16- or 18-gauge) for securing the baseboard
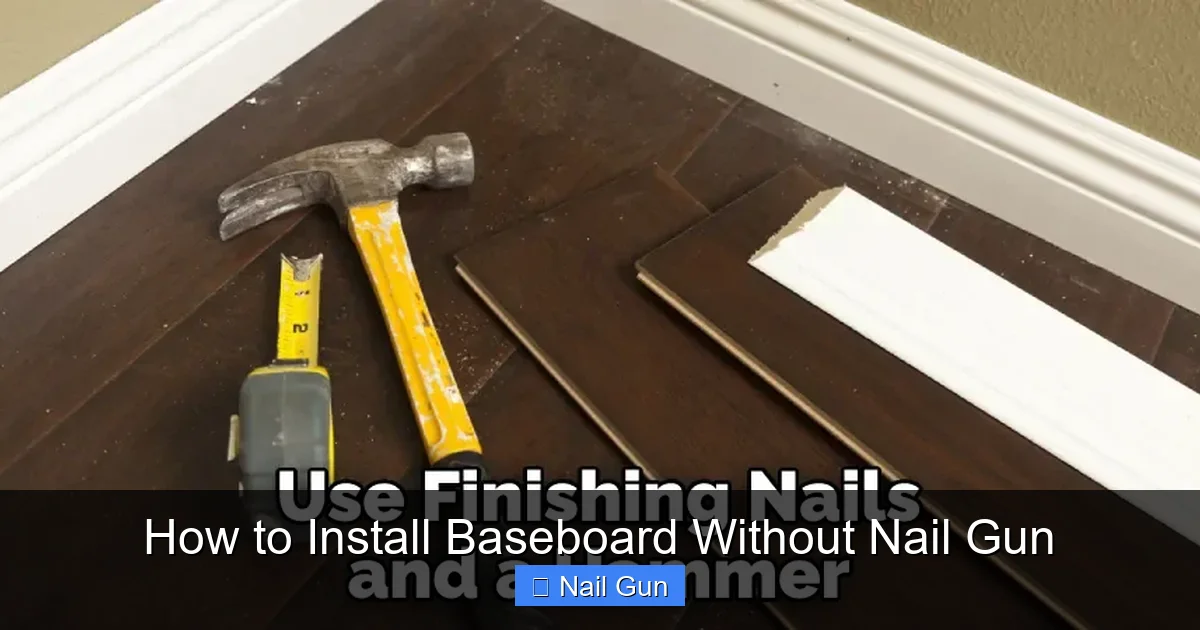
- Hammer or nail punch: For driving nails and finishing nails below the surface
- Measuring tape and pencil: For precise measurements and marking
- Saw (miter or coping saw): To cut baseboards to length and corners
- Level: To ensure the baseboard is straight
- Spacers or shims: To hold the baseboard in place while adhesive dries
- Wood filler and caulk: For filling nail holes and sealing gaps
- Sandpaper: Fine grit for smoothing filled holes
- Paint or stain (optional): To finish the baseboard for a polished look
Step 1: Prepare the Room and Materials
Clear the space
Remove furniture or cover it with drop cloths. Clear the walls for easy access.

Visual guide about How to Install Baseboard Without Nail Gun
Image source: i.ytimg.com
Visual guide about How to Install Baseboard Without Nail Gun
Image source: i0.wp.com
Clean and sand the surface
Wipe down the walls and baseboards area. Lightly sand the wall and floor edges to ensure good adhesion of the adhesive.
Measure and cut the baseboards
Measure each wall carefully. Use a miter saw to cut the baseboards at 45-degree angles for corners, or coping for a seamless look.
Step 2: Mark the Wall and Baseboard Placement
Mark the wall
Use a pencil and level to draw a straight line where the baseboard will sit. This helps keep your installation even and professional-looking.
Cut and dry-fit
Place the cut baseboards against the wall to check fit. Make adjustments if needed before gluing and nailing.
Step 3: Apply Adhesive
Choose the right adhesive
Use a high-quality construction adhesive suitable for trim and baseboards. It provides a strong bond and holds the baseboard in place while you secure it.
Apply the adhesive
Run a continuous bead of adhesive along the back of the baseboard. Focus on the edges and center for even coverage.
Step 4: Position and Secure the Baseboard
Place the baseboard
Press the baseboard firmly against the wall along your marked line. Use spacers or shims if needed to maintain even gaps and to keep it in place.
Secure with finishing nails
Hammer small finishing nails through the baseboard into the wall studs. Place nails every 16-24 inches for stability. Use a nail punch to countersink the nails slightly below the surface.
Step 5: Let the Adhesive Dry
Follow the adhesive manufacturer’s instructions for drying time. Usually, it takes 24 hours to fully cure. Keep the baseboard steady and protected during this period.
Step 6: Fill Gaps, Holes, and Finish
Fill nail holes and seams
Use wood filler to fill nail holes. Once dry, sand smooth for a seamless look.
Seal gaps with caulk
Apply paintable caulk along the top and corners to hide any gaps. Smooth with a damp finger or caulk tool.
Paint or stain
If desired, paint or stain the baseboards for a finished appearance. Allow drying before moving furniture back into the room.
Tips for a Successful Installation
- Measure twice, cut once: Double-check your measurements to avoid mistakes.
- Use quality adhesive: A good adhesive makes a big difference in holding power.
- Work in sections: Apply adhesive and position the baseboard in manageable parts for better control.
- Take your time: Rushing can lead to misalignment or gaps. Patience yields better results.
Troubleshooting Common Issues
Baseboard not sticking properly
Ensure surfaces are clean and dry. Use a stronger adhesive or clamp the baseboard temporarily with spacers until the glue cures.
Nails not holding
Make sure you’re nailing into wall studs. Use a nail punch to sink nails below the surface and fill with wood filler.
Gaps or uneven seams
Use caulk or wood filler to fill gaps. For uneven cuts, re-cut with a miter saw for precision.
Conclusion
Installing a baseboard without a nail gun is straightforward and cost-effective. With the right tools — like strong adhesive, finishing nails, and basic carpentry skills — you can achieve a professional finish. Remember to take your time, measure carefully, and finish with filler and caulk for a seamless look. Happy decorating!
🎥 Related Video: How To Install Baseboard Without a Nail Gun or Fasteners!
📺 The Funny Carpenter
A quick look at how to install baseboards without a nail gun. The process involves using a primary long lasting glue, and quick …