

Installing baseboards without a nail gun is simple and cost-effective. This guide shows you how to securely attach baseboards using common tools like a hammer, nails, and adhesive. You’ll learn practical tips for a clean, professional look without needing specialized equipment.
Key Takeaways
- Method Flexibility: You can install baseboards without a nail gun using traditional tools like a hammer and nails.
- Preparation is Key: Measure, mark, and cut baseboards accurately for a perfect fit.
- Adhesive Helps: Using construction adhesive can reduce the number of nails needed and improve stability.
- Proper Nail Placement: Nail into studs or wall anchors for a secure attachment.
- Finish Neatly: Fill nail holes with putty and sand for a smooth, professional appearance.
- Patience Matters: Take your time to ensure precise cuts and secure fastening for the best results.
Introduction
Installing baseboards can instantly upgrade the look of a room. While many choose a nail gun for speed and ease, it’s entirely possible to do it without one. Whether you don’t have a nail gun or prefer a more hands-on approach, this guide will teach you how to install baseboards using simple tools. You’ll learn how to measure, cut, attach, and finish baseboards for a professional look—no nail gun required.
Tools and Materials Needed
- Measuring tape
- Pencil
- Saw (miter saw or hand saw)
- Hammer
- Finishing nails (1.25 to 2 inches long)
- Nail set (to countersink nails)
- Construction adhesive (optional but recommended)
- Putty or wood filler
- Sanding block or fine-grit sandpaper
- Level (optional)
- Ladder or step stool
- Clamps (optional)
Step 1: Measure and Plan
Accurate Measurement
Begin by measuring the length of each wall where you plan to install baseboards. Use a tape measure and note down measurements carefully. Remember to account for doorways, windows, and corners.
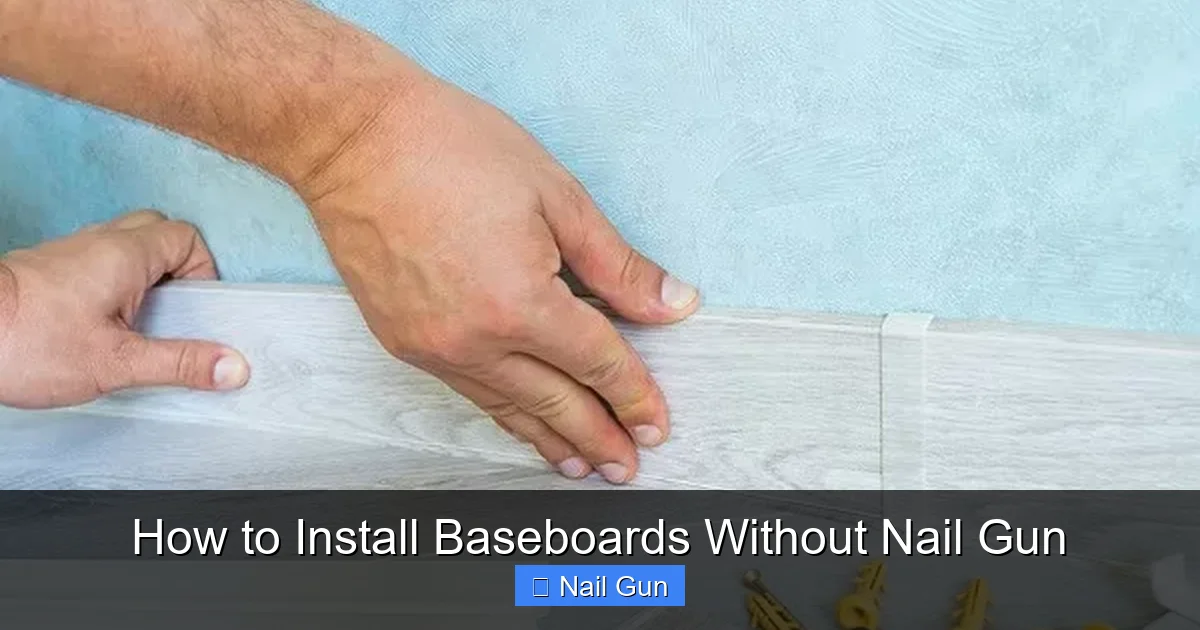
Visual guide about How to Install Baseboards Without Nail Gun
Image source: toolsframe.com

Visual guide about How to Install Baseboards Without Nail Gun
Image source: diy.sndimg.com
Plan Your Cuts
Plan to cut your baseboards at 45-degree angles where walls meet for a professional corner. For straight runs, a simple cut at 90 degrees will do. Mark your measurements clearly on the boards.
Step 2: Cut the Baseboards
Using a Saw
Use a miter saw or hand saw to cut the baseboards to the measured lengths. Set the saw to 45 degrees for corner joints. Always double-check your measurements before cutting to avoid mistakes.
Tip: For inside corners, cut the ends at 45-degree angles that fit together neatly. For outside corners, do the same but mirror the angles accordingly.
Step 3: Prepare the Wall and Baseboards
Clean the Surface
Ensure the wall surface is clean, dry, and free of dust. This helps the adhesive bond well and nails to hold securely.
Test Fit
Before attaching, hold the baseboards in place to check fit and make adjustments if needed.
Step 4: Attach the Baseboards
Apply Adhesive
Run a thin bead of construction adhesive along the back of the baseboard. This helps secure the board and reduces the number of nails needed.
Position and Secure
Press the baseboard firmly against the wall. Use a level to ensure it’s straight. If needed, clamp the board to hold it in place while the adhesive sets.
Nailing
Hammer finishing nails into the wall, aiming for studs or wall anchors for maximum hold. Space nails about 16 inches apart. Use a nail set to sink the nails slightly below the surface.
Step 5: Finishing Touches
Fill Nail Holes
Use putty or wood filler to cover nail holes and any gaps. Allow it to dry according to product instructions.
Sanding and Painting
Smooth the filled areas with fine-grit sandpaper. Paint or touch up the baseboards for a clean, finished look.
Additional Tips for Success
- Use a level: Ensures your baseboards are perfectly horizontal.
- Work in sections: Tackling one wall at a time prevents mistakes and makes the process manageable.
- Be patient: Take your time measuring, cutting, and nailing for best results.
- Secure with clamps: Clamps can hold the baseboard in place while the adhesive dries, especially on uneven surfaces.
Troubleshooting Common Issues
- Baseboard not flush against the wall: Adjust by sanding or adding shims behind the board.
- Nails popping out: Ensure nails are driven into studs or wall anchors. Use longer nails if necessary.
- Gaps at corners: Cut precise miter joints and fill gaps with caulk or wood filler.
Conclusion
Installing baseboards without a nail gun is straightforward and affordable. With patience, proper tools, and a little craftsmanship, you can achieve a polished, professional finish. Remember to measure carefully, cut accurately, and secure your baseboards properly. Soon, your room will look fresh and finished—no special equipment needed!
Happy DIYing!
🎥 Related Video: How To Install Baseboard Without a Nail Gun or Fasteners!
📺 The Funny Carpenter
A quick look at how to install baseboards without a nail gun. The process involves using a primary long lasting glue, and quick …