

Installing door trim without a nail gun is completely doable with the right tools and techniques. This guide walks you through each step to help you achieve a professional look using common tools like a hammer, finish nails, and adhesive. Whether you’re a beginner or just want a simpler method, you’ll find practical tips to make the job easier and cleaner.
Key Takeaways
- Use Finish Nails and a Hammer: Finish nails are ideal for trim installation, and a hammer provides control and precision.
- Apply Construction Adhesive: Strong adhesive helps secure the trim in place, reducing the need for excessive nailing.
- Prepare Your Surface: Clean and sand the wall and trim surfaces for better adhesion and a smooth finish.
- Use Painter’s Tape: Tape the trim temporarily to hold it in place while the adhesive sets.
- Work Carefully and Measure Precisely: Accurate measurements and gentle hammering prevent damage and ensure a perfect fit.
- Finish with Caulk and Paint: Seal gaps with caulk for a polished look, then paint or stain as desired.
Introduction
Installing door trim enhances the look of any room. Traditionally, many use a nail gun for quick and easy installation. But what if you don’t have one or prefer a more hands-on approach? Don’t worry! You can successfully install door trim without a nail gun. With some basic tools, patience, and a little know-how, you’ll have beautiful finished edges in no time. This guide provides simple, step-by-step instructions to help you do just that.
Tools and Materials Needed
- Finish nails (16 or 18 gauge)
- Hammer
- Construction adhesive (like Liquid Nails or Loctite Power Grab)
- Measuring tape
- Pencil or painter’s chalk
- Level or straightedge
- Painter’s tape
- Caulk and caulk gun
- Paint or stain (optional)
- Sandpaper or sanding block
- Safety glasses and gloves (for safety)
Step 1: Measure and Plan
Measure Your Door Frame
Start by measuring the width and height of your door frame. Decide how much trim you want to install on each side and top. Use a measuring tape for accuracy.
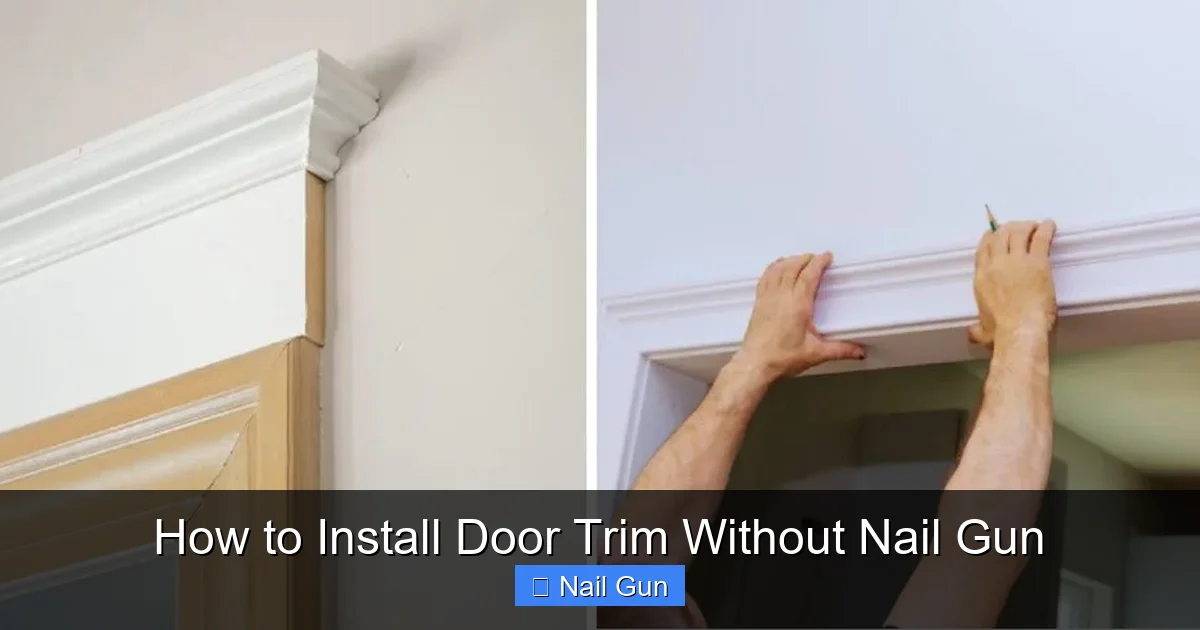
Visual guide about How to Install Door Trim Without Nail Gun
Image source: woodfixes.com
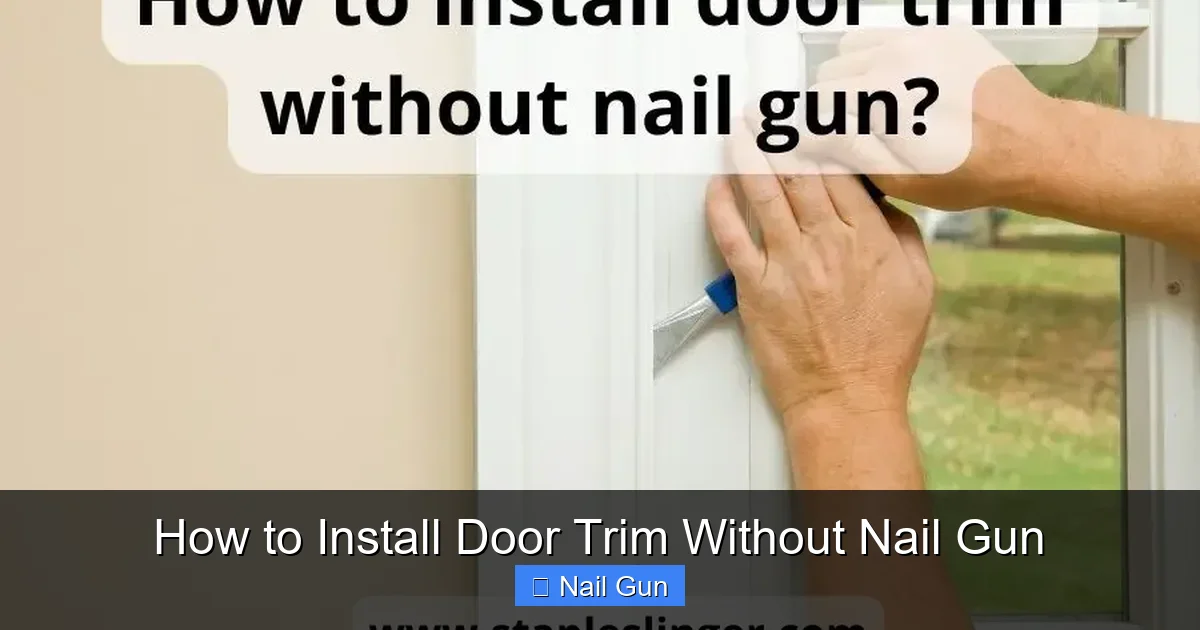
Visual guide about How to Install Door Trim Without Nail Gun
Image source: stapleslinger.com
Cut the Trim to Length
Use a miter saw or hand saw to cut the trim pieces to the correct length. For corners, cut at a 45-degree angle to create a clean joint.
Plan Your Layout
Lay out the trim pieces on the floor to visualize the final look. Mark the wall and trim for precise placement.
Step 2: Prepare Your Surface
Clean the Wall and Trim
Remove any dust, dirt, or loose paint. A clean surface helps the adhesive bond better and prevents gaps or wobbling.
Sanding the Surface
If the wall or trim has rough spots, lightly sand them for a smooth surface. This step improves adhesion and gives a professional finish.
Step 3: Position and Tape the Trim
Hold the Trim in Place
Position the trim against the wall, aligning it properly. Use a level to ensure it’s straight.
Use Painter’s Tape
Temporarily tape the trim to the wall. This keeps it steady while the adhesive sets. Be gentle to avoid damaging the wall or trim.
Step 4: Apply Construction Adhesive
Apply Adhesive to the Back of the Trim
Squeeze a continuous bead of construction adhesive onto the back of the trim. Focus on the edges and center for even coverage.
Press the Trim into Place
Carefully lift the taped trim and press it firmly against the wall. Use your hands to ensure good contact. Wipe away any excess adhesive immediately with a damp cloth.
Step 5: Secure with Finish Nails
Nail the Trim in Place
Using a hammer, gently drive finish nails through the trim into the wall studs. Place nails about every 16 inches along the length. Don’t hammer too hard to avoid splitting the wood.
Hide the Nail Holes
Once all nails are in place, fill the nail holes with wood filler or caulk. Sand smooth once dry for a seamless finish.
Step 6: Let the Adhesive Cure
Follow the manufacturer’s instructions for drying time, typically 24 hours. Avoid touching or disturbing the trim during this period.
Step 7: Finish and Paint
Caulk Gaps and Joints
Apply painter’s caulk along any gaps between the wall and trim. Smooth with a damp finger or caulk tool for a neat finish.
Paint or Stain
Once everything is dry and smooth, paint or stain the trim for a polished look. Use a small brush for edges and details.
Additional Tips for Success
- Measure Twice, Cut Once: Accurate measurements prevent waste and misalignment.
- Use Quality Tools: Good nails and a sharp saw make a difference.
- Work Slowly and Carefully: Rushing can lead to mistakes or damage.
- Test Fit: Always dry-fit your trim before applying adhesive or nails to check measurements and fit.
Troubleshooting Common Problems
- Trim Doesn’t Sit Flat: Check for warping. Sand or replace if necessary.
- Nails Split the Wood: Use thinner nails or pre-drill holes to prevent splitting.
- Adhesive Not Holding: Ensure surfaces are clean and dry. Use enough adhesive and clamp if needed.
- Gaps or Uneven Joints: Fill with caulk or wood filler, then sand smooth before painting.
Conclusion
Installing door trim without a nail gun is a practical and achievable project. With patience, proper tools, and careful planning, you can get professional-looking results. Remember to measure accurately, prepare your surfaces, and secure the trim with adhesive and nails. This method is cost-effective, less noisy, and perfect for DIY enthusiasts looking to improve their home’s appearance. Happy trimming!
FAQs
Can I install door trim without a nail gun?
Yes, you can install door trim without a nail gun by using finish nails and a hammer along with adhesive. This method is perfect for small projects or if you don’t own a nail gun.
What type of nails should I use?
Use 16 or 18 gauge finish nails. They are strong enough to hold the trim securely and are less visible once nailed in and filled.
How long does it take for the adhesive to dry?
Most construction adhesives need about 24 hours to cure fully. Follow the manufacturer’s instructions for best results.
Can I paint over the trim immediately after installation?
Wait until all adhesive and filler are fully dry and sanded smooth. Then, you can paint or stain the trim for a professional finish.
What if the trim warps or doesn’t sit flat?
Check for warping or defects in the wood. Sand or replace warped pieces. Using a level during installation helps prevent this issue.
Is it necessary to use painter’s tape?
Using painter’s tape helps hold the trim in place temporarily and prevents damage to the wall or trim during the setting process.
🎥 Related Video: How to Install Door/Window Trim: 18 and 16 Gauge Nailer Techniques #diy #shorts #constructiontips
📺 Dan The Carpenter Man
Don’t make the mistake of using a single nail gauge for your door or window trim! Follow the proper installation process and opt …