

Installing molding without a nail gun is achievable with the right tools and techniques. In this guide, you’ll learn step-by-step methods to attach molding securely using traditional tools, ensuring a professional finish without a nail gun.
Key Takeaways
- Use appropriate adhesives: Construction adhesives can securely bond molding to walls and ceilings.
- Hand tools matter: Hammer, nails, and finishing tools are essential for a nail gun-free installation.
- Proper measuring: Accurate measurements ensure perfect fitting and minimize adjustments later.
- Preparation is key: Clean surfaces and pre-cut molding for a smooth installation process.
- Use finishing techniques: Fill nail holes and sand for a seamless look after installation.
- Practice safety: Handle tools carefully to avoid injuries during the project.
Introduction
Installing molding adds elegance and character to any room. While many people opt for a nail gun for speed and ease, it’s not the only way. If you don’t have a nail gun or prefer a more traditional approach, don’t worry. You can successfully install molding using basic hand tools, adhesives, and a bit of patience. In this comprehensive guide, you’ll learn how to install molding without a nail gun step-by-step, ensuring a professional-looking finish.
Tools and Materials Needed
- Measuring tape: For precise measurements.
- Hammer and nails: Finish or brad nails work best.
- Adhesive: Construction adhesive or glue designed for trim work.
- Saw: Miter saw or hand saw for cutting molding at angles.
- Level and square: To ensure straight, even installation.
- Pencil: For marking measurements and cut lines.
- Putty or wood filler: To hide nail holes and imperfections.
- Sandpaper or sanding block: For smoothing filled areas.
- Clamps or painter’s tape: To hold molding while glue dries.
Step 1: Plan and Measure
Assess the Space
Before starting, decide where you want to install the molding—baseboards, crown molding, or chair rails. Measure the length of each wall or section carefully.
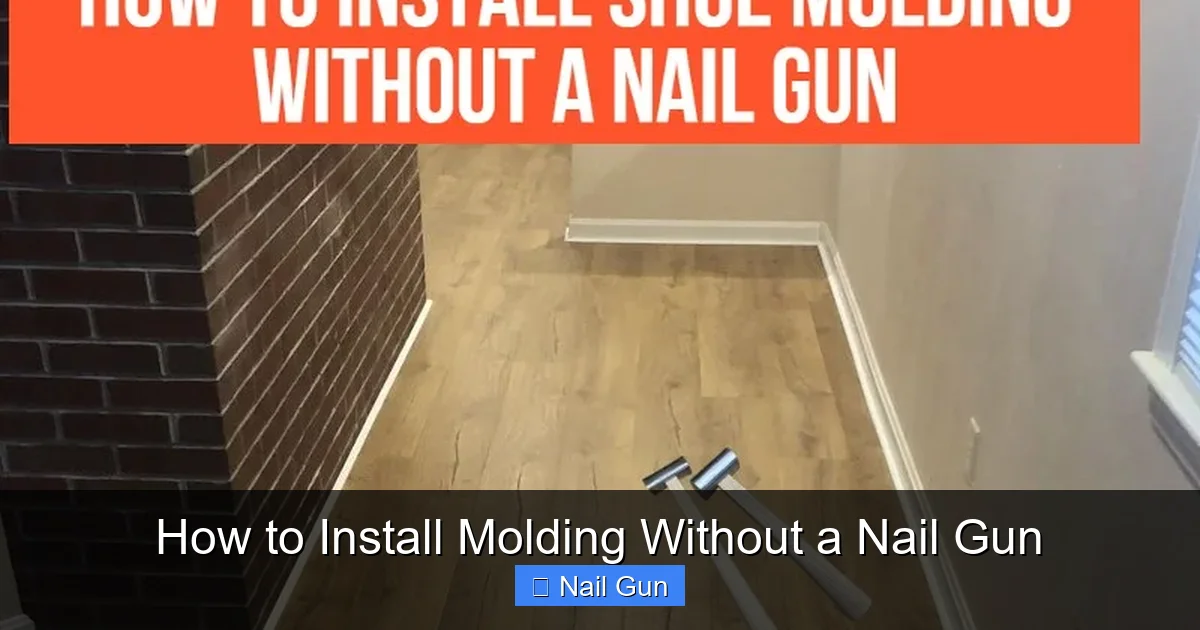
Visual guide about How to Install Molding Without a Nail Gun
Image source: ownthetools.com
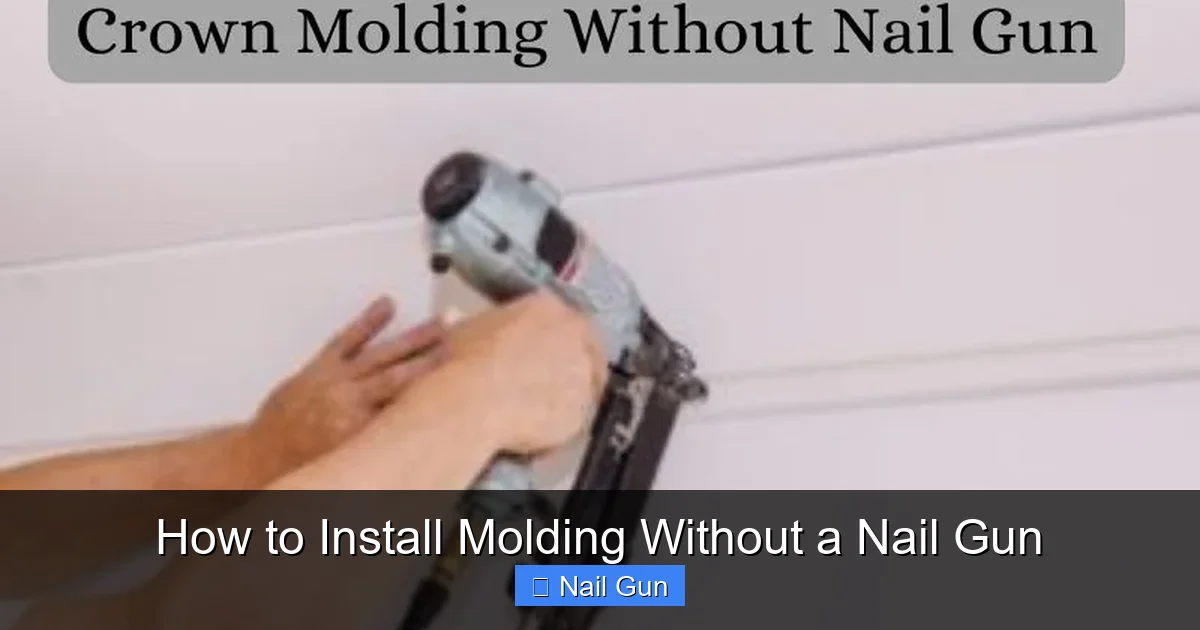
Visual guide about How to Install Molding Without a Nail Gun
Image source: ownthetools.com
Mark Your Measurements
Use a pencil and measuring tape to mark where each piece of molding will go. Remember to measure twice to avoid mistakes. Consider adding a few extra inches to each piece for cuts and adjustments.
Step 2: Cut the Molding
Prepare Your Saw
Use a miter saw or hand saw to cut the molding at the correct angles, especially for corners. Typically, 45-degree angles work well for corners, but measure your space carefully.
Make Accurate Cuts
Mark your cuts clearly with a pencil. For corners, cut each piece at a 45-degree angle to ensure they fit together tightly. Dry-fit pieces before gluing or nailing to check the fit.
Step 3: Apply Adhesive
Choose the Right Glue
Use a strong construction adhesive suitable for trim and wall surfaces. Read the manufacturer’s instructions for application tips.
Apply the Adhesive
Run a bead of adhesive along the back of the molding. Be careful not to use too much—excess glue can ooze out and create a mess.
Step 4: Position and Attach the Molding
Set the Molding in Place
Press the molding firmly against the wall or ceiling, aligning it with your measurements and markings. Use a level to ensure it’s straight.
Secure with Nails
Using a hammer, gently nail the molding into the wall studs or drywall. Place nails about every 16-24 inches for stability. Countersink the nails slightly below the surface for easy finishing.
Step 5: Hold and Let Adhesive Dry
Use Clamps or Tape
If needed, hold the molding in place with clamps or painter’s tape while the adhesive dries. Follow the adhesive manufacturer’s recommended drying time, usually 24 hours.
Step 6: Finish the Installation
Fill Nail Holes and Gaps
Once the adhesive is dry, fill nail holes with wood filler or putty. Smooth with a putty knife and let it dry.
Sand and Smooth
Sand the filled areas lightly until smooth. Wipe away dust with a damp cloth.
Paint or Finish
If desired, paint or stain the molding for a finished look. Use painter’s tape to protect adjacent surfaces.
Tips for Success
- Measure twice, cut once: Accurate measurements save time and materials.
- Use quality adhesive: High-quality glue ensures a strong bond.
- Dry fit first: Test pieces before gluing or nailing.
- Work in sections: Focus on small areas to maintain control.
- Be patient: Allow proper drying time for the best results.
Troubleshooting Common Issues
- Gaps between molding and wall: Use shims or additional adhesive to fill gaps before nailing.
- Weak adhesion: Ensure surfaces are clean and dry before applying glue.
- Cracked or split molding: Use gentle taps with the hammer and pre-drill nail holes to prevent splitting.
Conclusion
Installing molding without a nail gun is entirely doable with patience and the right tools. By measuring carefully, using quality adhesives, and securing the molding properly, you can achieve a professional finish. This method is cost-effective and ideal for DIY projects or situations where a nail gun isn’t available. Now, you’re ready to add that beautiful trim to your space—happy decorating!
🎥 Related Video: You may avoid placing nails on the baseboards by utilizing this trick! 🙅♂️ – Basic Construction
📺 Basic Construction
You may avoid placing nails on the baseboards by utilizing this trick! ♂️ – Basic Construction …