

If your cordless drill is running out of power too quickly, upgrading to new lithium batteries can make a huge difference. You might think installing these batteries is tricky, but it’s actually simple when you know the right steps.
In this guide, you’ll learn exactly how to replace your old batteries safely and quickly. By the end, your drill will feel like new—more powerful, longer-lasting, and ready for any project. Keep reading to discover how easy it is to give your drill the boost it needs.
Tools Needed
Installing new lithium batteries in a cordless drill requires some basic tools. Having the right tools ready makes the process safe and easy. This section lists all the essential tools you need before starting.
Screwdriver Set
A screwdriver set is necessary to open the battery compartment. Most cordless drills use Phillips or flathead screws. Choose the correct size to avoid stripping the screws.
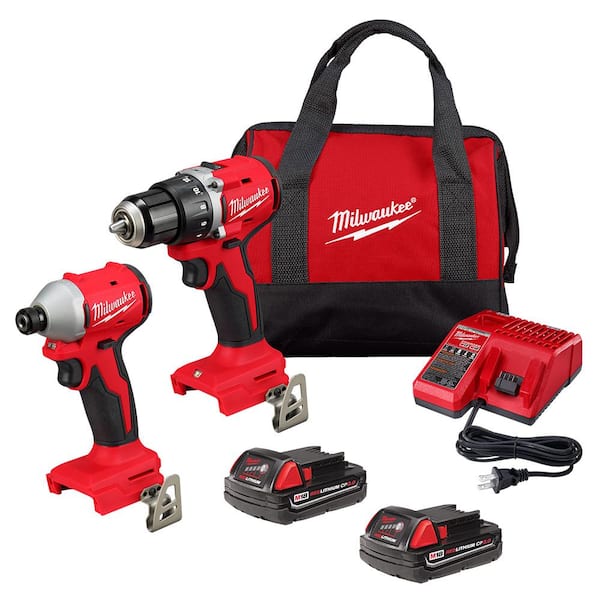
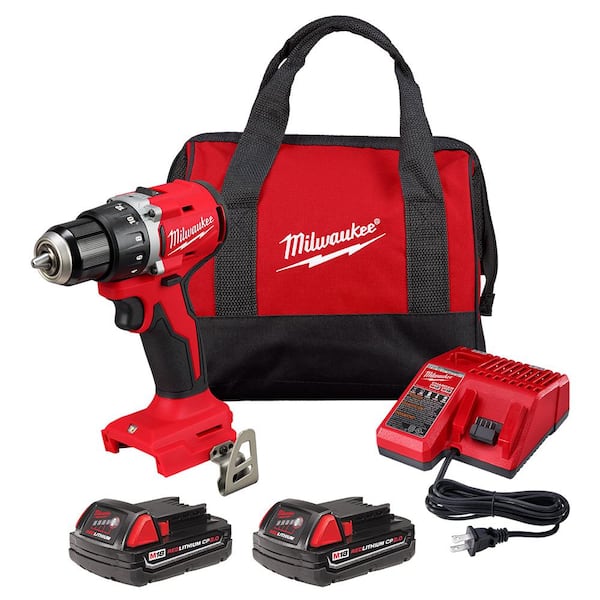
Replacement Lithium Battery
Use a battery compatible with your drill model. Check the voltage and size to ensure a proper fit. Genuine or high-quality batteries last longer and perform better.
Protective Gloves
Wear gloves to protect your hands during the installation. Lithium batteries can be sensitive to static electricity. Gloves also prevent cuts from sharp edges inside the drill.
Clean Cloth
A clean cloth helps wipe dust and dirt from the battery contacts. Clean contacts improve the connection and battery performance. Use a dry cloth to avoid moisture damage.
Multimeter (optional)
A multimeter can check the battery voltage before and after installation. It helps ensure the battery is charged and working correctly. This tool is useful but not required for all users.
Credit: www.homedepot.com
Safety Tips
Installing new lithium batteries in a cordless drill requires care and attention. Safety tips help prevent accidents and damage. Follow these steps for a safe battery change.
Wear Protective Gear
Always wear safety glasses and gloves. Batteries can leak or spark during installation. Protect your eyes and hands from possible harm.
Work In A Well-ventilated Area
Choose a space with good airflow. Lithium batteries may release fumes if damaged. Ventilation keeps the air fresh and safe.
Check Battery Compatibility
Use only batteries made for your drill model. Wrong batteries can cause overheating or failure. Read the manual to confirm compatibility.
Avoid Short Circuits
Do not touch battery terminals with metal objects. Short circuits can cause sparks or fire. Handle the battery carefully and keep tools away.
Turn Off The Drill
Make sure the drill is off before removing the battery. This prevents accidental starts and electric shock. Remove the battery with the drill powered down.
Inspect Batteries For Damage
Look for cracks, leaks, or swelling. Do not use damaged batteries. Dispose of them safely according to local rules.
Store Batteries Properly
Keep batteries in a cool, dry place away from metal. Avoid extreme heat or cold. Proper storage extends battery life and safety.
Removing Old Battery
Removing the old battery is the first step in installing a new lithium battery in your cordless drill. This process is simple but important for safety and proper function. Taking out the old battery carefully helps avoid damage to your drill and ensures the new battery fits well.
Follow these steps to remove the old battery easily. Keep your workspace clean and dry. Make sure the drill is off before starting. This prevents any accidental power issues.
Locate The Battery Release Button
Most cordless drills have a release button near the battery. This button locks the battery in place. Find this button on your drill to begin removing the battery.
Press And Hold The Release Button
Press the release button firmly. Hold it down to unlock the battery. You may need to use your thumb or fingers for a good grip.
Slide Out The Old Battery
While holding the release button, pull the battery out. Slide it away from the drill body. The battery should come out smoothly without force.
Check For Any Damage
Inspect the battery and the drill’s battery compartment. Look for cracks, dirt, or corrosion. Clean gently if needed before inserting the new battery.

Credit: www.youtube.com
Selecting The Right Battery
Selecting the right battery for your cordless drill is crucial. It affects the drill’s performance and how long it runs. Picking a wrong battery can cause problems or damage the tool. Understanding key factors helps you choose wisely.
Battery Compatibility
Check the drill’s manual for battery type recommendations. Each drill model supports specific battery shapes and sizes. Using the wrong battery may not fit or power the drill. Stick to the brand and model suggested. This ensures safe and efficient operation.
Voltage And Capacity
Voltage measures the power output of the battery. Higher voltage means more power and stronger drilling. Match the voltage with your drill’s requirements. Capacity, shown in amp-hours (Ah), tells how long the battery lasts. Larger capacity means longer use between charges. Balance voltage and capacity for best results.
Installing The New Battery
Installing a new lithium battery in your cordless drill is simple. Doing it right ensures the drill works well and lasts longer. Follow clear steps to place the battery correctly and keep it secure during use.
Aligning The Battery
Start by checking the battery slot on the drill. Match the battery connectors with the drill’s contacts. The battery should fit straight without forcing. Make sure the battery slides smoothly into place. Proper alignment helps the drill get power safely.
Securing The Battery
Once aligned, push the battery until it clicks. The click means the battery locks in place. Do not leave the battery loose or it might fall out. Some drills have a release button to remove the battery. Always ensure the battery is firmly secured before use.
Charging The Battery
Charging the battery is a key step when installing new lithium batteries in a cordless drill. Proper charging ensures the battery works well and lasts longer. Understanding the right way to charge helps avoid damage and keeps the drill ready for use.
Initial Charge
New lithium batteries need a full initial charge before use. Connect the battery to the charger and plug it into a power source. Allow it to charge until the indicator shows it is full. This first charge sets the battery’s capacity for better performance.
Do not use the battery during this initial charging. Interrupting the process may reduce battery life. Wait until it reaches 100 percent charge before removing it from the charger.
Charging Tips
Always use the charger that came with your drill. Different batteries need specific chargers to work safely. Avoid using damaged or incompatible chargers to prevent problems.
Charge the battery in a cool, dry place. High temperatures can harm the battery and reduce its lifespan. Keep the battery away from direct sunlight and moisture during charging.
Do not overcharge the battery. Most modern chargers stop automatically when full. Still, unplug the charger once charging ends to save energy and protect the battery.
Testing The Drill
Testing the drill after installing new lithium batteries is important. It helps confirm the battery works well and the drill runs smoothly. This step ensures safety and saves time before starting any project.
Check Battery Connection
First, make sure the battery fits tightly in its slot. A loose connection may stop the drill from working. Push the battery until you hear a click or feel it lock in place.
Power On The Drill
Press the power button or trigger gently. Watch if the drill starts without delay. A slow start might mean the battery is not fully charged or connected properly.
Test Speed Settings
Try different speed settings if your drill has them. The drill should change speed smoothly. This shows the battery can handle various power needs.
Run A Short Drill Test
Use the drill on a scrap piece of wood or plastic. Check if it drills without stopping or losing power. Listen for unusual sounds that may indicate a problem.
Credit: www.homedepot.com
Maintaining Battery Health
Maintaining the health of your new lithium batteries is crucial for long-lasting performance. Proper care helps keep the battery strong and reliable. It also prevents early wear and tear. This section covers simple ways to store and use your batteries effectively.
Storage Tips
Store lithium batteries in a cool, dry place. Avoid places with high heat or moisture. Extreme temperatures can damage the battery cells. Remove the battery from the drill if you do not plan to use it for a long time. Keep the battery charge at about 40-60% before storing. This level helps preserve battery life. Use a plastic case or cover to protect the battery from dust and dirt.
Usage Practices
Use the battery regularly to keep it active. Avoid running it completely empty before charging. Partial discharge is better for lithium batteries. Charge the battery fully but do not overcharge it. Stop charging once the battery reaches 100%. Avoid using the drill in very hot or very cold conditions. Let the battery cool down if it feels hot after use. Following these steps keeps the battery healthy and efficient.
Frequently Asked Questions
How Do I Remove Old Batteries From A Cordless Drill?
To remove old batteries, first turn off the drill. Press the release button near the battery. Slide the battery out gently. Avoid using excessive force to prevent damage.
What Safety Precautions Are Needed When Installing Lithium Batteries?
Always wear safety gloves and eye protection. Ensure the drill is off and unplugged. Handle batteries carefully to avoid short circuits or damage.
How Can I Ensure The New Lithium Battery Fits Correctly?
Check the battery model matches your drill’s specifications. Align the terminals properly before inserting. The battery should slide in smoothly without resistance.
How Long Does It Take To Fully Charge A New Lithium Battery?
Charging time varies but typically takes 1 to 3 hours. Use the manufacturer’s charger for best results. Avoid overcharging to prolong battery life.
Conclusion
Installing new lithium batteries in your cordless drill is simple and quick. Start by removing the old battery safely. Then, slide the new battery into place until it clicks. Test the drill to ensure it powers up correctly. Taking these steps helps your drill work better and last longer.
Regular battery replacement keeps your tools ready for any job. Remember to handle batteries carefully and follow safety tips. Now, your drill is ready to help with all your projects.