

Installing shiplap without a nail gun is possible and straightforward. In this guide, you’ll learn step-by-step methods to secure shiplap using alternative fasteners like nails, screws, or adhesive, giving your space a stylish upgrade without special tools.
Key Takeaways
- Use traditional nails or screws: These are effective alternatives to nail guns for securing shiplap panels.
- Apply construction adhesive: Combining adhesive with nails or screws provides extra hold and a cleaner look.
- Pre-drill holes: Pre-drilling prevents wood from splitting and makes screwing easier.
- Work with a helper: Installing shiplap can be easier with an extra set of hands for holding panels in place.
- Start from a level line: Mark a straight guide at the top of your wall for perfect alignment.
- Finish with caulk and paint: Sealing gaps and painting gives a professional, seamless appearance.
Introduction
Installing shiplap is a popular way to add character and charm to walls. Usually, many DIYers opt for a nail gun to speed up the process. But what if you don’t have one or prefer not to use one? No worries! You can successfully install shiplap without a nail gun using basic tools and some patience. This guide will walk you through the entire process, from prepping your space to finishing touches, all while ensuring your shiplap is securely installed and looks fantastic.
Gather Your Tools and Materials
Before starting, gather everything you’ll need:

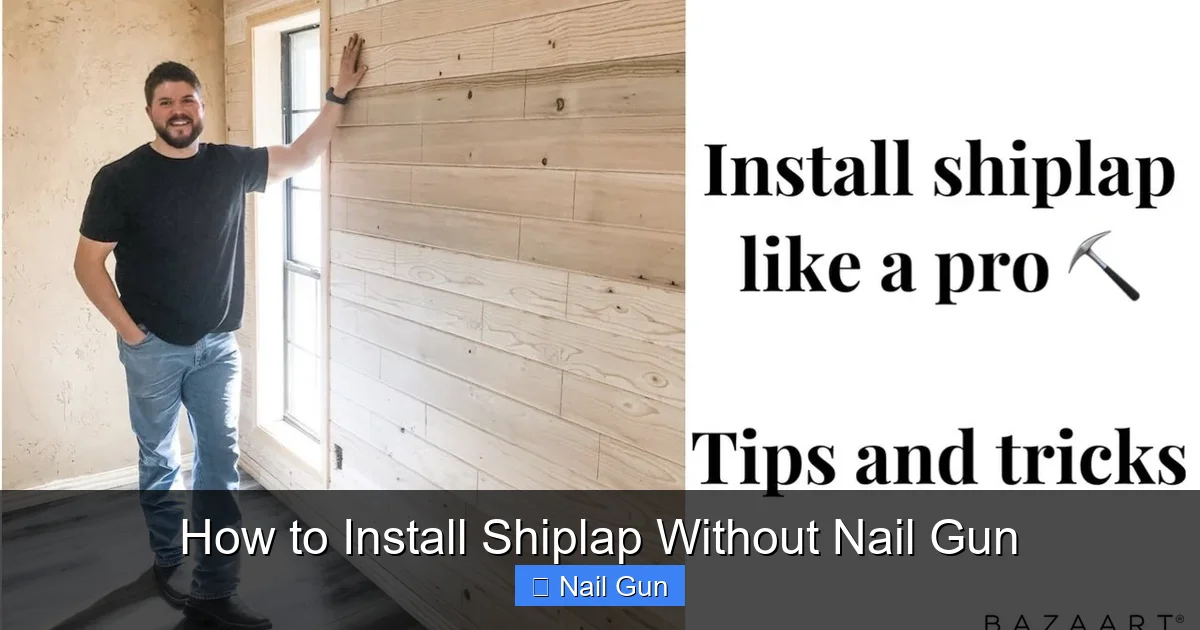
Visual guide about How to Install Shiplap Without Nail Gun
Image source: i.pinimg.com
- Measuring tape and level
- Stud finder
- Hammer and screwdriver or drill
- Finish nails or wood screws
- Construction adhesive (optional but recommended)
- Pre-drilled shiplap panels
- Caulk and paint (for finishing)
- Safety glasses and gloves
- Clamps or spacers (optional)
While a nail gun is not required, having the right fasteners and tools makes the job easier and ensures a professional look.
Step 1: Prepare the Wall
Clear and Clean
Remove furniture, outlets, and switch covers. Clean the wall surface thoroughly to remove dust and grease.
Visual guide about How to Install Shiplap Without Nail Gun
Image source: i.ytimg.com
Find Wall Studs
Use a stud finder to locate the studs. Mark their positions lightly with a pencil. This will help you secure shiplap firmly and prevent splitting.
Plan Your Layout
Decide on the starting point. Usually, it’s best to begin at a corner or from a straight, level line at the top of the wall.
Step 2: Mark a Level Line
Use a level and pencil to draw a straight line across the wall at your desired height. This will serve as a guide to keep your shiplap panels even and straight.
Tip: Use painter’s tape as a temporary guide for increased visibility.
Step 3: Cut and Prepare Shiplap Panels
Measure and Cut
Measure your wall height and cut shiplap panels accordingly. Use a saw suitable for wood, like a circular saw or miter saw. Remember to account for spacing or gaps if you want a particular look.
Pre-drill Holes
Pre-drill holes in the tongue side of each panel to prevent splitting. Place the holes about 1-2 inches from the edges and every 16-24 inches along the panel.
Step 4: Attach the Shiplap
Apply Construction Adhesive (Optional)
For extra hold, run a thin bead of construction adhesive along the back of each panel. This helps secure the shiplap and reduces the need for excessive nailing or screwing.
Secure with Nails or Screws
- Start at the top corner or your marked line.
- Hold the panel in place, aligning it with the level line.
- Using a hammer and finishing nails or a screwdriver/drill with appropriate screws, attach the panel to the wall at stud locations.
- Drive nails or screws through the tongue of the shiplap, which helps hide fasteners once installed.
- Place fasteners about 16 inches apart, ensuring each panel is firmly secured to studs.
Join the Panels
Fit the tongue of one panel into the groove of the previous panel. Use a rubber mallet if needed to gently tap panels into place for a snug fit.
Step 5: Continue Installing Panels
Repeat the process, working row by row. Use spacers or shims if you want a consistent gap or spacing between panels.
Ensure each panel is level and securely attached. Check frequently with your level to maintain straight lines.
Step 6: Finish the Edges and Gaps
Once all panels are installed, inspect for gaps or uneven edges. Fill gaps with caulk for a seamless look.
If needed, sand any rough edges or protruding fasteners for a smooth finish.
Apply paint or stain as desired to match your decor. Use a brush or roller for even coverage.
Troubleshooting Tips
- Splitting wood: Always pre-drill holes and avoid over-tightening screws or nails.
- Panels not aligning: Double-check your level line and use spacers to maintain consistent gaps.
- Fasteners showing: Conceal with wood filler or paint, or hide behind tongue-and-groove design.
Conclusion
Installing shiplap without a nail gun is entirely doable with basic tools, patience, and attention to detail. By using nails, screws, and adhesive, you can achieve a professional-looking shiplap wall that enhances your space. Remember to plan carefully, measure accurately, and take your time for the best results. Happy DIY-ing!