

Loading a Banks nail gun correctly is essential for safe and efficient operation. This guide walks you through each step, from safety precautions to troubleshooting common issues. Whether you’re a beginner or seasoned pro, you’ll find practical tips to ensure smooth loading and optimal performance.
Key Takeaways
- Safety first: Always disconnect the nail gun from power or air supply before loading.
- Choose the right nails: Use nails compatible with your Banks nail gun model for proper fit and function.
- Open the magazine: Follow specific steps to safely access the magazine for loading.
- Load nails properly: Place nails correctly to avoid jams and ensure smooth firing.
- Close and secure: Make sure the magazine is securely closed before use.
- Test before use: Test the nail gun on scrap material to confirm proper loading and operation.
- Troubleshoot jams: Learn how to clear jams safely to keep your project moving smoothly.
How to Load a Banks Nail Gun
If you’re tackling a project that involves framing, fencing, or other heavy-duty construction tasks, a Banks nail gun can be your best friend. These powerful tools help you complete work faster and with less effort. But like any tool, proper loading is crucial for safety and performance. In this guide, you’ll learn how to load a Banks nail gun step-by-step, ensuring you’re ready to work efficiently and safely.
Understanding Your Banks Nail Gun
Before diving into the loading process, it’s important to understand your specific Banks nail gun model. Most models use a magazine that holds the nails, which are driven into material using compressed air or electricity. Always consult your user manual for model-specific instructions, but the general process remains similar across most Banks nail guns.
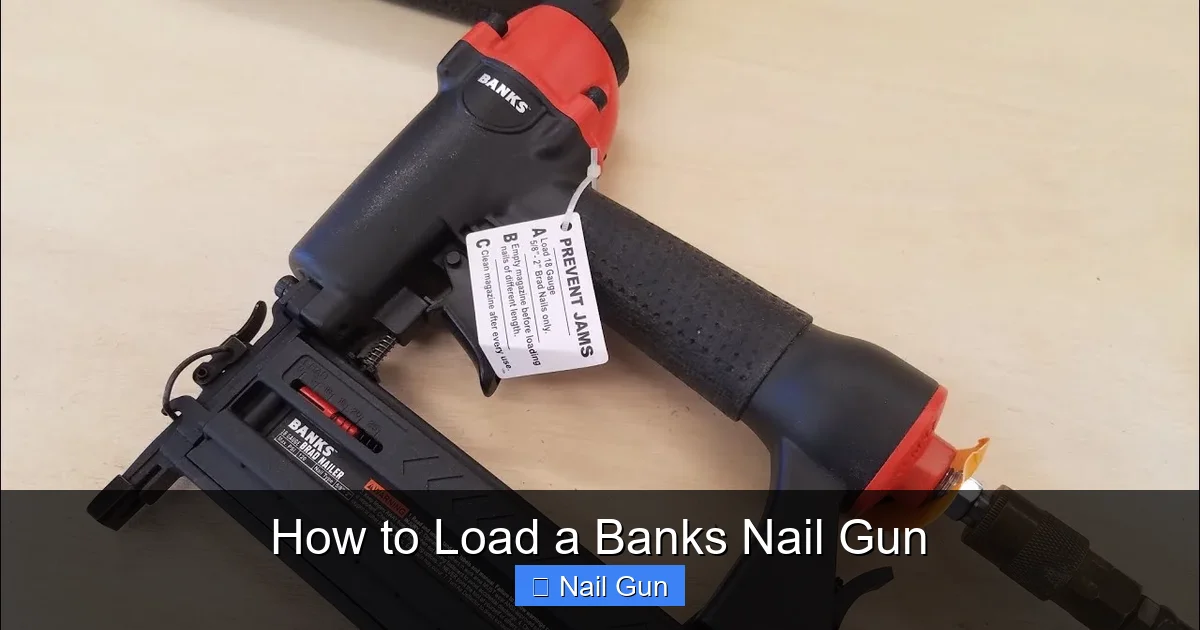
Visual guide about How to Load a Banks Nail Gun
Image source: i.ytimg.com
Safety Precautions Before Loading
Safety is paramount when handling power tools. Follow these precautions:
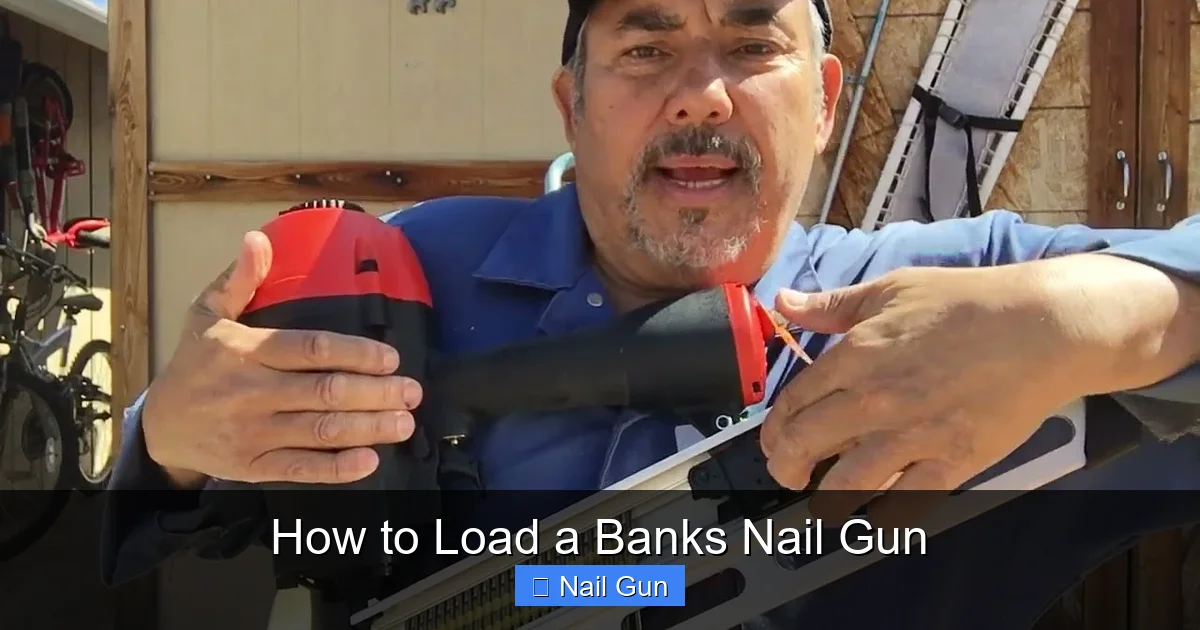
Visual guide about How to Load a Banks Nail Gun
Image source: i.ytimg.com
- Disconnect power or air supply: Always disconnect the nail gun from its power source before loading to prevent accidental firing.
- Wear safety gear: Use safety glasses and gloves to protect yourself from potential injuries.
- Work in a clean area: Ensure your workspace is free of debris and clutter to avoid accidents.
Step-by-Step Guide to Loading a Banks Nail Gun
Step 1: Prepare Your Workspace
Start by setting up a clean, well-lit workspace. Gather your nails, the nail gun, and any tools you might need, such as a screwdriver or wrench if your model requires it for magazine access.
Step 2: Disconnect the Tool from Power or Air Supply
This is the most critical safety step. For electric models, unplug the power cord. For pneumatic guns, disconnect the air hose. This ensures the gun won’t accidentally fire while you’re loading it.
Step 3: Open the Magazine
- Locate the magazine latch: Usually, there’s a latch or release mechanism on the side or bottom of the nail gun.
- Release the latch: Press or slide the latch to open the magazine. Some models may require unscrewing a cover or removing a pin.
- Hold the magazine open: Keep it open to load the nails easily.
Step 4: Select the Correct Nails
Ensure you have the right type and size of nails for your Banks nail gun. The nails should match the specifications listed in your user manual or on the tool itself. Using incompatible nails can cause jams or damage the gun.
Step 5: Load the Nails into the Magazine
- Align the nails: Hold the nails with the head facing down and the pointed end facing forward into the magazine.
- Insert the nails: Carefully slide the nails into the magazine, ensuring they’re stacked neatly and aligned correctly.
- Follow the correct orientation: Most nails should be loaded with the head facing down and the pointed end forward, but check your manual for specifics.
Tip: Use your hand to gently push the nails toward the front of the magazine, ensuring they are properly seated and won’t fall out.
Step 6: Close and Secure the Magazine
- Close the magazine: Gently slide the cover or latch back into place.
- Ensure it’s locked: Confirm that the magazine is securely closed to prevent jams or misfeeds.
Step 7: Reconnect Power or Air Supply
Once the magazine is securely closed, reconnect your tool to its power source or air compressor. Double-check that everything is correctly attached before proceeding.
Step 8: Test the Nail Gun
- Perform a safety check: Point the nail gun away from yourself and others.
- Test on scrap material: Fire a few nails into scrap wood to ensure the gun is loading and firing correctly.
- Adjust if needed: If jams or misfires occur, review your loading steps or consult the troubleshooting section below.
Practical Tips for Smooth Loading
- Use the right nails: Always match the nail size and type to your specific Banks nail gun model.
- Keep nails clean and dry: Moisture can cause nails to stick or rust, leading to jams.
- Don’t overload: Avoid forcing extra nails into the magazine—overloading can cause jams or damage.
- Regular maintenance: Clean the magazine area periodically to prevent debris buildup.
Common Troubleshooting and How to Fix Them
Jammed Nails
If your nail gun jams, disconnect it immediately. Open the magazine and carefully remove the jammed nails. Check for any damaged nails or debris and clear the magazine. After clearing, reload the correct nails and test again.
Misfires or Double Firing
Ensure nails are loaded correctly and that the firing mechanism is clean. Adjust the depth setting if necessary. If problems persist, consult a professional repair service.
Failure to Feed Nails
Check for obstructions or misaligned nails. Clean the magazine and ensure nails are properly seated. Refill if necessary, making sure nails are oriented correctly.
Conclusion
Loading your Banks nail gun properly is key to safe and efficient operation. Always prioritize safety, use the correct nails, and follow the step-by-step instructions outlined here. With a little practice, you’ll be able to load your nail gun quickly and confidently, keeping your projects on track and your workspace safe.
Remember:
Always consult your user manual for model-specific instructions and safety guidelines. Regular maintenance and proper loading extend the lifespan of your tool and help prevent accidents. Now, go ahead and tackle your project with confidence!