

Loading a Bostitch 18 gauge nail gun is simple when you follow the right steps. In this guide, you’ll learn how to safely and correctly load nails into your nail gun for smooth, trouble-free operation. Proper loading helps prevent jams and extends your tool’s lifespan.
Key Takeaways
- Safety First: Always disconnect the nail gun from the power source before loading to prevent accidental firing.
- Choose the Right Nails: Use 18 gauge nails compatible with your Bostitch model for best results.
- Open the Magazine: Locate and carefully open the magazine to access the nail chamber.
- Insert Nails Correctly: Load nails with the proper orientation, ensuring they are aligned properly in the magazine.
- Close the Magazine Securely: Make sure the magazine is fully closed before testing or using the nail gun.
- Test the Tool: After loading, do a quick test on scrap material to confirm proper feeding and operation.
Introduction
If you own a Bostitch 18 gauge nail gun, knowing how to load it properly is essential. Correct loading ensures smooth operation, prevents jams, and extends the life of your tool. Whether you’re a DIY enthusiast or a professional, this step-by-step guide will walk you through the process of loading your nail gun safely and efficiently. Let’s get started!
Safety Precautions Before Loading
Before you begin, always prioritize safety. Disconnect the nail gun from the power source—be it a pneumatic hose or battery—so it cannot accidentally fire. Wear eye protection and ensure your workspace is clear of obstacles. Proper safety measures help prevent injuries and damage.
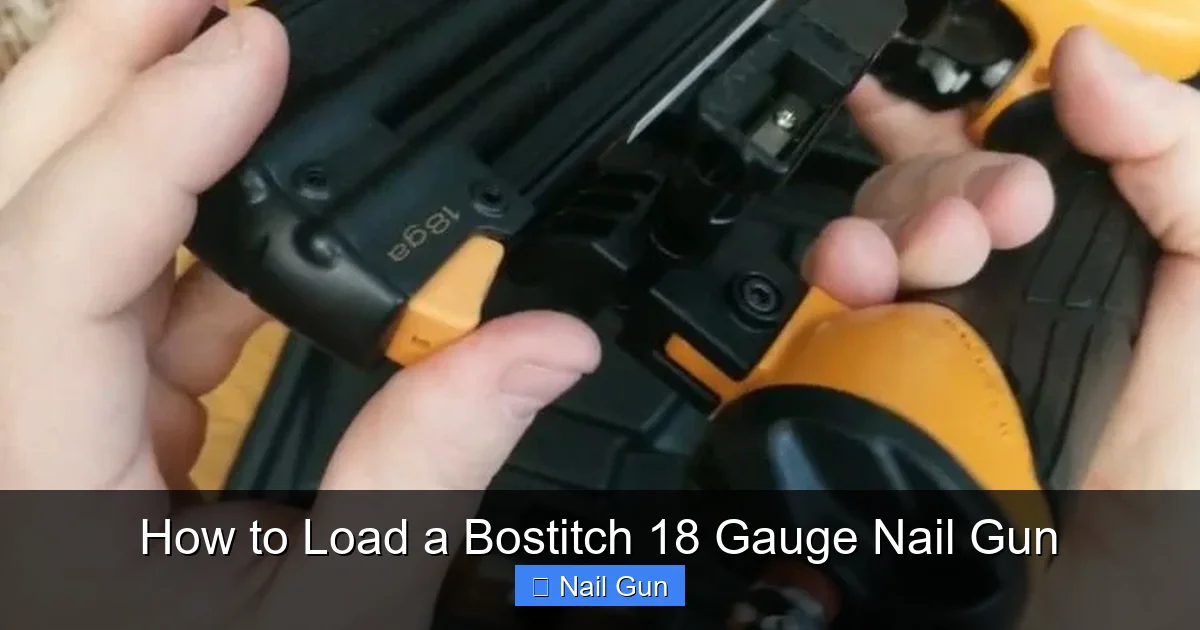
Visual guide about How to Load a Bostitch 18 Gauge Nail Gun
Image source: toolsmirror.com
Gather Your Supplies
- Correct Nails: 18 gauge nails compatible with your Bostitch model (check your manual for specifications).
- Tools: Your Bostitch 18 gauge nail gun, safety glasses, and possibly a wrench or screwdriver for opening the magazine.
Having everything ready makes the loading process smoother and faster.
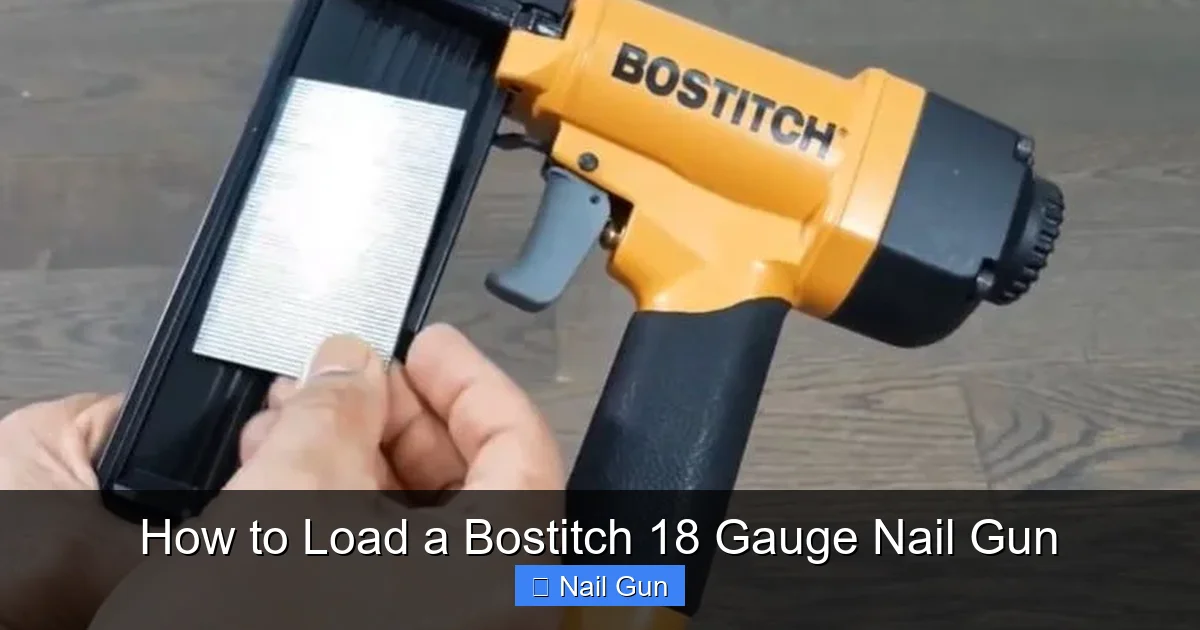
Visual guide about How to Load a Bostitch 18 Gauge Nail Gun
Image source: toolsmirror.com
Step-by-Step Instructions to Load a Bostitch 18 Gauge Nail Gun
Step 1: Prepare Your Workspace
Clear a clean, flat surface where you can work comfortably. Make sure your nail gun is unplugged or disconnected from its power source. Place your nails nearby for easy access.
Step 2: Confirm the Correct Nails
Check the packaging and your nail gun manual to verify you have the right size and type of 18 gauge nails. Using incompatible nails can cause jams or damage.
Step 3: Open the Magazine
This is a crucial step. Most Bostitch nail guns have a magazine release latch or button. Typically, you’ll:
- Locate the magazine latch: Usually on the side or bottom of the nail gun.
- Press or slide the latch: Depending on your model, either press a button or slide a tab to release the magazine.
- Pull out the magazine: Carefully slide or swing the magazine open to access the nail chamber.
Tip: Some models might have a top-loading magazine, while others load from the side. Check your manual if unsure.
Step 4: Load the Nails into the Magazine
Now, load the nails carefully:
- Align the nails: Hold the nails with the head facing to the rear of the magazine. The pointed end should face outward, ready to be driven.
- Place the nails in the magazine: Insert a small stack of nails, ensuring they are aligned and not bent. The nails should slide smoothly in the track.
- Check orientation: Make sure the nails are facing the correct direction and are seated properly.
Practical tip: Avoid overloading the magazine; load only enough nails to fill it without forcing the stack in.
Step 5: Close and Secure the Magazine
Once the nails are loaded:
- Close the magazine: Carefully swing or slide the magazine back into its closed position.
- Ensure it clicks into place: You should hear or feel it securely lock.
Double-check that everything is properly aligned and the magazine is fully closed before proceeding.
Step 6: Test the Nail Gun
Before starting your project, do a quick test:
- Reconnect the power source: Plug in or attach the pneumatic hose.
- Take a test shot: Aim at scrap material and press the trigger.
- Observe: Nails should feed smoothly without jams or misfires. If issues occur, recheck the loading process.
Safety note: Keep your fingers away from the trigger during testing.
Additional Tips for Proper Loading
- Regular maintenance: Keep the magazine and nail track clean and free of debris.
- Use quality nails: Cheap or damaged nails can cause jams.
- Check for wear and tear: Inspect your nail gun regularly for any damage or worn parts that might affect loading or operation.
Troubleshooting Common Loading Issues
Jams or Nail Feeding Problems
If the nails do not feed properly:
- Ensure nails are loaded correctly and aligned.
- Check for bent or damaged nails.
- Clean the magazine track and nail chamber.
- Replace worn or damaged parts if necessary.
Magazines Not Closing Properly
If the magazine won’t close:
- Make sure nails are not overstacked or misaligned.
- Check for obstructions or debris in the magazine.
- Ensure the magazine latch mechanism is functioning correctly.
Conclusion
Loading your Bostitch 18 gauge nail gun correctly is straightforward once you understand the steps. Always prioritize safety, use the right nails, and keep your tool well-maintained. Proper loading not only prevents jams but also ensures your projects go smoothly and efficiently. With these tips, you’ll be a pro at loading your nail gun in no time!
Final Tips
- Always disconnect the power before loading or clearing jams.
- Use the recommended nails for your specific Bostitch model.
- Store your nail gun in a dry, safe place when not in use.