

Loading a Bostitch nail gun correctly is essential for safe and efficient operation. In this guide, you’ll learn the proper steps to load nails, troubleshoot common issues, and keep your tool in top shape. Follow these simple instructions to master your Bostitch nail gun today!
How to Load a Bostitch Nail Gun
If you’re working on a construction project, remodeling, or just doing DIY tasks, a Bostitch nail gun can make your job much easier. Properly loading your nail gun is crucial for safety, efficiency, and preventing jams. In this comprehensive guide, you’ll learn how to load a Bostitch nail gun step-by-step, troubleshoot common issues, and keep your tool in optimal condition. Whether you’re a beginner or experienced user, these instructions will help you handle your nail gun confidently.
Key Takeaways
- Always unplug or disconnect the nail gun: Before loading, prioritize safety by disconnecting the tool from power or air supply.
- Use compatible nails: Ensure you select the correct size and type of nails specified for your Bostitch nail gun.
- Follow manufacturer instructions: Each model may have unique loading procedures—consult your manual if unsure.
- Keep the work area clean: Remove debris or jammed nails before loading to prevent damage or injury.
- Check for jams: Regularly inspect and clear jams to maintain smooth operation and avoid damage.
- Practice safety precautions: Wear safety glasses and gloves during loading and operation.
Understanding Your Bostitch Nail Gun
Before jumping into the loading process, it’s important to understand your specific Bostitch nail gun model. Different models—such as brad nailers, finish nailers, or framing nailers—may have slightly different loading procedures. Always refer to your user manual for model-specific instructions.
Most Bostitch nail guns are designed with user safety and ease of use in mind. They typically feature a magazine that holds the nails, a release latch, and a reload window or indicator. Familiarize yourself with these parts before proceeding.
Safety First: Prepare Your Workspace
Disconnect Power or Air Supply
Before loading your nail gun, always disconnect it from its power source. If it’s pneumatic, unplug the air compressor. For cordless models, remove the battery. This prevents accidental firing and injuries.
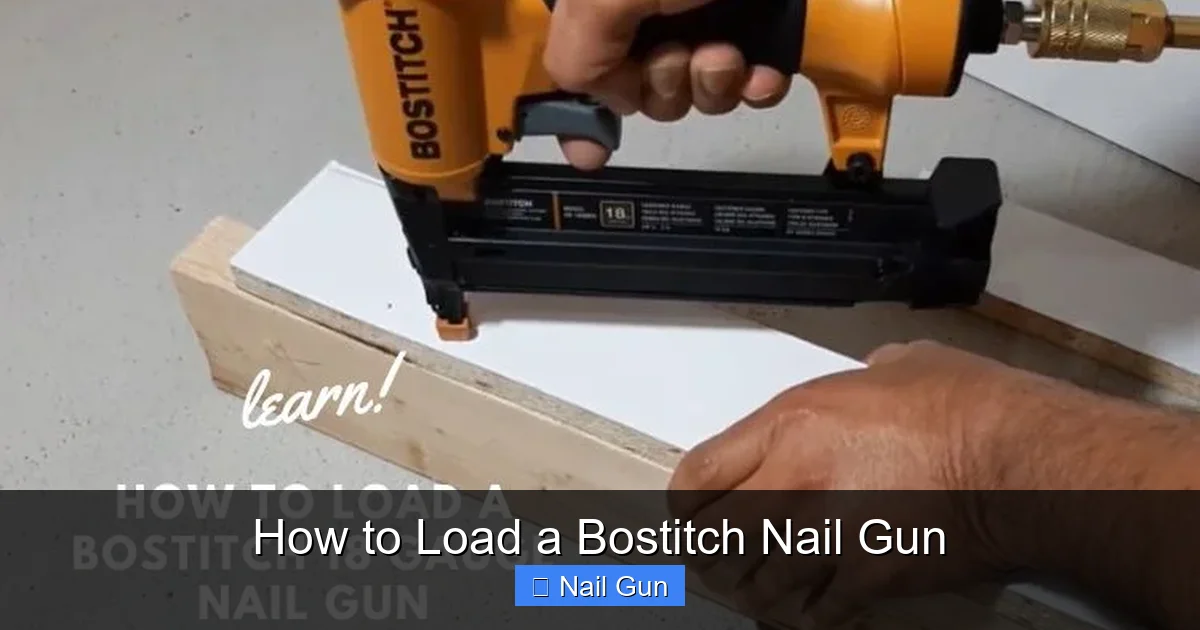
Visual guide about How to Load a Bostitch Nail Gun
Image source: toolsmirror.com
Wear Safety Gear
Put on safety glasses and gloves. Protect your eyes from accidental nail discharge or debris, and keep your hands safe during handling.
Clear the Work Area
Remove any debris or obstructions. Ensure your workspace is clean and well-lit for safe handling.
Gathering the Right Nails
Use nails specifically designed for your Bostitch nail gun. Check your manual or the label on the magazine for the correct size, gauge, and type. Using incompatible nails can cause jams or damage your tool.
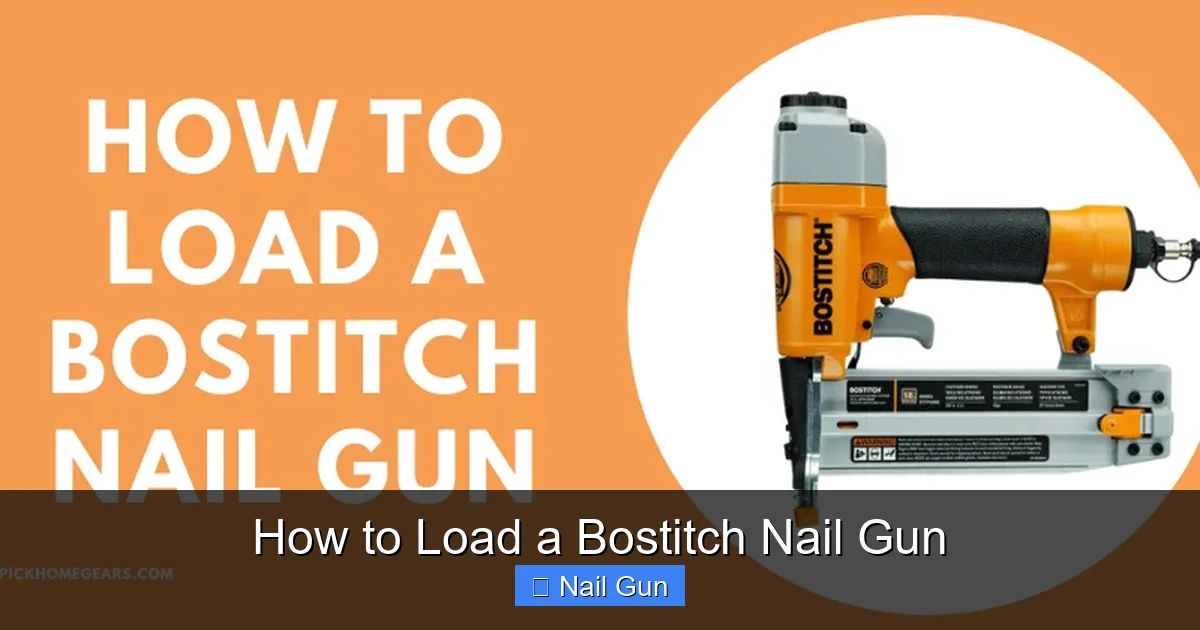
Visual guide about How to Load a Bostitch Nail Gun
Image source: i.pinimg.com
- Common sizes: 16-gauge, 18-gauge, framing nails, brad nails, finish nails.
- Material: Steel, aluminum, or specialty nails depending on your project.
Loading Your Bostitch Nail Gun Step-by-Step
Step 1: Open the Magazine
Locate the magazine release latch or button on your nail gun. This is often found on the side or bottom of the magazine.
- Press or slide the latch: This will release the magazine cover or door.
- Pull the magazine open: Fully open the compartment to access the nails.
Step 2: Prepare the Nails
Take the correct size and type of nails from your box. Handle them carefully to avoid bending or damaging the nails.
Step 3: Load the Nails into the Magazine
- Align the nails: Place the nails with the pointed ends facing forward, towards the firing end.
- Ensure correct orientation: The nails should be stacked neatly, with the head of each nail resting against the magazine wall.
- Fill the magazine: Continue loading nails until the magazine is full, but do not overfill.
Step 4: Close the Magazine
- Secure the cover: Push the magazine cover or door back into place until it clicks securely.
- Check for proper closure: Ensure the magazine is firmly shut to prevent jams or misfeeds.
Step 5: Reconnect Power or Air Supply
Once loaded, reconnect your nail gun to the power source or air compressor. Make sure all connections are tight and secure.
Testing Your Loaded Nail Gun
Before starting your project, perform a test firing into scrap material. This helps verify proper loading and functioning.
- Ensure safety gear is on.
- Point the nail gun away from yourself and others.
- Press the trigger or safety tip to fire a test nail.
If the nail fires correctly, you’re ready to work. If not, check for jams or improperly loaded nails.
Common Troubleshooting Tips
Jams or Nail Feed Problems
If nails jam or do not feed properly, follow these steps:
- Disconnect the tool from power or air.
- Open the magazine and carefully remove jammed nails.
- Clear any debris or damaged nails.
- Reload with the correct nails.
- Close the magazine and test again.
Inconsistent Firing
Check if the nails are properly aligned and the magazine is fully loaded. Also, inspect the nailer for any damage or wear.
Regular Maintenance
Keep your nail gun clean and lubricated as recommended by the manufacturer. Regularly inspect for worn parts and replace if necessary.
Conclusion
Loading a Bostitch nail gun correctly is straightforward once you understand the process. Always prioritize safety, use the right nails, and follow the manufacturer’s instructions. With practice, loading your nail gun will become a quick and easy task, helping you complete your projects efficiently and safely.
Final Tips
- Store nails in a dry, safe place to prevent rust or damage.
- Periodically inspect your nail gun for wear and tear.
- Practice handling your nail gun safely to build confidence.
Remember:
Always disconnect your nail gun before loading or clearing jams. Proper handling and maintenance extend your tool’s lifespan and ensure safety on the job site.
🎥 Related Video: Loading Cleat Nails PF18GLCN
📺 Prime Global Products