

Loading a finishing nail gun is simple when you follow the right steps. This guide walks you through each stage, from safety precautions to proper loading techniques, so your project stays on track. Whether you’re a beginner or experienced user, mastering this process ensures safe, effective use of your nail gun.
Key Takeaways
- Safety First: Always disconnect the nail gun from power or air supply before loading.
- Use Correct Nails: Ensure you select the right size and type of finishing nails for your specific nail gun model.
- Open the Magazine: Locate and open the magazine latch or door to access the nail chamber.
- Load Carefully: Insert nails properly aligned with the magazine, avoiding jams or misfeeds.
- Close and Secure: Ensure the magazine is fully closed and latched before testing or use.
- Test the Gun: After loading, test on scrap material to confirm proper feeding and operation.
- Maintenance: Regularly clean and inspect your nail gun to keep it in top condition.
Introduction
If you’re working on a woodworking project or finishing carpentry, a finishing nail gun can save you time and effort. Knowing how to load a finishing nail gun properly is essential for safety and efficiency. Whether you’re new to using a nail gun or just need a refresher, this guide will walk you through each step to ensure you load your tool correctly and safely.
Understanding Your Finishing Nail Gun
Before we dive into the loading process, it’s important to understand your finishing nail gun’s parts. Most models have a magazine, a latch or door to access the chamber, and a magazine release mechanism. The nails are stored in the magazine, which feeds them into the firing chamber when you operate the gun.
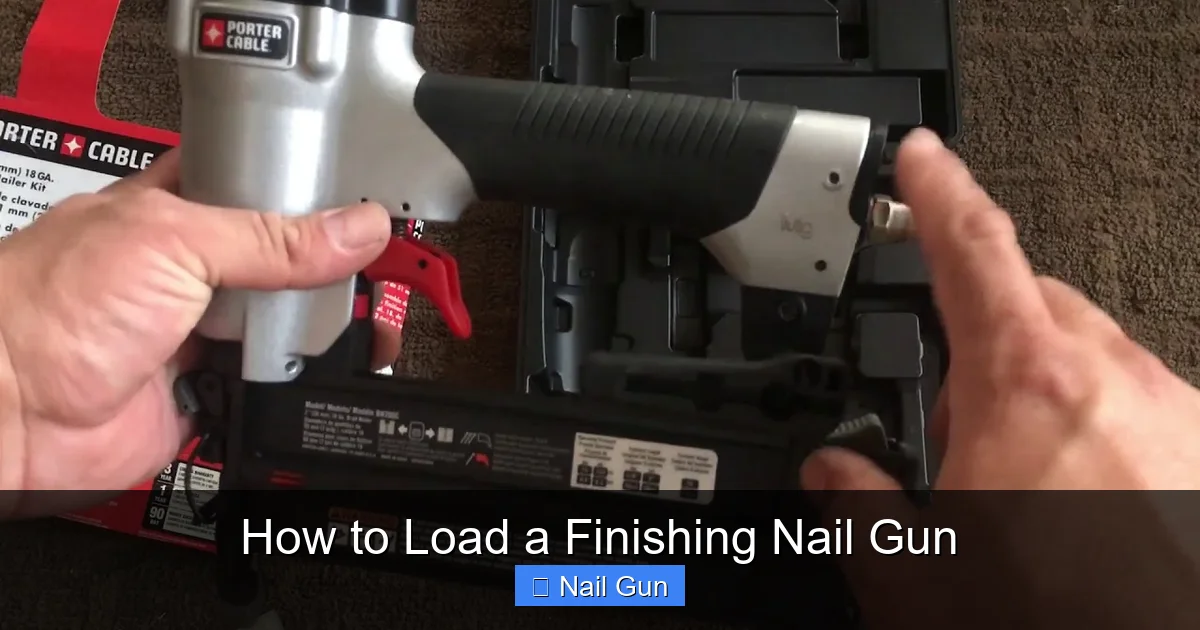
Visual guide about How to Load a Finishing Nail Gun
Image source: i.ytimg.com
Always consult your specific model’s user manual for detailed instructions, as designs and procedures can vary slightly.
Safety Precautions Before Loading
Disconnect Power or Air Supply
Safety is paramount. Before loading your finishing nail gun, ensure it’s disconnected from its power source—whether it’s unplugged from an electrical outlet or disconnected from compressed air. This prevents accidental firing, keeping you safe during the process.
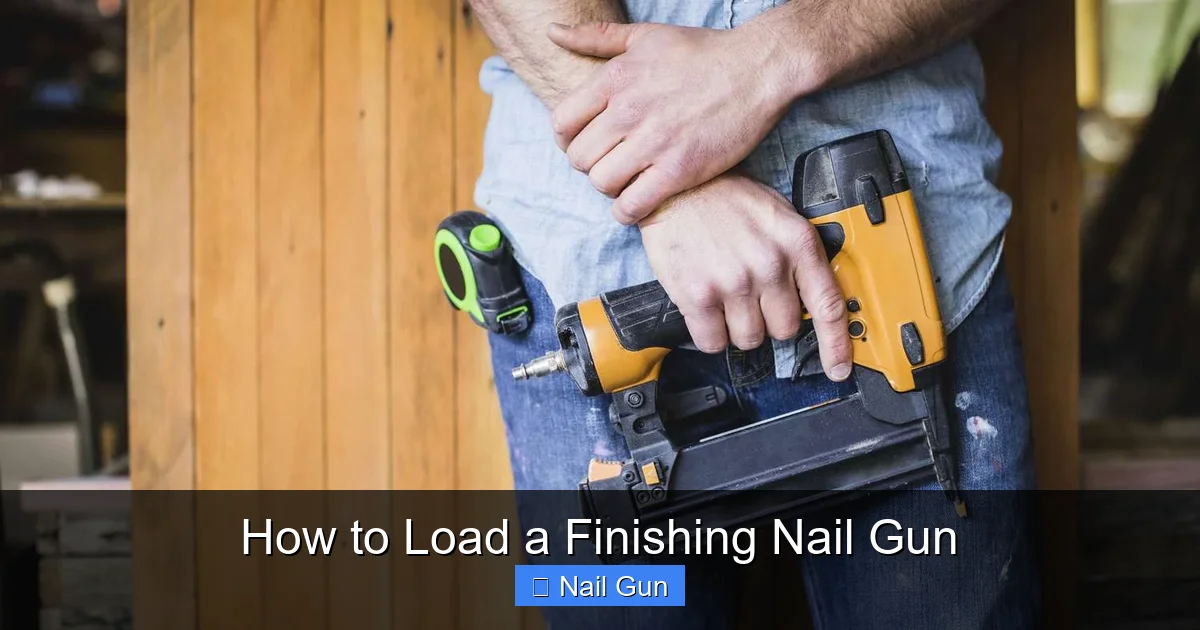
Visual guide about How to Load a Finishing Nail Gun
Image source: thespruce.com
Wear Safety Gear
It’s a good idea to wear eye protection and gloves, especially if you’re handling nails or working in a busy environment. Safety gear can help prevent injuries from accidental slips or nail jams.
Step-by-Step Guide to Loading a Finishing Nail Gun
Step 1: Prepare Your Workspace
- Clear your workspace of clutter to avoid accidents.
- Have your nails and tools within easy reach.
- Ensure good lighting so you can see clearly inside the magazine.
Step 2: Open the Magazine
Locate the Magazine Latch or Door
Most finishing nail guns have a latch or a small door at the bottom or side of the magazine. Find this latch or door, which allows access to the nail chamber.
Open the Magazine
- Push or slide the latch to open the magazine. Some models require you to lift a cover or pull down a door.
- Be gentle to avoid damaging the latch or mechanism.
Step 3: Prepare the Nails
Select the Correct Nails
Check your project requirements to choose the right size and type of finishing nails. Common sizes are 15-gauge or 16-gauge nails.
Inspect the Nails
- Ensure the nails are free from rust or damage.
- Use nails compatible with your nail gun model—consult the manual if unsure.
Step 4: Load the Nails into the Magazine
Align the Nails Properly
Hold the nails in your hand, ensuring they are aligned correctly with the magazine’s track. The pointed end should face forward, and the head should be flat against the magazine’s back.
Insert the Nails
- Carefully place the nails into the magazine, one at a time or in small groups, following the magazine’s track.
- Make sure the nails are stacked neatly and are moving freely.
- Avoid forcing nails in—if resistance occurs, check for jams or misalignment.
Step 5: Close and Secure the Magazine
- Gently close the magazine door or latch.
- Ensure it clicks or locks into place securely.
- Double-check that the magazine is fully closed before reconnecting power or air.
Testing the Loaded Nail Gun
Reconnect Power or Air
Once loaded and secured, reconnect your nail gun to its power source or compressed air supply.
Test on Scrap Material
- Before starting your project, test the nail gun on scrap wood or cardboard.
- Ensure the nails feed properly and the gun fires smoothly.
If it jams or misfires, disconnect power and recheck the nails and loading procedure.
Practical Tips for Efficient Loading
- Always keep a few spare nails handy in case of jams.
- Use high-quality nails to minimize misfeeds and jams.
- Regularly clean the magazine and nail chamber to prevent debris build-up.
- Check your nail gun’s manual for specific loading instructions or limitations.
Common Troubleshooting
Jamming or Misfeeding
If nails get stuck or don’t feed properly, disconnect the gun, open the magazine, and remove the jammed nails. Reinspect the nails for damage or misalignment, then reload carefully.
Firing Not Occurring
Ensure the nail gun is properly connected to power or air, and check for any safety switches that may be engaged. Confirm that the nails are loaded correctly and that the gun is not jammed.
Conclusion
Loading a finishing nail gun correctly is key to safe and effective operation. By following these steps—disconnection, opening, loading, closing, and testing—you ensure your tool works smoothly and safely. Regular maintenance and proper handling will extend the life of your nail gun and improve your results on every project.
Always refer to your specific model’s manual for detailed instructions, and prioritize safety at all times. Happy nailing!