

Loading a framing nail gun is a simple process that requires attention to safety and detail. This guide will walk you through each step, from preparing the tool to troubleshooting common issues. Whether you’re a beginner or experienced worker, you’ll find tips to make the task quick and safe.
How to Load a Framing Nail Gun
If you’re working on a framing project, a framing nail gun can make your job faster and easier. But before you start nailing, you need to load your nail gun properly. Loading it incorrectly can cause jams, damage the tool, or even injury. This comprehensive guide will teach you step-by-step how to load a framing nail gun safely and effectively. Whether you’re a DIY enthusiast or a professional, these tips will help you keep your work safe and efficient.
Key Takeaways
- Always disconnect power or air supply: Before loading, ensure the nail gun is unplugged or disconnected to prevent accidental firing.
- Use the correct nails: Match the nail size and type specified by the manufacturer for optimal performance.
- Load nails properly: Follow the loading procedure to prevent jams and ensure smooth operation.
- Check for jams: Regularly inspect and clear jams to keep your nail gun functioning well.
- Wear safety gear: Use gloves and eye protection when loading to avoid injury.
- Follow manufacturer instructions: Always consult your nail gun’s manual for specific loading procedures.
Understanding Your Framing Nail Gun
Before we jump into loading, it’s important to understand your tool. Framing nail guns come in different types, mainly pneumatic (air-powered) and cordless (battery-powered). They also vary in magazine style—stick or strip magazines. Knowing your nail gun model will help you follow specific instructions and choose the right nails.
Gathering Your Supplies and Safety Gear
- Correct nails: Make sure to have nails that match your nail gun’s specifications. Usually, framing nails are 2 to 3.5 inches long.
- Safety gear: Wear gloves, eye protection, and ear protection if necessary.
- Tools: You might need a screwdriver or wrench to open the magazine, depending on your model.
Preparing Your Workspace
Safety first! Ensure your workspace is clear and stable. Disconnect the power source or air supply to prevent accidental firing. Keep your nails and tools organized for quick access.
Visual guide about How to Load a Framing Nail Gun
Image source: thetoolshack.com
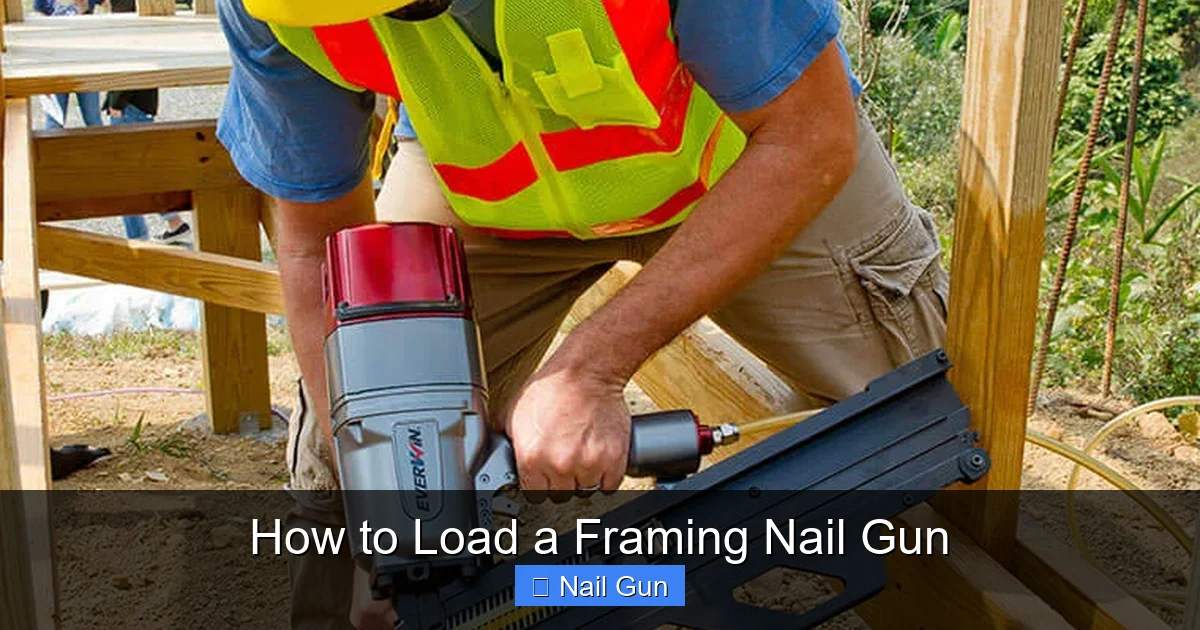
Visual guide about How to Load a Framing Nail Gun
Image source: everwinpneumatic.com
Step-by-Step Guide to Loading a Framing Nail Gun
Step 1: Turn Off and Disconnect the Nail Gun
Always start by turning off the nail gun. If it’s pneumatic, disconnect the air hose. If cordless, remove the battery. This prevents accidental firing during loading.
Step 2: Open the Magazine
Locate the magazine release latch. This is usually a button or lever on the side or bottom of the tool. Press or slide it to open the magazine.
- Tip: Consult your manual if you’re unsure how to open your specific model.
Step 3: Prepare the Nails
Choose the correct nails, ensuring they are compatible with your nail gun. Check for any bent or damaged nails and discard them.
- Tip: Store nails in a clean, dry container to keep them in good condition.
Step 4: Load the Nails into the Magazine
Align the nails with the magazine’s track. Insert the nails with the head facing the correct direction—usually with the head down or up depending on your model.
- Tip: Use the correct orientation to prevent jams and ensure smooth feeding.
Step 5: Push the Nails Forward
Gently push the nails toward the nose of the nail gun until they are snugly in place. Some models have a follower or slide that helps secure the nails.
- Tip: Avoid forcing nails too hard, which can cause jams or damage the magazine.
Step 6: Close the Magazine
Once the nails are properly loaded, close the magazine securely. Ensure it clicks into place and is locked tight.
- Tip: Confirm that the magazine is fully closed before reconnecting power or air.
Final Checks and Testing
Before using the nail gun on your project, do a quick safety check:
- Reconnect the power source or air supply.
- Double-check that the magazine is securely closed.
- Familiarize yourself with the trigger and safety mechanisms.
Test fire the nail gun into a scrap piece of wood to ensure it’s feeding nails properly and firing correctly. If the nails don’t feed or the gun jams, disconnect and clear the jam before proceeding.
Tips for Safe and Efficient Loading
- Use the right nails: Always match the nails to your nail gun’s specifications.
- Avoid overfilling: Leave some space in the magazine to allow for proper feeding.
- Regular maintenance: Keep your nail gun clean and lubricated to prevent jams.
- Stay alert: Always handle the nail gun with care, even when loading or not in use.
Troubleshooting Common Loading Issues
Jammed Nails
If nails get stuck, disconnect the gun, open the magazine, and carefully remove the jammed nails. Check for damaged or improperly loaded nails and reload correctly.
Misfiring or No Nails Firing
Ensure nails are loaded correctly and that the magazine is fully closed. Check the safety mechanism and trigger for proper function.
Feeding Problems
Clean the magazine and track. Lubricate if necessary, and ensure nails are not too tightly packed.
Conclusion
Loading a framing nail gun is straightforward once you understand your tool and follow safety precautions. Proper loading ensures your nail gun operates smoothly, reducing jams and potential accidents. Always consult your specific model’s manual for detailed instructions. With practice, loading your nail gun will become quick and routine, keeping your projects on track and safe.
Remember:
Safety is the top priority. Disconnect power or air before loading, wear protective gear, and handle nails and tools carefully. Happy nailing!