

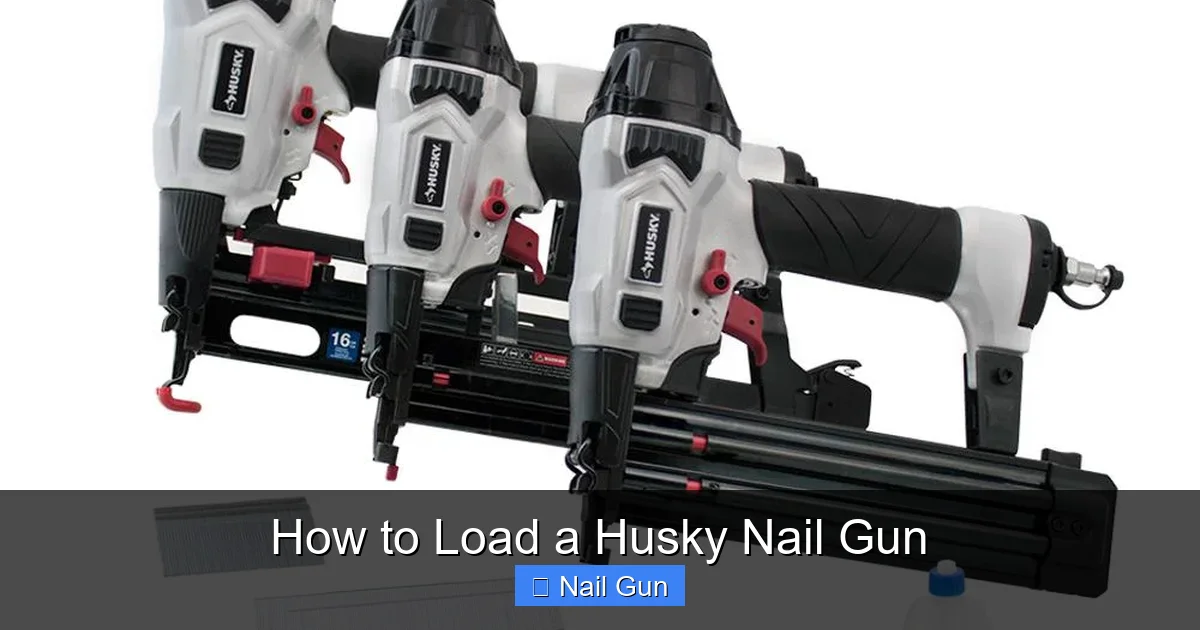
Loading a Husky nail gun is simple once you know the steps. This guide will walk you through the process, from safety precautions to final checks, ensuring your tool is ready for action. Whether you’re a beginner or experienced, mastering this task helps you work safely and efficiently.
How to Load a Husky Nail Gun
If you work with nail guns regularly, knowing how to properly load your Husky nail gun is essential. It ensures smooth operation, safety, and prevents jams. Whether you’re doing a home project or professional work, this guide will help you master the process step-by-step. Let’s get started!
Key Takeaways
- Safety First: Always disconnect the nail gun from power or air supply before loading to prevent accidents.
- Use the Correct Nails: Ensure you use the right size and type of nails recommended by Husky to avoid jams or damage.
- Open the Magazine Properly: Follow the manufacturer’s instructions to access the nail chamber safely.
- Load the Nails Carefully: Insert the nails aligned correctly to prevent jams and ensure smooth operation.
- Close and Secure: Make sure the magazine is securely closed before testing or using the nail gun.
- Test the Tool: After loading, test the nail gun on scrap material to confirm proper function.
Understanding Your Husky Nail Gun
Before you load your Husky nail gun, it’s important to understand its parts. Familiarize yourself with the magazine, nose, trigger, and safety features. Different models might have slight variations, so always consult your specific model’s manual. But generally, the loading process is similar across most Husky nail guns.
Safety Precautions Before Loading
Disconnect Power or Air Supply
Safety is paramount. Always disconnect your nail gun from its power source—whether it’s an electric cord or air compressor. This prevents accidental firing while you’re loading nails.
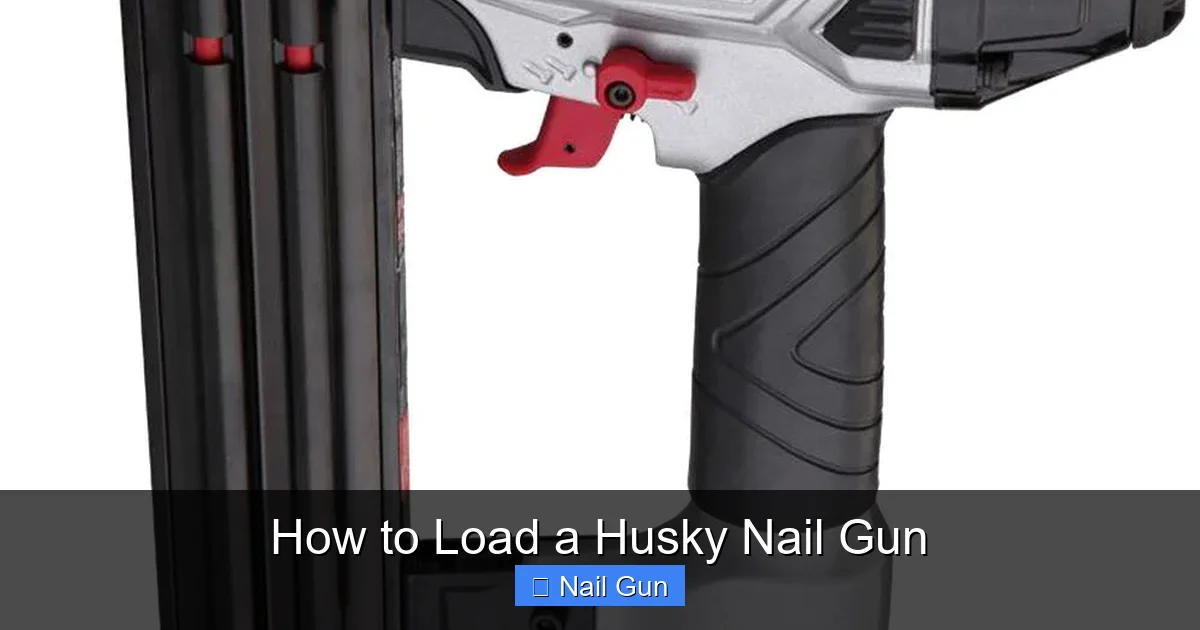
Visual guide about How to Load a Husky Nail Gun
Image source: images.homedepot-static.com
Tip: For electric models, unplug the cord. For pneumatic models, turn off the compressor and disconnect the hose.
Wear Safety Gear
Use safety goggles and gloves as needed. Even when loading, small debris or accidental misfires can happen.
Gather the Correct Nails
Using the right nails is crucial. Check the manual or the label on your nail gun for the correct nail size and type. Husky nail guns typically accept specific gauge nails, such as 18-gauge brad nails or 16-gauge finish nails.
Visual guide about How to Load a Husky Nail Gun
Image source: images.homedepot-static.com
Tip: Store your nails in a clean, dry container to prevent rust or damage.
Opening the Magazine
Locate the Magazine Release
Most Husky nail guns have a magazine release latch or button. This is usually located on the side or bottom of the magazine. Consult your manual if unsure.
Open the Magazine
Press or slide the latch to open the magazine door or cover. Be gentle to avoid damaging the latch or other parts. Once open, you’ll see the nail chamber or track where the nails will be loaded.
Loading the Nails
Prepare the Nails
Hold the nails in your hand, ensuring they are oriented correctly. Most nails should be pointed outward, with the head aligned with the magazine opening.
Insert the Nails
Gently slide the nails into the magazine track or chamber. Ensure they are aligned properly, with the nail heads sitting flat against the magazine’s bottom and the pointed ends facing toward the firing mechanism.
Tip: Use your other hand to steady the nails as you load, preventing them from slipping or misaligning.
Check for Proper Seating
Make sure the nails are seated correctly and aren’t jammed or skewed. Proper seating helps prevent jams during operation.
Securing the Magazine
Close the Magazine Door
Once the nails are loaded, close the magazine door or cover firmly until it clicks into place. This ensures the nails are held securely and the mechanism can operate smoothly.
Confirm Locking
Double-check that the magazine is fully closed and latched. An improperly closed magazine can cause misfires or jams.
Final Checks Before Use
Reconnect the Power or Air Supply
After loading and securing the magazine, reconnect your nail gun to its power source. For pneumatic guns, reconnect the hose and turn the compressor back on.
Test on Scrap Material
Always test the nail gun on scrap wood or similar material. Ensure it fires correctly and that the nails are driven properly. If you notice any jams or misfires, turn off the tool immediately and clear the jam before proceeding.
Troubleshooting Common Loading Issues
- Jamming Nails: Ensure nails are of the correct size and properly aligned. Do not force nails into the magazine.
- Difficulty Closing the Magazine: Check for bent nails or debris that might obstruct the door. Clear any obstructions and reattempt.
- Misfiring After Loading: Confirm the nails are seated correctly. Reopen and reload if necessary.
Conclusion
Loading your Husky nail gun is straightforward once you follow these steps. Remember to prioritize safety, use the correct nails, and double-check everything before starting your project. Proper loading not only extends the life of your tool but also ensures your safety and efficiency on the job site. With practice, loading becomes a quick and easy task, keeping your workflow smooth and productive.
Additional Tips for Maintaining Your Husky Nail Gun
- Regularly clean the magazine and firing mechanism to prevent jams.
- Lubricate moving parts as recommended in the manual.
- Inspect nails before loading to avoid rust or damage.
- Store your nail gun in a dry, safe place when not in use.