

In this guide, you’ll discover how to load a Metabo nail gun easily and safely. From understanding the parts to step-by-step instructions, you’ll gain the confidence to load your nail gun correctly and get back to work quickly.
Key Takeaways
- Understand your nail gun: Know the parts of your Metabo nail gun to load it properly.
- Use the correct nails: Always select nails compatible with your model for safety and performance.
- Ensure safety first: Disconnect the nail gun from power or air supply before loading.
- Follow step-by-step instructions: Carefully load nails according to the manufacturer’s guidelines.
- Check for jams: Clear jams properly if they occur during loading or use.
- Maintain your tool: Regularly inspect and clean your nail gun for smooth operation.
How to Load a Metabo Nail Gun
If you’re a DIY enthusiast or a professional carpenter, knowing how to load your Metabo nail gun correctly is crucial for safety and efficiency. This guide will walk you through each step, from preparing your workspace to troubleshooting common issues. By the end, you’ll feel confident in handling your nail gun properly, ensuring smooth project progress and avoiding mishaps.
Understanding Your Metabo Nail Gun
Before loading your nail gun, familiarize yourself with its parts. Most Metabo nail guns have similar components:
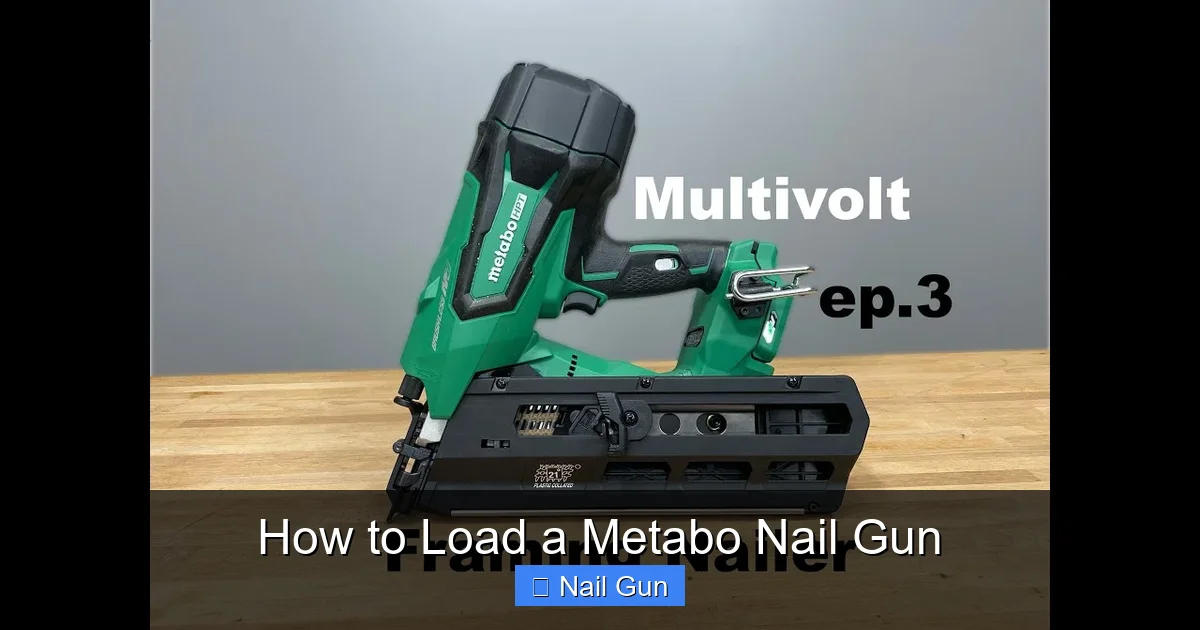
Visual guide about How to Load a Metabo Nail Gun
Image source: i.ytimg.com
- Magazine: Holds the nails and feeds them into the firing chamber.
- Firing chamber: The area where nails are propelled out.
- Trigger: Activates the firing mechanism.
- Loading port: Opening where nails are inserted.
- Safety mechanism: Prevents accidental firing when not properly engaged.
Consult your specific model’s manual for detailed parts and safety instructions.
Step 1: Ensure Safety First
Disconnect Power or Air Supply
Always unplug your nail gun from the power source or disconnect the air hose before loading. This prevents accidental firing and protects you from injury.
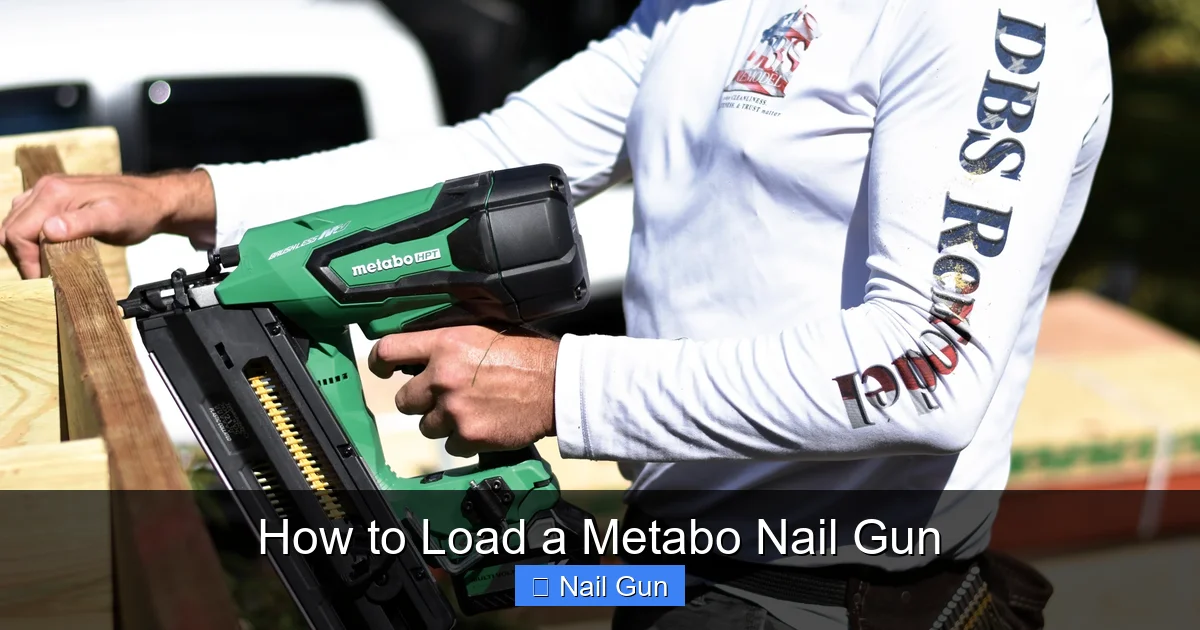
Visual guide about How to Load a Metabo Nail Gun
Image source: cdnassets.hw.net
For corded models, unplug the power cord. For pneumatic models, unplug the air hose or turn off the compressor and release residual pressure.
Tip: Wait a few seconds after disconnecting to ensure the tool is completely depressurized or de-energized.
Step 2: Prepare Your Nails
Select the Correct Nails
Using the right size and type of nails is essential. Check your nail gun’s manual or the label on the magazine for compatible nail sizes and types.
Common nails for Metabo nail guns include:
- Size: 2 inches, 2.5 inches, or 3 inches, depending on your project.
- Type: Brads, finish nails, or framing nails as specified.
Example: If your model uses 2-inch finishing nails, do not load longer or incompatible nails, as this may cause jams or damage.
Step 3: Load the Nails into the Magazine
Open the Magazine
Locate the magazine release latch or button. Usually, this is a small latch or a sliding door on the side or bottom of the magazine.
Practical Tip: Read your manual to find the exact location for your model. Some models have a release button, while others require sliding or lifting a cover.
Insert the Nails Correctly
Hold the nails with the pointy end facing forward, towards the firing chamber. Carefully load the nails into the magazine, ensuring they are aligned properly.
Make sure the nails are stacked neatly and are not bent or damaged. Avoid overfilling the magazine; most models have a maximum capacity marked inside.
Example: For a typical 18-gauge finish nailer, load the nails so the head is flush with the bottom of the magazine, and the pointed end faces forward.
Close the Magazine
After loading, securely close the magazine door or latch. Ensure it clicks into place, indicating it is properly sealed.
Practical Tip: Gently shake the magazine to see if nails move freely. If they do not, reopen and reload to prevent jams.
Step 4: Check for Proper Loading
Before testing the nail gun, visually inspect that nails are correctly loaded and aligned. Confirm that the magazine is closed tightly and that there are no obstructions.
Some models have a window or indicator showing remaining nails. Use this to verify the load status.
Step 5: Reconnect Power or Air Supply and Test
Reconnect and Test
Once loaded, reconnect the power cord or air hose. Turn on the compressor if needed, and test the nail gun on a scrap piece of wood.
Always wear safety glasses during testing. Press the trigger to ensure the nails fire smoothly and accurately.
Additional Tips for Safe and Effective Loading
- Wear safety gear: Always wear safety glasses and gloves when handling the tool.
- Keep workspace clear: Clear the area of unnecessary tools and debris to prevent accidents.
- Use quality nails: Poor-quality nails can jam or cause misfires. Use recommended brands and sizes.
- Regular maintenance: Clean your nail gun regularly to prevent build-up and ensure smooth operation.
Troubleshooting Common Loading Issues
Jammed Nails
If your nail gun jams, disconnect it immediately. Open the magazine and carefully remove the jammed nails. Check for bent or damaged nails and replace them.
Misfiring or No Firing
Ensure nails are properly loaded and aligned. Check the safety mechanism; sometimes, it needs to be reset or cleaned. Also, verify the power or air connection.
Conclusion
Loading a Metabo nail gun is straightforward once you understand the parts and safety procedures. Always disconnect power or air before loading, select the right nails, and load carefully. Regular maintenance and safe handling ensure your tool works efficiently and lasts longer. With these steps, you’ll be ready to tackle your projects confidently and safely.
Remember:
- Always follow manufacturer instructions specific to your model.
- Prioritize safety at all times.
- Use the correct nails for optimal performance.