

Loading a Milwaukee nail gun is simple once you know the steps. This guide will walk you through the process, from safety precautions to proper loading techniques, ensuring your tool works efficiently and safely. Whether you’re a DIYer or a contractor, mastering this task helps keep your workflow smooth and productive.
How to Load a Milwaukee Nail Gun
If you’re working on a project that involves framing, cabinetry, or finishing, a Milwaukee nail gun can significantly speed up your work. But before you start firing nails, you need to load it correctly. Proper loading ensures your nail gun functions smoothly, safely, and efficiently. In this comprehensive guide, we’ll walk you through each step of loading a Milwaukee nail gun, with helpful tips and troubleshooting advice to make the process simple and safe.
Key Takeaways
- Safety First: Always disconnect the nail gun from power or air supply before loading to prevent accidental firing.
- Use the Correct Nails: Make sure you select the right size, type, and gauge of nails recommended for your Milwaukee nail gun model.
- Open the Magazine Properly: Follow the manufacturer’s instructions to access the magazine for loading nails.
- Load Nails Carefully: Insert nails neatly, ensuring they are aligned correctly and fit snugly into the magazine.
- Close the Magazine Securely: Confirm that the magazine is fully closed and latched before use.
- Test Before Use: Always test fire the nail gun on scrap material to ensure proper loading and functioning.
- Regular Maintenance: Keep your nail gun clean and check for jams or damage regularly to maintain safety and efficiency.
Understanding Your Milwaukee Nail Gun
Before diving into loading, it’s important to understand your specific model. Milwaukee manufactures various types of nail guns, including framing, finishing, and brad nailers. Each model might have slightly different loading mechanisms, but the basic principles are similar.
Check your user manual for model-specific instructions, especially regarding the type and size of nails supported. Always use nails recommended by Milwaukee to avoid jams or damage.
Safety Precautions Before Loading
Disconnect Power or Air Supply
Always disconnect your nail gun from its power source—be it corded, cordless, or pneumatic—before attempting to load it. This prevents accidental firing, which could cause injury.
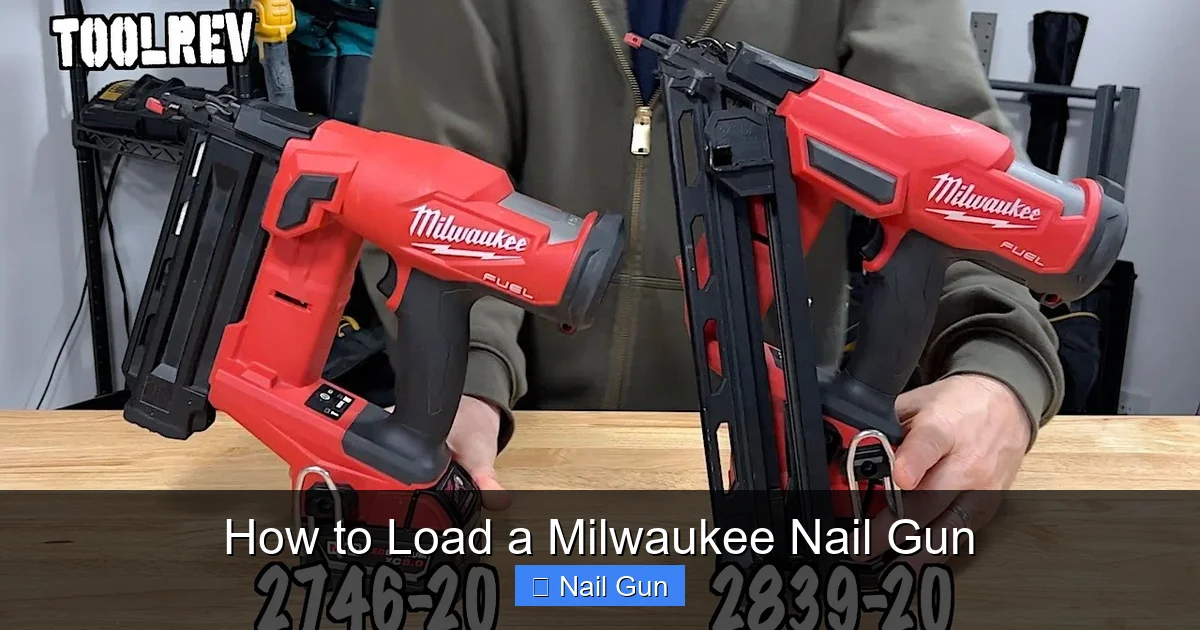
Visual guide about How to Load a Milwaukee Nail Gun
Image source: i.ytimg.com
Wear Safety Gear
Wear safety glasses and gloves to protect yourself from accidental nicks or debris during loading. Keep your workspace clear of distractions.
Gathering the Necessary Supplies
- Correct Nails: Confirm the size, gauge, and type recommended for your model.
- Tools: Usually, no additional tools are needed, but a pair of pliers can help remove jams if they occur.
- Cleaning Supplies: A dry cloth or compressed air for maintenance.
Step-by-Step: How to Load a Milwaukee Nail Gun
Step 1: Prepare Your Workspace
Find a clean, flat surface where you can comfortably work on your nail gun. Make sure the tool is unplugged or disconnected from the air compressor.
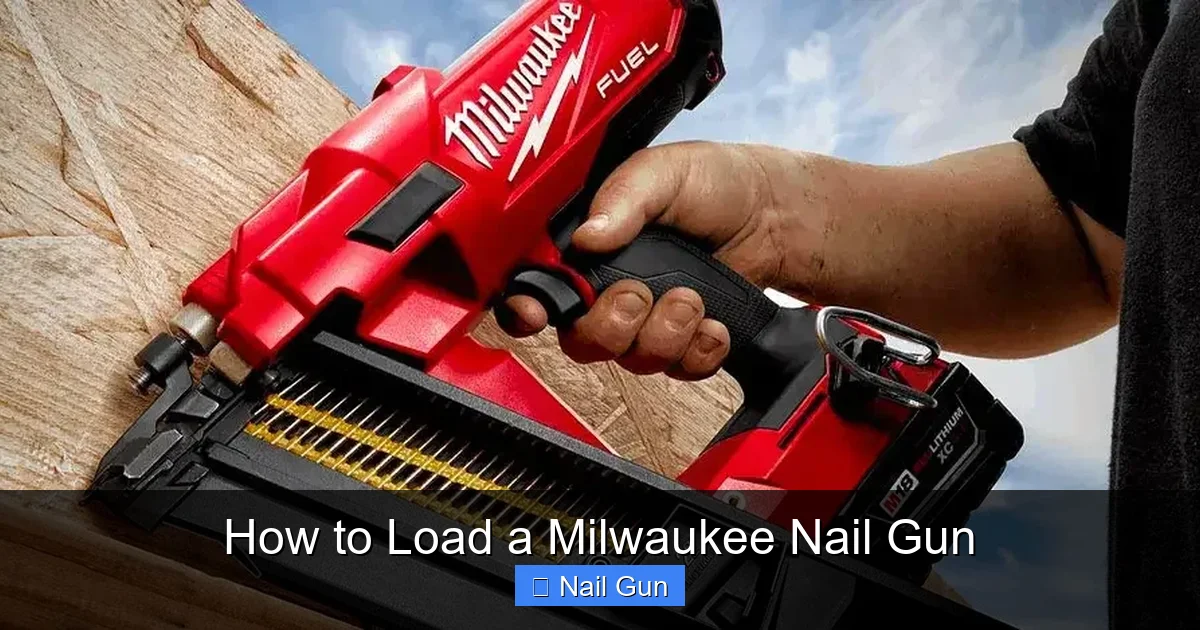
Visual guide about How to Load a Milwaukee Nail Gun
Image source: hub.its.co.uk
Step 2: Open the Magazine
Most Milwaukee nail guns have a latch or button that releases the magazine cover. Depending on your model:
- Framing Nailers: Usually have a side latch or top cover.
- Finish or Brad Nailers: Often have a slide or thumb latch.
Gently press or slide the latch to open the magazine, exposing the nail chamber.
Step 3: Remove Any Jams or Old Nails
If your magazine has leftover nails or jams, clear them out with pliers or by hand. Use a nail punch or similar tool if nails are stuck tightly.
Make sure the chamber is completely clear before proceeding.
Step 4: Load the Nails
Determine the Correct Orientation
Nails should be loaded with the head pointing down and the pointed end facing forward, aligned with the magazine’s feeding mechanism. Check your manual for specific orientation instructions.
Insert the Nails
- Hold the nails in your hand or use a tool to guide them into the magazine.
- Place the nails so they sit snugly, touching the bottom of the magazine.
- Ensure the nails are aligned properly and not bent or crooked.
Be cautious not to force nails in if they don’t fit; this might indicate you have the wrong size or type.
Step 5: Close the Magazine
Once the nails are loaded, carefully slide or close the magazine cover until it latches securely. Confirm it is fully closed—an improperly latched magazine can cause jams or misfires.
Step 6: Reconnect Power or Air Supply
After ensuring everything is properly loaded and closed, reconnect your nail gun to its power source or air compressor. Do this carefully and check for leaks or issues.
Step 7: Test Your Nail Gun
Before starting your actual project, test the nail gun on a scrap piece of wood. Hold the tool firmly and press the trigger to ensure nails are firing correctly. Adjust your grip or settings if necessary.
Practical Tips for Loading Your Milwaukee Nail Gun
- Use the right nails: Always match the nail size, gauge, and type to your specific Milwaukee model.
- Handle nails carefully: Keep nails organized in a container to prevent bending and jams.
- Maintain your tool: Regularly clean your nail gun to prevent debris buildup that can cause jams.
- Avoid overloading: Don’t cram extra nails into the magazine; follow manufacturer guidelines.
- Store nails properly: Keep nails in a dry place to prevent rust and corrosion.
Troubleshooting Common Loading Issues
Jammed Nails
If nails get stuck during or after loading, disconnect the tool immediately. Use pliers to remove jams carefully. Recheck the alignment and ensure you’re using the correct nails.
Misfiring or No Firing
Ensure nails are loaded correctly and the magazine is fully closed. Check the air pressure or power supply. Sometimes, a jam can cause misfires, so clear any blockages.
Incorrect Nail Feeding
If nails aren’t feeding properly, inspect the feeding mechanism for debris or damage. Lubricate moving parts if recommended by the manufacturer.
Conclusion
Loading a Milwaukee nail gun is a straightforward process once you understand the steps. Always prioritize safety, use the right nails, and follow the manufacturer’s instructions for your specific model. Proper loading not only ensures your tool works efficiently but also keeps you safe during your project. With a little practice, loading your Milwaukee nail gun will become a quick and routine task that keeps your workflow smooth and productive.
Final Tips
- Always disconnect the power or air supply before loading or performing maintenance.
- Use genuine Milwaukee nails for best performance.
- Keep your nail gun clean and well-maintained for optimal operation.