

In this guide, you’ll learn how to load a Ryobi nail gun safely and efficiently. We’ll walk you through each step, from preparing the tool to troubleshooting common issues, so your project stays on track.
Key Takeaways
- Safety first: Always disconnect the nail gun from power or air supply before loading.
- Use the correct nails: Ensure you select the right size and type of nails compatible with your Ryobi nail gun.
- Open the magazine: Follow proper steps to access the nail chamber safely.
- Load the nails properly: Place the nails neatly, avoiding jams or misfeeds.
- Close the magazine securely: Ensure the magazine is latched properly before use.
- Test the tool: Always test fire on scrap material to confirm correct loading.
- Regular maintenance: Keep your nail gun clean and well-maintained for optimal performance.
Introduction
If you’re working on a DIY project or professional carpentry, knowing how to load a Ryobi nail gun is essential. Proper loading not only ensures your nails fire correctly but also keeps you safe from jams or misfires. Whether you’re new to using a nail gun or just need a refresher, this guide will walk you through each step with clear instructions and helpful tips. By the end, you’ll be able to load your Ryobi nail gun confidently, so your project can move forward smoothly.
Safety Precautions Before Loading
Before you begin, always prioritize safety. A nail gun is a powerful tool that can cause injury if mishandled. Here are some safety tips:
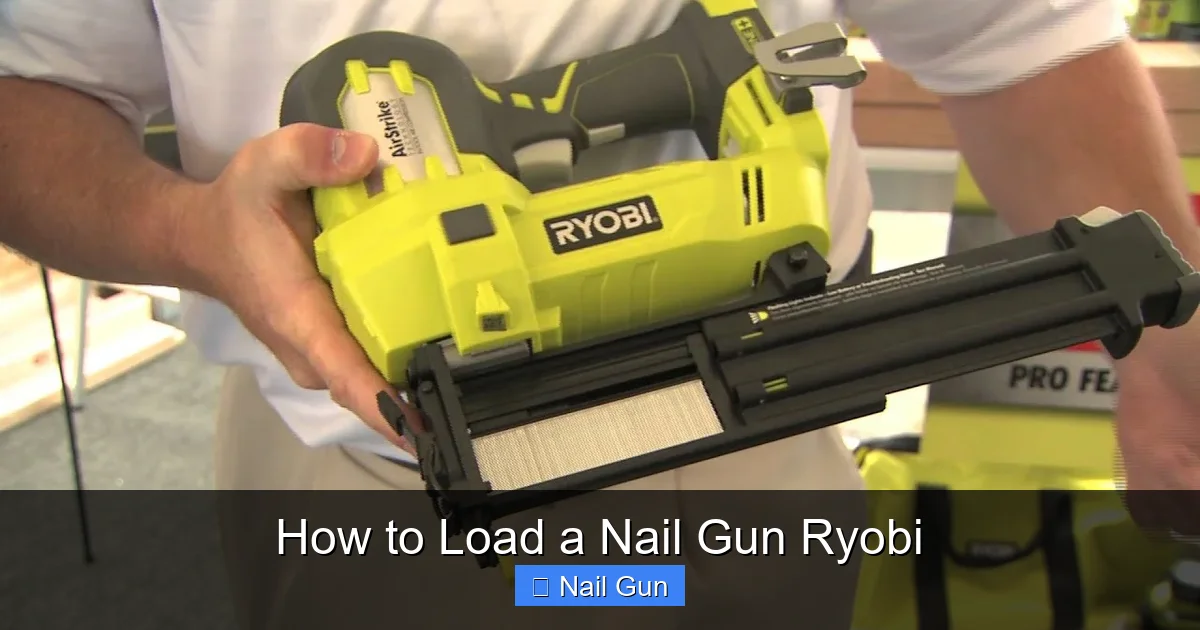
Visual guide about How to Load a Nail Gun Ryobi
Image source: storables.com
- Disconnect power: Unplug the nail gun from the power source or disconnect the air supply if it’s pneumatic.
- Wear safety gear: Use safety glasses and gloves to protect yourself.
- Work in a clear area: Make sure your workspace is clean and free of obstructions.
Following these precautions minimizes risks and prepares you for a safe loading process.
Step 1: Gather Your Materials and Tools
What You’ll Need:
- Ryobi nail gun
- Correct nails: Make sure they match your tool’s specifications
- Safety gear
- Clean workspace
Having everything ready saves time and helps prevent mistakes during loading.
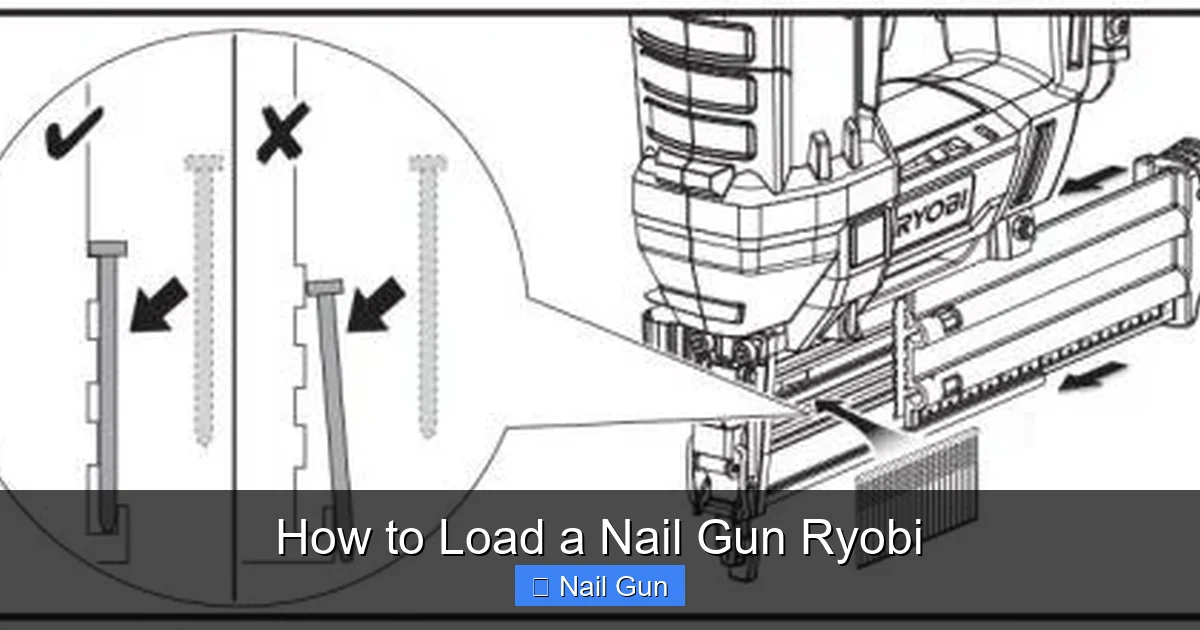
Visual guide about How to Load a Nail Gun Ryobi
Image source: support.ryobi.com.au
Step 2: Turn Off and Prepare the Nail Gun
Disconnect Power or Air Supply
Before opening the magazine, ensure your Ryobi nail gun is unplugged from the power outlet or disconnected from the air compressor. This is vital to prevent accidental firing.
Clear the Nailer
Check that there are no nails left in the chamber. If there are, carefully remove them to avoid jams or misfeeds during reloading.
Step 3: Open the Magazine
Locate the Magazine Release
Most Ryobi nail guns have a latch or button to release the magazine. It’s usually on the side or bottom of the tool.
Open the Magazine Cover
Press or slide the latch to open the magazine. Some models require you to pull down or back the cover. Consult your user manual if unsure.
Tip: Keep your fingers clear of the latch to avoid pinching.
Step 4: Load the Nails
Select the Correct Nails
Check your project specifications to select the right nails. Common sizes include 1 ¼ inch, 2 inches, etc. Make sure they are compatible with your Ryobi nail gun model.
Arrange the Nails
Place the nails into the magazine with the pointed ends facing forward. Keep the nails aligned and avoid overloading to prevent jams.
Insert the Nails
Gently push the nails into the magazine, ensuring they sit snugly against the feed mechanism. Do not force the nails in—if they resist, double-check the alignment.
Step 5: Close the Magazine
Secure the Cover
Once the nails are loaded, close the magazine cover firmly until it clicks into place. This ensures the nails are held securely and the magazine functions properly.
Check for Proper Closure
Make sure the cover is latched completely. An improperly closed magazine can cause jams or misfires.
Step 6: Test the Loaded Nail Gun
Reconnect Power or Air Supply
Plug your nail gun back in or reconnect the air compressor. Ensure everything is secure.
Test Fire on Scrap Material
Before starting your project, test the nail gun on a scrap piece of wood. Confirm that nails fire smoothly and correctly.
Tip: Always wear eye protection during testing.
Additional Tips for Maintaining Your Nail Gun
- Regular cleaning: Keep the magazine and feed mechanism free of dust and debris.
- Lubrication: Apply a few drops of oil recommended by the manufacturer to keep moving parts smooth.
- Check for jams: Clear jams immediately to prevent damage to the tool.
Troubleshooting Common Loading Issues
Jamming Nails
If nails jam or misfire, turn off the nail gun, open the magazine, and carefully remove the jammed nails. Check for damaged nails or incorrect loading.
Incorrect Nail Feed
If nails do not feed properly, ensure they are aligned correctly and that the feed mechanism is clean and free of obstructions.
Magazine Won’t Close
If the magazine cover won’t latch, check for debris or bent parts. Realign or replace damaged components as needed.
Conclusion
Loading a Ryobi nail gun is a straightforward process when you follow proper safety and handling procedures. Always disconnect the tool before loading, select the correct nails, and ensure everything is securely closed before use. With regular maintenance and careful handling, your nail gun will perform reliably and safely for all your projects. Happy nailing!
Remember:
Always refer to your specific Ryobi nail gun model’s user manual for detailed instructions and safety guidelines. Proper loading is key to efficient, safe, and accurate nailing. Keep your workspace organized, handle your tool responsibly, and enjoy your DIY or professional projects!