

Loading a Paslode nail gun is quick and easy when you follow the right steps. This guide walks you through the entire process, from preparing your tools to troubleshooting common issues. By mastering this process, you’ll keep your nail gun running smoothly and safely.
How to Load a Paslode Nail Gun
If you own a Paslode nail gun, knowing how to load it properly is essential for safe and efficient operation. Whether you’re a DIY enthusiast or a professional, this comprehensive guide will help you understand each step involved in loading your nail gun correctly. We’ll also share tips to avoid common issues like jams and misfires, ensuring your project stays on track. Let’s get started!
Key Takeaways
- Safety first: Always disconnect or disable the nail gun before loading to prevent accidents.
- Use the correct nails: Ensure you have the right size and type of nails compatible with your Paslode nail gun.
- Open the magazine properly: Follow manufacturer instructions to access the nail chamber safely.
- Load nails carefully: Insert nails aligned correctly to prevent jams and ensure smooth operation.
- Close the magazine securely: Make sure the magazine is fully closed and latched before use.
- Test the nail gun: Always test on scrap material after loading to confirm proper function.
- Regular maintenance: Keep your nail gun clean and well-maintained for optimal performance.
Understanding Your Paslode Nail Gun
Before diving into the loading process, it’s important to understand the basic parts of your Paslode nail gun. Familiarity with these components makes the task easier and safer.
- Magazine: The chamber where nails are loaded and fed into the gun.
- Nail chamber: The specific area inside the magazine where nails are placed.
- Latch or latch release: The mechanism that opens the magazine for loading.
- Trigger: The part that activates the firing process.
Different models might have slight variations, so always refer to your specific Paslode model’s manual for detailed instructions.
Preparation Before Loading
1. Gather the Right Nails
Ensure you have the correct nails for your Paslode nail gun. Check the manufacturer’s specifications for the right size, gauge, and type. Using incompatible nails can cause jams or damage your tool.
Visual guide about How to Load a Paslode Nail Gun
Image source: i.ytimg.com
2. Safety First
Disconnect the nail gun from its power source. For battery-powered models, remove the battery. For gas models, follow the manufacturer’s instructions to disable the tool. Always wear safety glasses and gloves to protect yourself during the process.
3. Clear the Area
Make sure the workspace is clean and free of obstructions. This minimizes accidents and makes it easier to handle the tool safely.
Step-by-Step Guide to Loading Your Paslode Nail Gun
Step 1: Open the Magazine
Locate the Magazine Latch
Find the latch or release mechanism on your nail gun. It’s usually on the side or top of the magazine.
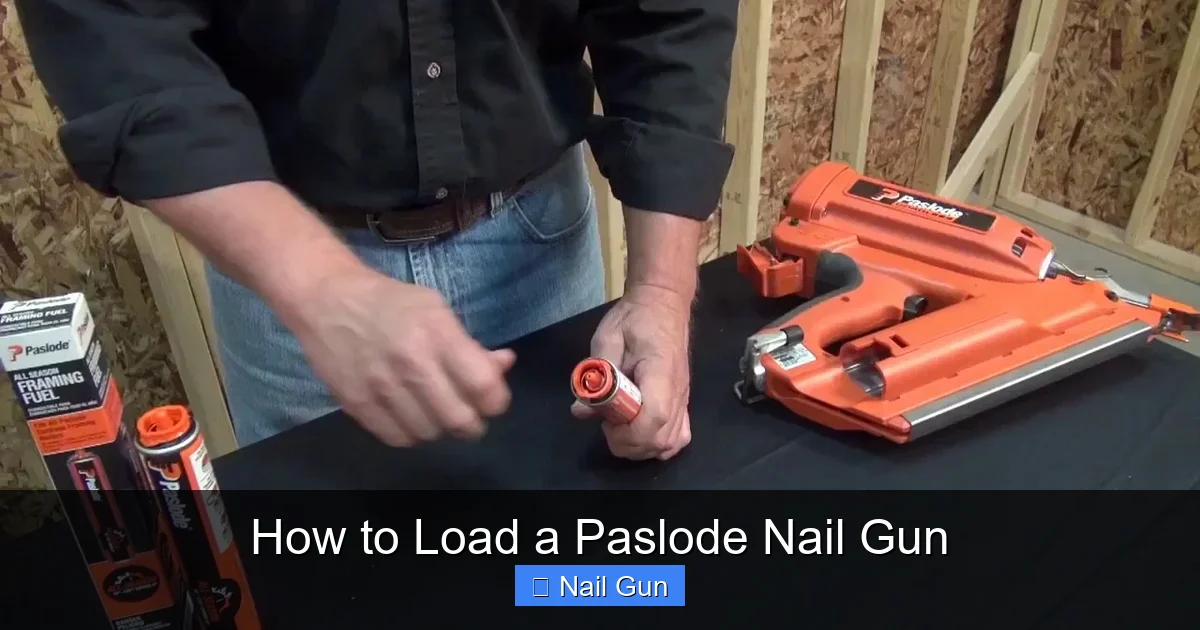
Visual guide about How to Load a Paslode Nail Gun
Image source: i.ytimg.com
Release and Open
Press or slide the latch to unlock the magazine. Carefully open the magazine door or cover, exposing the nail chamber.
Tip: Some models have a spring-loaded latch—press firmly to open smoothly.
Step 2: Prepare the Nails
Check Nail Orientation
Ensure the nails are facing the correct direction. The pointed end should face outward, ready to be driven into the material.
Load the Nails
Hold the nails in your hand or place them on a flat surface. Insert the nails into the chamber, aligning them with the feed track or channel. Make sure the nails are snug but not forced, to prevent jams.
Tip: Use the correct size and type of nails specified for your model.
Step 3: Ensure Proper Alignment
As you load, double-check that the nails are properly aligned within the magazine. Misaligned nails can cause jams or misfires.
Some models have a visual indicator or window to verify that nails are loaded correctly.
Step 4: Close and Secure the Magazine
Close the Cover
Gently close the magazine door or cover, ensuring it clicks or locks into place. Do not force it, as improper closure may cause malfunctions.
Lock the Magazine
If your model has a latch or lock, secure it properly to prevent accidental opening during operation.
Step 5: Final Checks and Testing
Inspect the Load
Make sure the nails are seated correctly and the magazine is fully closed.
Reconnect Power
Reattach the battery or enable the gas mechanism, following your model’s instructions.
Test on Scrap Material
Before heading to your project, test the nail gun on scrap wood or similar material. Confirm it fires nails correctly and smoothly.
Practical Tips for Loading and Maintaining Your Paslode Nail Gun
- Use fresh nails: Old or corroded nails can jam or cause misfires.
- Keep the magazine clean: Regularly remove dust, debris, or leftover nails to prevent jams.
- Store properly: When not in use, store your nail gun in a dry, safe place to prevent rust and damage.
- Follow the manual: Always adhere to your specific model’s instructions for safe operation and maintenance.
Troubleshooting Common Loading Issues
Jammed Nails
If nails jam inside the magazine, disconnect the tool immediately. Open the magazine and carefully remove the jammed nails. Check for damaged nails or misalignment, and reload with fresh nails.
Misfiring or No Firing
Ensure nails are loaded correctly and that the magazine is fully closed. If problems persist, check for debris or damage inside the chamber, and clean if necessary.
Magazine Not Opening
Inspect the latch or release mechanism for damage or debris. Lubricate if needed, and ensure it operates smoothly before reloading.
Conclusion
Loading a Paslode nail gun properly is vital for safety and performance. By following these simple steps—opening the magazine, loading nails correctly, securing the cover, and testing—you ensure your tool works efficiently every time. Regular maintenance and careful handling will extend the lifespan of your nail gun, making your projects safer and more successful.
Remember, always prioritize safety and consult your specific model’s manual for detailed instructions. Happy nailing!