

In this guide, you’ll discover how to load brad nails into a staple gun safely and correctly. We cover each step in detail, offering practical tips to ensure your staple gun works smoothly. Whether you’re a beginner or need a refresher, this guide will help you get the job done efficiently.
Key Takeaways
- Understand your staple gun: Different models may have unique loading mechanisms, so always read the user manual.
- Choose the right brad nails: Use brad nails compatible with your staple gun’s size and gauge for optimal performance.
- Prepare your workspace: Clear a clean, flat surface and wear safety gear like gloves and eye protection.
- Open the magazine: Locate and unlock the magazine compartment to access the loading area.
- Load the brad nails properly: Insert the nails aligned correctly, ensuring they are seated firmly without forcing.
- Close and test: Secure the magazine, test fire on scrap material, and adjust if needed for smooth operation.
- Practice safety: Always disconnect from power or remove batteries before loading to prevent accidental firing.
Introduction
If you’re tackling a DIY project or doing some professional carpentry, knowing how to load brad nails into a staple gun is essential. Proper loading ensures your staple gun works smoothly and prevents jams or damage. Whether you’re new to using a staple gun or just need a refresher, this step-by-step guide will walk you through the process with easy-to-follow instructions. Let’s get started and make sure your staple gun is ready to go for your next project!
Understanding Your Staple Gun
Before you begin, it’s important to understand your staple gun model. Not all staple guns are the same, and some may use different types of nails or staples. Typically, brad nails are used in finishing and trim work because of their small size and neat appearance. Make sure you have the right size and gauge of brad nails compatible with your staple gun.
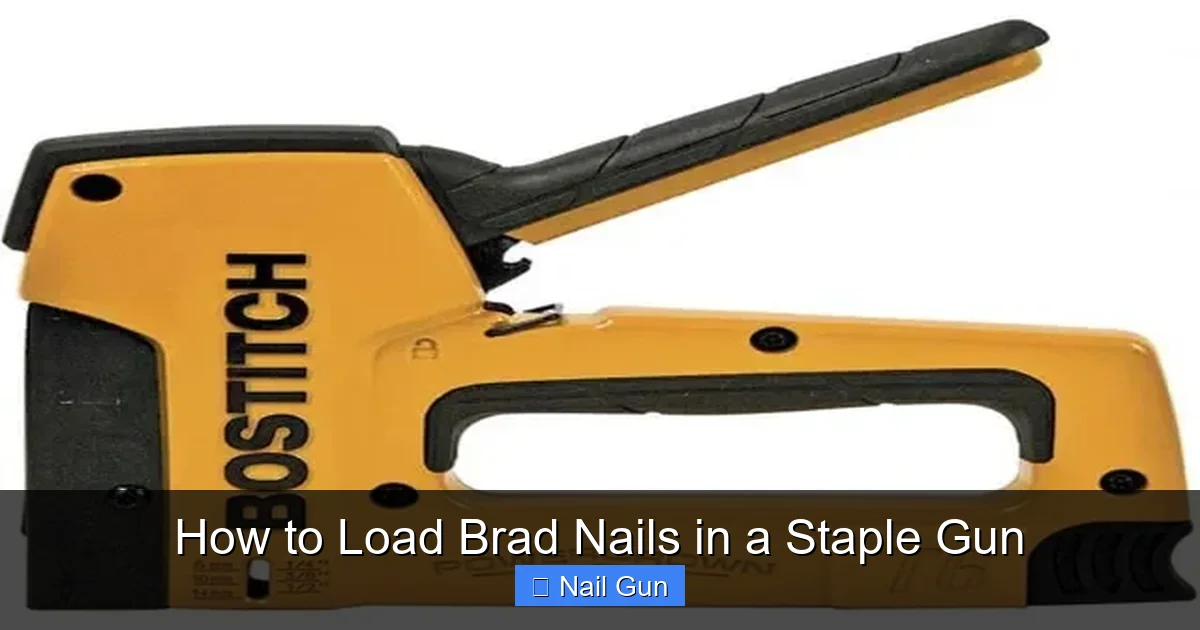
Visual guide about How to Load Brad Nails in a Staple Gun
Image source: ourhometools.com
Check the user manual or product specifications to confirm the correct size, length, and gauge of nails or brads. This will prevent damage to your tool and ensure safety and efficiency.
Gather Your Supplies
- Brad nails: Choose the right size for your project, typically ranging from ½ inch to 2 inches.
- Staple gun: Ensure it’s clean and in good working condition.
- Safety gear: Gloves, safety glasses, and a dust mask if working in a dusty environment.
- Work surface: A sturdy, flat table or workbench to place your staple gun on.
Step 1: Prepare Your Workspace
Clear and organize
Make sure your workspace is free of clutter. A clean surface helps prevent accidents and makes loading easier.
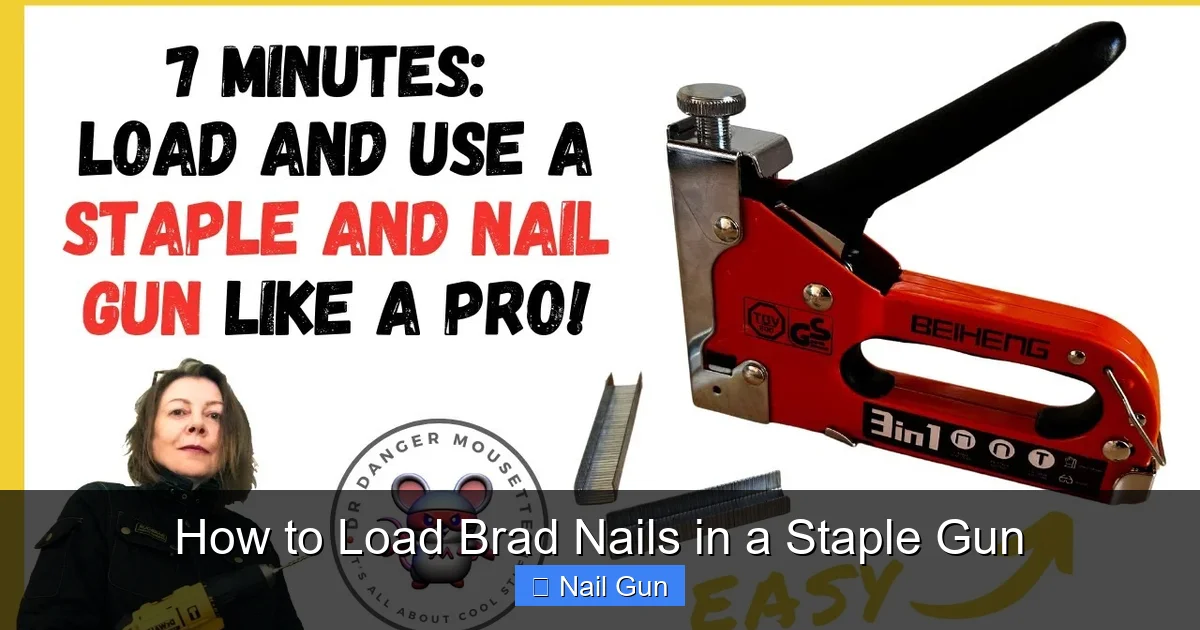
Visual guide about How to Load Brad Nails in a Staple Gun
Image source: i.ytimg.com
Safety first
Unplug or remove the battery from your staple gun before beginning. Always prioritize safety to avoid accidental firing or injuries.
Step 2: Open the Magazine
Locate the magazine latch or release
Most staple guns have a latch, button, or sliding mechanism that unlocks the magazine. This is usually found at the base or side of the tool.
Open the magazine compartment
Press or slide the latch to open the magazine. Be gentle to avoid damaging the locking mechanism. Some models have a cover that swings open, while others slide down.
Step 3: Prepare the Brad Nails
Select the correct nails
Use brad nails that match the specifications of your staple gun. Check the packaging for size and gauge details.
Inspect the nails
Ensure the nails are straight, free of rust, and not bent. Damaged nails can cause jams or misfires.
Step 4: Load the Brad Nails
Align the nails properly
Hold the brad nails so that the pointed end faces down into the magazine and the head rests against the designated area. The nails should be in a straight line, aligned with the track inside the magazine.
Insert the nails into the magazine
Gently slide the nails into the magazine’s track, making sure they sit flat and are aligned correctly. Do not force the nails; if they don’t slide in easily, check alignment and size compatibility.
Check for proper seating
Ensure all nails are seated firmly and that the magazine is not overfilled. Overloading can cause jams or feeding issues.
Step 5: Close the Magazine
Secure the magazine cover
Gently close the cover or slide the magazine back into place. Make sure it snaps or locks securely.
Test the mechanism
Before firing, press the trigger lightly to see if the nails feed smoothly. If not, recheck the alignment or remove and reload the nails.
Step 6: Test and Adjust
Test on scrap material
Always test your staple gun on scrap wood or cardboard to ensure proper loading and firing. Adjust the depth or tension if necessary, following your model’s instructions.
Make adjustments
If nails are not feeding correctly, check for jams, misalignment, or if the nails are the wrong size. Clear any jams carefully and reload if needed.
Additional Tips for Smooth Operation
- Keep the magazine clean: Dust and debris can cause jams. Wipe it regularly.
- Use compatible nails: Always match the nail size and gauge to your specific staple gun.
- Store nails properly: Keep your nails in a dry place to prevent rust and damage.
Troubleshooting Common Issues
- Jamming: Clear the jam carefully, check for bent nails, and ensure correct loading.
- Staples not feeding: Verify that the nails are properly aligned and seated. Reinsert if necessary.
- Misfiring or weak firing: Check the power source, and ensure the magazine is properly closed and loaded.
Conclusion
Loading brad nails into a staple gun is a straightforward process once you understand your tool and follow the proper steps. Remember to always handle your staple gun safely, use compatible nails, and keep the device clean. With practice, loading and firing your staple gun will become quick and easy, helping you complete your projects efficiently and safely.
Final Tips
- Regularly inspect your staple gun for wear and tear.
- Use quality nails to prevent jams and ensure smooth operation.
- Always follow manufacturer instructions for your specific model.
🎥 Related Video: How To Load Brad Nails Into The DeWALT Staple Gun Nailer
📺 The Bloke Cave
In this video, we’re going to show you how to load Brad nails into the DeWALT staple gun nailer. This is a quick and easy tutorial …