

In this guide, you’ll learn how to load a Ryobi nail gun quickly and safely. From understanding the parts to properly inserting nails, this step-by-step process helps ensure your tool works perfectly each time. Whether you’re a beginner or experienced, follow these tips for smooth operation.
Key Takeaways
- Understand your nail gun: Know the specific model and its loading mechanism to avoid mistakes.
- Safety first: Always disconnect the nail gun from power before loading to prevent accidents.
- Use compatible nails: Ensure you have the correct size and type of nails recommended for your Ryobi nail gun.
- Follow proper loading steps: Carefully insert nails in the correct orientation to prevent jams or damage.
- Check for proper loading: Confirm the nails are seated correctly before use.
- Regular maintenance: Keep your nail gun clean and well-maintained for reliable performance.
Introduction
If you own a Ryobi nail gun, knowing how to load it properly is essential for safe and efficient use. Loading your nail gun correctly prevents jams, damage, and ensures your project goes smoothly. Whether you’re a DIY enthusiast or a professional, this comprehensive guide walks you through each step to load your Ryobi nail gun confidently and safely.
Understanding Your Ryobi Nail Gun
Before loading your nail gun, it’s important to understand its parts and mechanism. Most Ryobi nail guns are either coil or stick models. This guide focuses on the common stick-type nail guns, but the general principles apply to many models.

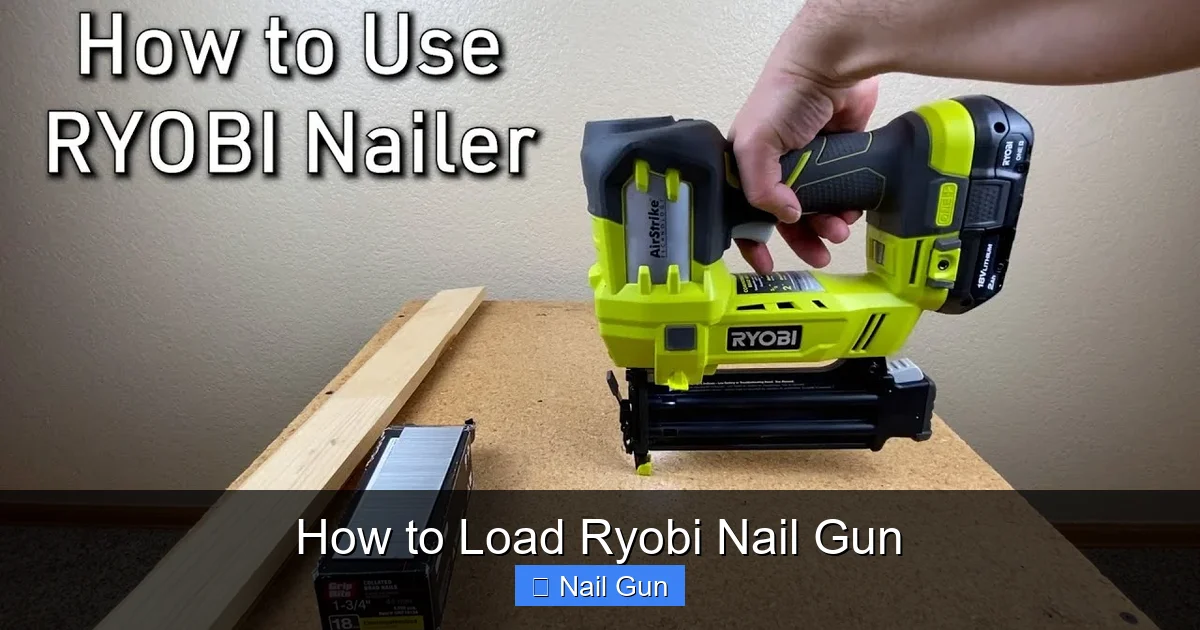
Visual guide about How to Load Ryobi Nail Gun
Image source: storables.com
- Magazine: Holds the nails and feeds them into the firing chamber.
- Loading chamber: Where nails are placed before firing.
- Trigger mechanism: Fires nails when pressed, often requiring safety features like a contact tip.
Always consult your specific model’s manual for detailed instructions and safety precautions.
Step 1: Safety Precautions
Disconnect Power Source
Before doing anything, ensure your Ryobi nail gun is disconnected from its power source. For electric models, unplug the tool. For cordless models, remove the battery.
Visual guide about How to Load Ryobi Nail Gun
Image source: i.ytimg.com
Tip: Always wear safety glasses and gloves when handling or loading your nail gun.
Step 2: Prepare Your Nails
Select the Correct Nails
Check your nail gun’s manual for the recommended nail size and type. Using incompatible nails can cause jams or damage the tool.
- Common sizes include 1-1/4″, 1-1/2″, or 2″
- Ensure nails are clean, dry, and free from rust or damage
Gather Your Supplies
Have your nails, the nail gun, and your workspace ready. Clear the area of debris and ensure good lighting.
Step 3: Open the Magazine
Locate the Magazine Release
Most Ryobi nail guns have a latch or release button. Find this on your tool, usually on the side or bottom of the magazine.
Open the Magazine
Press or slide the latch to open the magazine. Some models may require you to pull a cover or slide a door open. Be gentle to avoid damaging the latch.
Step 4: Load the Nails
Insert Nails Correctly
Hold the nails in your hand, making sure they are oriented properly. The nails should be facing the same direction as the firing mechanism.
- Ensure the nails are stacked neatly
- Insert nails into the magazine, aligning the pointed ends toward the firing end
- Keep the nails flat against the magazine wall
Check the Nails’ Alignment
Make sure nails are seated properly and are not bent or crooked. Improper alignment can cause jams or misfires.
Step 5: Close the Magazine
Secure the Cover
Once nails are loaded, close the magazine cover securely. Ensure it clicks into place and is fully latched.
Tip: Double-check that the nails are seated correctly before proceeding.
Step 6: Perform a Function Check
Reconnect Power and Test
Reconnect the battery or plug in the tool. Without firing nails, press the trigger and test the contact tip if applicable. Ensure the nail gun is functioning properly and there are no jams.
If you notice any issues, disconnect power immediately and recheck the loading process.
Additional Tips for Proper Loading
- Use the right nails: Always use nails compatible with your specific Ryobi model.
- Keep nails dry and clean: Moisture or dirt can cause jams.
- Regularly inspect your nail gun: Clean the magazine and check for wear or damage.
- Practice safety: Never load or unload with the tool connected to power during adjustments.
Troubleshooting Common Loading Issues
Jams or Nails Not Feeding
Ensure nails are properly aligned and seated. Clear any jams by removing the nails and inspecting the magazine for debris or damage.
Misfiring or Double Firing
Check if the contact tip is properly pressed and the trigger is functioning correctly. Clean the contact points if needed.
Inconsistent Nail Feeding
Inspect the magazine for obstructions or bent nails. Replace damaged parts if necessary.
Conclusion
Loading your Ryobi nail gun correctly is crucial for safety and optimal performance. By following these simple steps—disconnecting power, preparing nails, opening the magazine, inserting nails properly, and performing a check—you can ensure your tool operates smoothly every time. Regular maintenance and careful handling will extend the life of your nail gun and make your projects more efficient.
Final Tips
- Always consult your specific model’s manual for detailed instructions.
- Practice loading your nail gun a few times before starting your project.
- Store nails in a dry, safe place to prevent rust and damage.
🎥 Related Video: How to Use Ryobi 18 Gauge Cordless Brad Nailer
📺 The Fixer 2
In this video I give you the basic run-down of the Ryobi battery powered 18 gauge brad nailer. https://youtu.be/lXroOHmS_II Buy …