

Are you tired of struggling to drill precise holes with your handheld drill? Imagine having a drill press right at your fingertips—one that you built yourself, perfectly tailored to your needs.
Making a DIY drill press might sound tricky, but it’s easier than you think. In this guide, you’ll discover simple steps and smart tips to create a reliable drill press without spending a fortune. Ready to boost your woodworking or DIY projects with better accuracy and control?
Keep reading, and let’s get started!
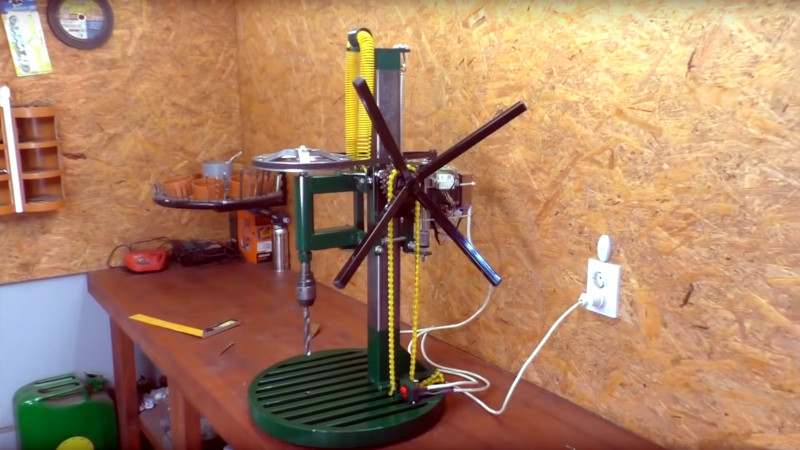
Credit: hackaday.com
Tools And Materials Needed
Building a DIY drill press requires specific tools and materials. Having the right items makes the project easier and safer. This section lists everything you need to get started. Prepare well to avoid interruptions during your build.
Basic Tools
- Power drill with variable speed
- Drill bits of various sizes
- Screwdrivers (both flathead and Phillips)
- Adjustable wrench
- Measuring tape or ruler
- Clamps to hold parts firmly
- Hand saw or jigsaw for cutting wood
- Hammer
- Electric sander or sandpaper
- Drill chuck key
Materials List
- Wood board for the base (preferably hardwood)
- Wood or metal for the vertical column
- Metal or wood for the drill press table
- Bolts, nuts, and washers for assembly
- Springs for tension control
- Metal rods or pipes for guides
- Wood glue or strong adhesive
- Paint or varnish for finishing
- Rubber feet or pads to reduce vibration
Safety Gear
- Safety goggles to protect eyes
- Work gloves for hand protection
- Dust mask to avoid inhaling dust
- Ear protection if using loud power tools
- Close-fitting clothes to prevent accidents
- Clear, well-lit workspace
Choosing The Right Drill
Choosing the right drill is key to building a reliable DIY drill press. The drill you pick affects how well your project works. It also impacts safety and ease of use. Picking a drill means thinking about power, speed, and type. This guide helps you understand these points clearly.
Corded Vs Cordless
Corded drills need to be plugged into power. They offer steady power without breaks. Corded drills usually weigh less and cost less. They are good for long projects.
Cordless drills run on batteries. They give freedom to move anywhere. Battery life limits how long they work. Cordless drills are handy for quick jobs or places without power.
Power And Speed Considerations
Power is how strong the drill spins. More power means it can drill tougher materials. Look for drills with enough power for your needs.
Speed means how fast the drill bit turns. Some drills have variable speeds. Slow speed is good for big holes. High speed works well for small holes and soft materials.
Building The Base
Building a strong base is the first step in making your DIY drill press stable and safe. The base supports the entire tool, so it must be sturdy and well-prepared. A good base helps keep your drill steady and reduces vibrations during use. Focus on materials and precise cutting to create a solid foundation.
Selecting The Base Material
Choose a material that is heavy and durable. Wood like plywood or MDF works well for most DIY projects. Metal bases offer extra strength but need more tools to work with. Avoid soft or thin materials that may bend or break easily. The base should hold the weight of the drill and the workpiece firmly.
Cutting And Preparing The Base
Measure your base material carefully to fit your drill press design. Use a saw to cut the base to the correct size and shape. Sand the edges smooth to prevent splinters or rough spots. Drill holes where the drill press will attach. Make sure all parts fit tightly and securely on the base before assembly.

Credit: www.youtube.com
Constructing The Support Column
The support column is the backbone of your DIY drill press. It holds the drill steady and guides its movement. A strong, stable column ensures accurate drilling and safety. Building this part with care makes your project reliable and long-lasting.
Material Options
Choose a material that is sturdy and straight. Steel pipes work well for strength and durability. Aluminum tubes are lighter but still strong. Wood can be used but must be thick and solid. Avoid weak or flexible materials that bend easily. The column should resist bending under pressure.
Mounting Techniques
Secure the column firmly to your base for stability. Use clamps or brackets made of metal for a tight hold. Bolts with nuts provide a strong, fixed connection. Welding is an option if using metal parts. Make sure the column is vertical and does not wobble. Check alignment before tightening all mounts.
Attaching The Drill Holder
Attaching the drill holder is a key step in building your DIY drill press. It keeps the drill steady and aligned. A good holder improves accuracy and safety during drilling. Take care to design and secure the holder well. This section explains how to do both.
Designing The Holder
Start by measuring your drill’s size. The holder must fit snugly without wobbling. Use wood or metal for strong support. Shape the holder to hold the drill vertically. Make sure you leave room for the drill’s handle and trigger. Drill holes or slots can help tighten straps or clamps. The holder should allow easy removal and reattachment of the drill.
Securing The Drill
Use clamps, bolts, or straps to fasten the drill firmly. Check that the drill cannot move side to side or up and down. Tighten all screws or fasteners securely. Test the holder by gently shaking the drill. Adjust the holder if the drill feels loose. Proper securing prevents accidents and ensures smooth drilling.
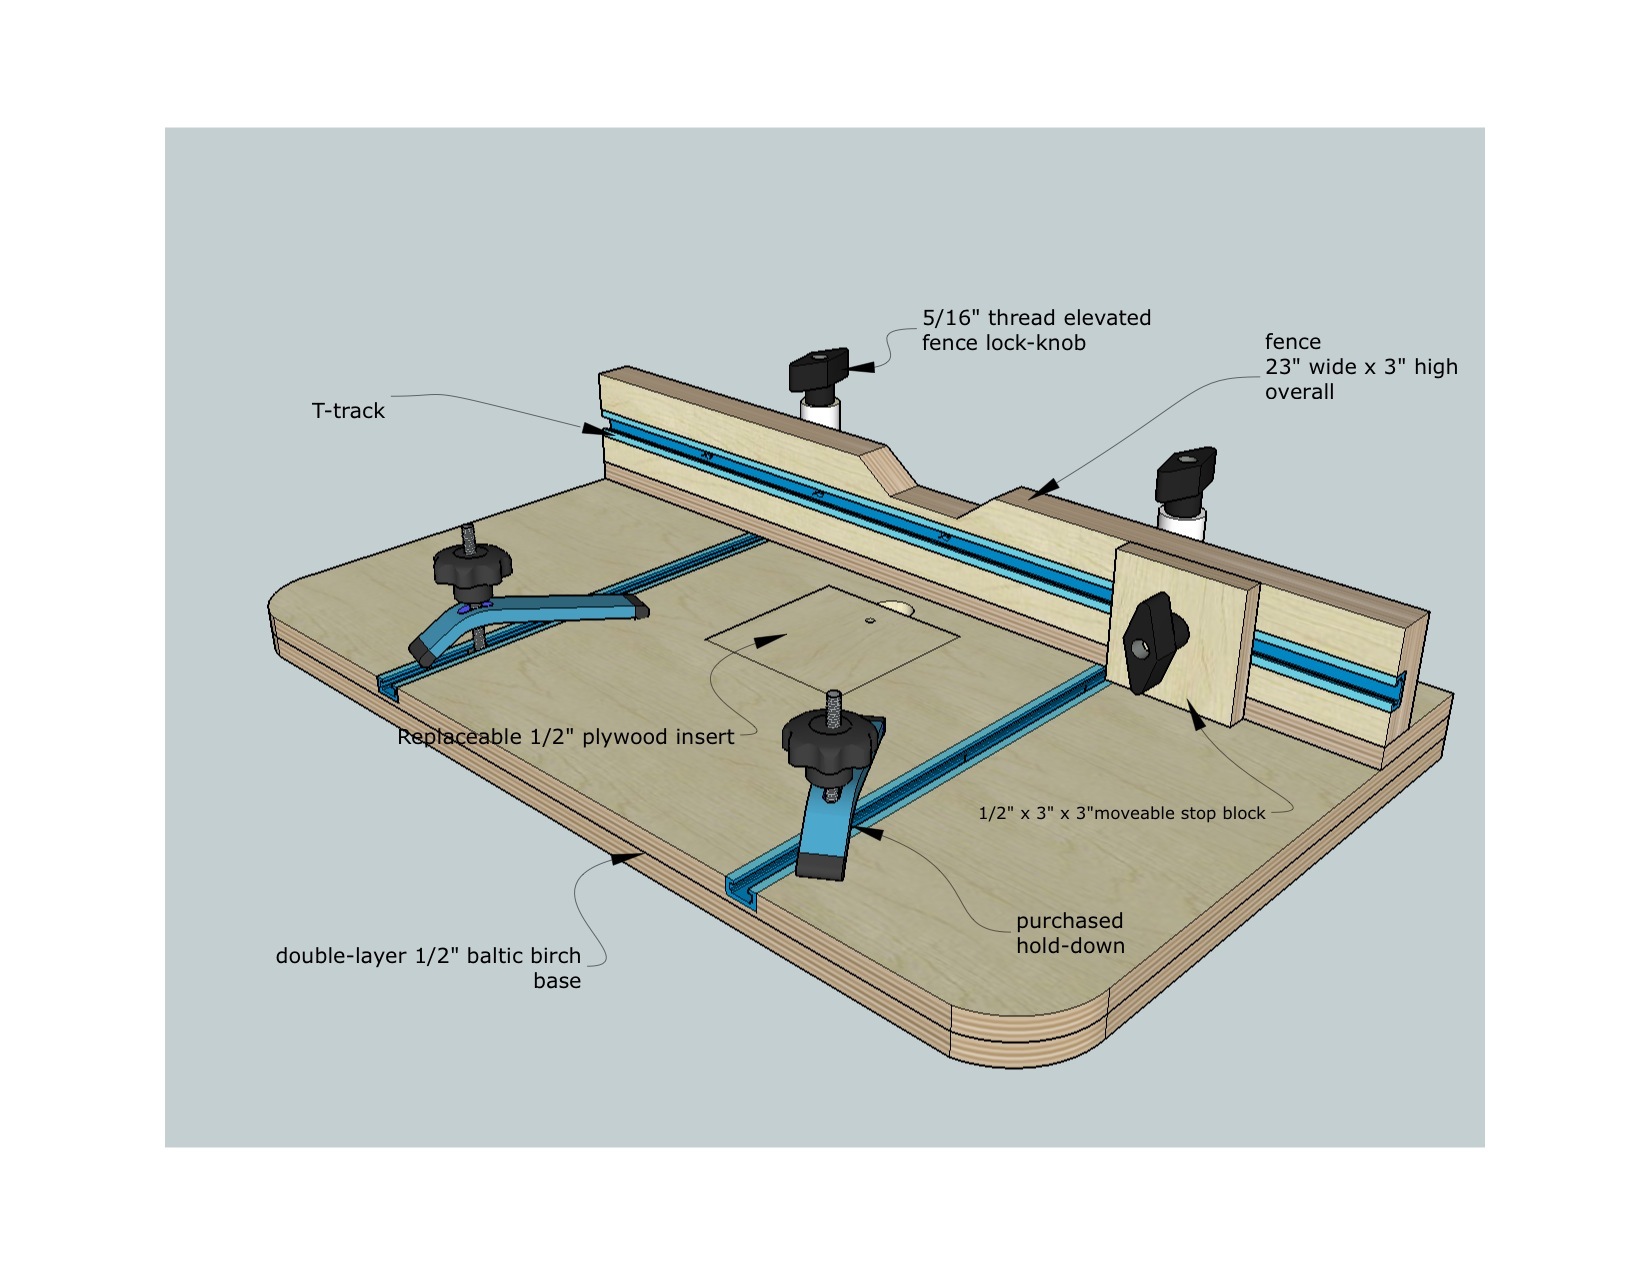
Adding The Adjustable Table
Adding an adjustable table to your DIY drill press improves its use. It allows you to work on different materials and sizes. The table should be strong and easy to move up or down. This section explains how to build the table and adjust its height.
Table Materials
Choose materials that are sturdy and durable. Plywood or medium-density fiberboard (MDF) work well. These materials are easy to cut and smooth. A metal sheet can add extra strength if needed. Make sure the table surface is flat for precise drilling. Sand the edges to avoid splinters or injuries. A simple finish like paint or varnish protects the wood from moisture.
Height Adjustment Mechanism
The table needs to move up and down smoothly. Use a vertical metal rod or threaded pipe for support. Attach the table to a sliding bracket that fits around the rod. This bracket should lock the table in place securely. A hand crank or knob can help raise or lower the table. Make sure the mechanism is easy to operate with one hand. Test the height adjustment several times for stability.
Installing The Depth Stop
Installing the depth stop is a key step in building your DIY drill press. It controls how deep the drill bit goes into the material. This ensures consistent hole depth every time.
The depth stop saves material and prevents damage to your workpiece. It also helps keep your projects accurate and safe.
Purpose Of Depth Stop
The depth stop limits the drill’s travel. It prevents drilling too far into the material. This is important for precise holes and protecting the drill bit.
Using a depth stop helps avoid mistakes. It keeps each hole the same depth. This is useful for woodworking, metalworking, and other projects.
Simple Depth Stop Designs
Simple depth stops are easy to make and install. One common design uses a metal rod or bolt as a stop.
Attach the rod to the drill press column. Adjust the rod to the needed depth. Tighten it so it stops the drill at the right point.
Another design uses a collar clamp on the drill bit shaft. Set the collar at the desired depth. The collar stops the bit from going deeper.
Both designs are low cost and effective. They keep your drilling accurate without complex parts.
Testing And Calibration
Testing and calibration are key steps after building your DIY drill press. They ensure your tool works safely and accurately. Proper checks help avoid mistakes during drilling and improve your project’s quality.
Take time to test the drill press before regular use. Small adjustments can make a big difference. Each part must align perfectly to drill straight holes every time.
Aligning The Drill
Start by checking the drill bit’s alignment with the work surface. Lower the bit slowly to see if it hits the center of your test piece. Move the drill or the work platform slightly if needed.
Use a square or ruler to check if the drill stands straight up. Adjust the vertical column or base to fix any tilt. The drill bit should be perfectly perpendicular to the table.
Trial Drilling
Choose a scrap piece of wood for test drilling. Mark a spot and drill slowly. Watch for any wobble or uneven holes.
Check the hole size and smoothness. If the hole is off-center or rough, realign and try again. Repeat until the drill press makes clean, straight holes.
Maintenance Tips
Maintaining your DIY drill press is key for safety and long life. Simple care steps keep it working smoothly. Regular checks prevent bigger problems. Follow these tips to keep your tool in top shape.
Cleaning The Drill Press
Dust and debris can harm your drill press. Clean it after each use. Use a soft brush or cloth. Remove metal shavings and dirt from the table and base. Avoid water to protect metal parts. A clean machine works better and lasts longer.
Lubrication And Upkeep
Lubricate moving parts often. Use machine oil on the spindle and gears. This reduces friction and wear. Check belts and pulleys for damage. Tighten loose screws and bolts regularly. Proper lubrication keeps the drill press running smooth and quiet.
Credit: www.wwgoa.com
Frequently Asked Questions
What Materials Do I Need To Build A Diy Drill Press?
You need wood or metal for the frame, a drill, clamps, screws, and a base. Safety gear is essential too. Choose sturdy materials for durability and stability during drilling tasks.
How Can I Ensure Drill Press Stability?
Secure the base firmly to your workbench. Use heavy materials for the base. Tighten all screws and clamps. Stability prevents errors and improves safety during operation.
Can I Use Any Drill For A Diy Drill Press?
Most standard drills work well. Ensure the drill fits your press holder securely. Cordless drills are convenient but check battery life for extended use.
How Do I Adjust The Drill Press Depth Accurately?
Use a depth stop mechanism or mark measurements on the drill rod. Adjust before each use. Accurate depth control prevents damage and ensures consistent drilling results.
Conclusion
Building a DIY drill press saves money and adds convenience. It helps you drill straight and steady every time. You only need basic tools and some patience. Safety matters—always wear goggles and keep hands clear. This project suits beginners and hobbyists alike.
Try it out and enjoy better results in your work. Simple steps make a big difference in your workshop. Give yourself the chance to create something useful today.