

Are you tired of waiting for your cordless drill to charge or hunting for a replacement charger that fits? What if you could make your own cordless drill charger quickly and easily?
Imagine saving money and having a reliable charger ready whenever you need it. In this guide, you’ll discover simple steps to build a charger that works perfectly with your cordless drill. Keep reading, and you’ll be powering up your tools in no time!
Choosing The Right Components
Choosing the right components is the first step in making a cordless drill charger. Each part must work well together. This ensures the charger is safe and effective. Picking poor components can cause damage or slow charging. Focus on quality and compatibility for best results.
Selecting A Compatible Battery
The battery is the heart of the cordless drill charger. Choose a battery that matches your drill’s voltage. Check the battery type, such as lithium-ion or nickel-cadmium. The charger must support the battery’s chemistry. Using the wrong battery can cause overheating or failure. Always use batteries recommended by the drill manufacturer.
Picking The Appropriate Charger Circuit
The charger circuit controls the charging process. It prevents overcharging and protects the battery. Choose a circuit that fits your battery’s voltage and current needs. Some circuits include safety features like short-circuit protection. Simple circuits work for basic chargers. Smart circuits offer better control and longer battery life. Match the circuit type to your project skill level.
Gathering Necessary Tools And Materials
Good tools make the building process easier and safer. Gather a soldering iron, wire cutters, screwdrivers, and a multimeter. Use quality wires and connectors for strong connections. Have a small plastic or metal box to hold the charger parts. Safety glasses and gloves protect your hands and eyes. Prepare all materials before starting to avoid delays.
Preparing The Battery Pack
Preparing the battery pack is a key step in making a cordless drill charger. It involves careful checks and proper handling. This process ensures safety and improves charger performance.
Start by examining the battery pack closely. Look for any visible issues before taking it apart. Handling the battery with care is important to avoid damage or injury.
Inspecting The Battery For Damage
Check the battery pack for cracks, leaks, or swelling. Damaged batteries can be unsafe and should not be used. Look for corrosion on the terminals or any unusual smells. These signs mean the battery pack needs replacement.
Disassembling The Battery Case
Use the right tools to open the battery case gently. Avoid breaking any clips or plastic parts. Keep track of screws and small pieces. Carefully separate the battery cells without bending or puncturing them.
Connecting Battery Cells Safely
Arrange the battery cells in the correct order. Use proper connectors to join the cells securely. Avoid touching the terminals with bare hands. Double-check connections to prevent short circuits or loose contacts.
Building The Charger Circuit
Building the charger circuit is a key step in making a cordless drill charger. This part controls the flow of electricity to the battery. It ensures the battery charges safely and correctly. Understanding the circuit helps you avoid damage to the battery and drill.
Understanding Charging Requirements
Each cordless drill battery needs a specific voltage and current. These values depend on the battery type and size. Most drills use lithium-ion or nickel-cadmium batteries. Check the battery label or manual for exact numbers. Proper voltage and current protect the battery from overcharging.
Wiring The Charging Module
The charging module connects the power source to the battery. Use wires that handle the required current safely. Connect the positive and negative terminals correctly. Wrong connections can cause short circuits or damage. Secure all connections with solder or strong clips.
Adding Safety Features
Safety features stop overcharging and overheating. Include a fuse to protect against high currents. Use a temperature sensor to monitor battery heat. A voltage regulator keeps the charge within safe limits. These features extend battery life and prevent accidents.

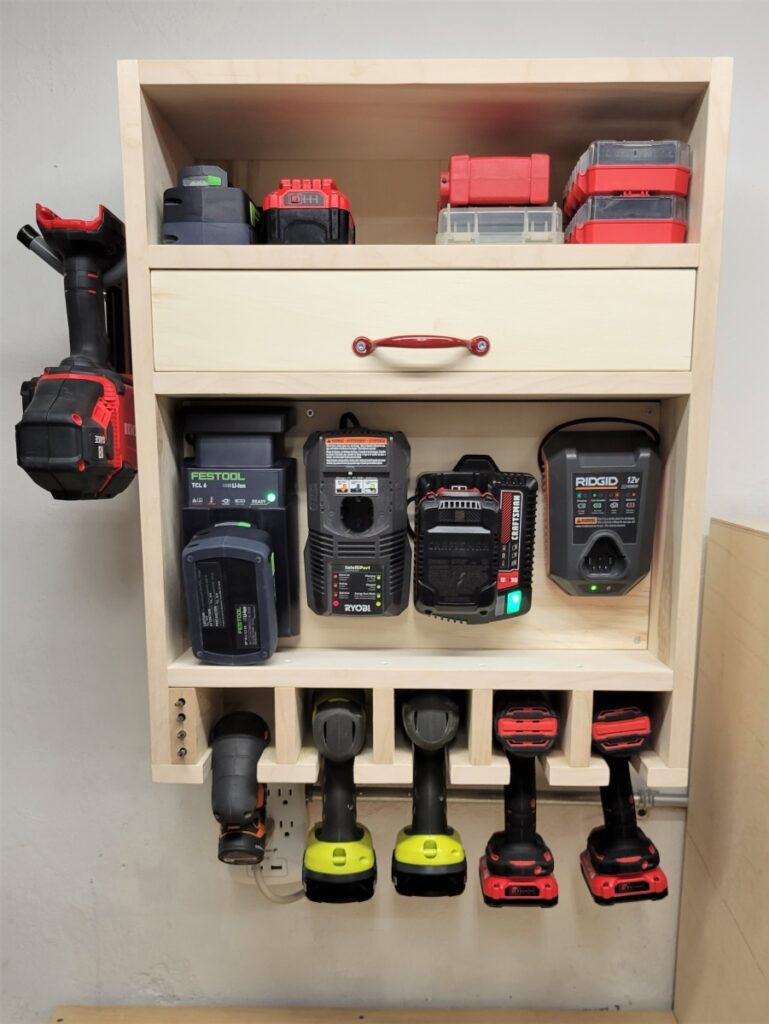
Credit: www.woodsmithplans.com
Assembling The Charger
Assembling the cordless drill charger is a key step in creating a reliable power source. This part needs focus and care. A well-assembled charger ensures safety and good performance. Follow each step carefully to build a charger that lasts.
Mounting Components Securely
Start by fixing all parts firmly in place. Use screws or clips to hold the circuit board. Make sure the wires do not move or touch each other. Loose parts can cause short circuits or damage. Tighten every connection but avoid over-tightening to prevent breaks.
Ensuring Proper Ventilation
Keep space around the charger for air to flow. Ventilation helps stop overheating during charging. Place vents or small holes in the charger case. Avoid covering these openings with wires or tape. Good airflow keeps the charger cool and safe.
Testing Connections Before Use
Check every wire and joint before powering the charger. Use a multimeter to test for correct voltage and continuity. Confirm no wires are crossed or loose. Testing prevents damage to the drill battery and charger. Only use the charger if all tests pass.
Testing And Troubleshooting
Testing and troubleshooting are key steps after making a cordless drill charger. These steps ensure the charger works safely and efficiently. Checking the charging system helps avoid damage to your drill battery. Troubleshooting helps find and fix common problems quickly.
Checking Charging Voltage And Current
Start by measuring the voltage output of the charger. Use a multimeter to check the voltage at the charger’s output terminals. The voltage should match the battery’s charging requirements. Next, check the current flowing to the battery. A low current may mean a weak connection or a faulty component. High current can damage the battery or charger. Testing voltage and current ensures the charger supplies the right power.
Identifying Common Issues
Look for simple problems first. Loose wires or poor solder joints often cause charging issues. Dirty contacts can block the flow of electricity. Overheating parts show signs of wear or damage. The battery may not charge if the charger’s circuit board is faulty. Checking these points helps find the root cause of charging failure fast.
Fixing Charging Problems
Fix loose wires by re-soldering or tightening connectors. Clean dirty contacts with rubbing alcohol and a soft cloth. Replace damaged parts like resistors or diodes with new ones. If the circuit board is broken, consider swapping it out. Test the charger again after repairs. Proper fixing keeps your cordless drill charger working longer and safer.
Credit: www.diymontreal.com
Safety Tips And Best Practices
Using a cordless drill charger safely keeps you and your tools protected. Following best practices helps your charger and batteries last longer. Simple steps make charging safe and efficient. Here are some key tips for handling your cordless drill charger.
Handling Batteries With Care
Always handle batteries gently. Avoid dropping or hitting them hard. Damaged batteries can leak or cause fires. Store batteries in a cool, dry place away from metal objects. Use the charger designed for your battery type. Mixing battery brands or types can cause problems.
Avoiding Overcharging
Do not leave batteries charging too long. Overcharging can reduce battery life or cause overheating. Unplug the charger once the battery is full. Use chargers with an automatic shut-off feature if possible. Charge batteries in a well-ventilated area to prevent heat build-up.
Maintaining Your Charger
Keep the charger clean and dust-free. Check cords and plugs regularly for damage. Replace any frayed or broken parts immediately. Avoid exposing the charger to water or extreme temperatures. Store the charger in a safe, dry place when not in use.
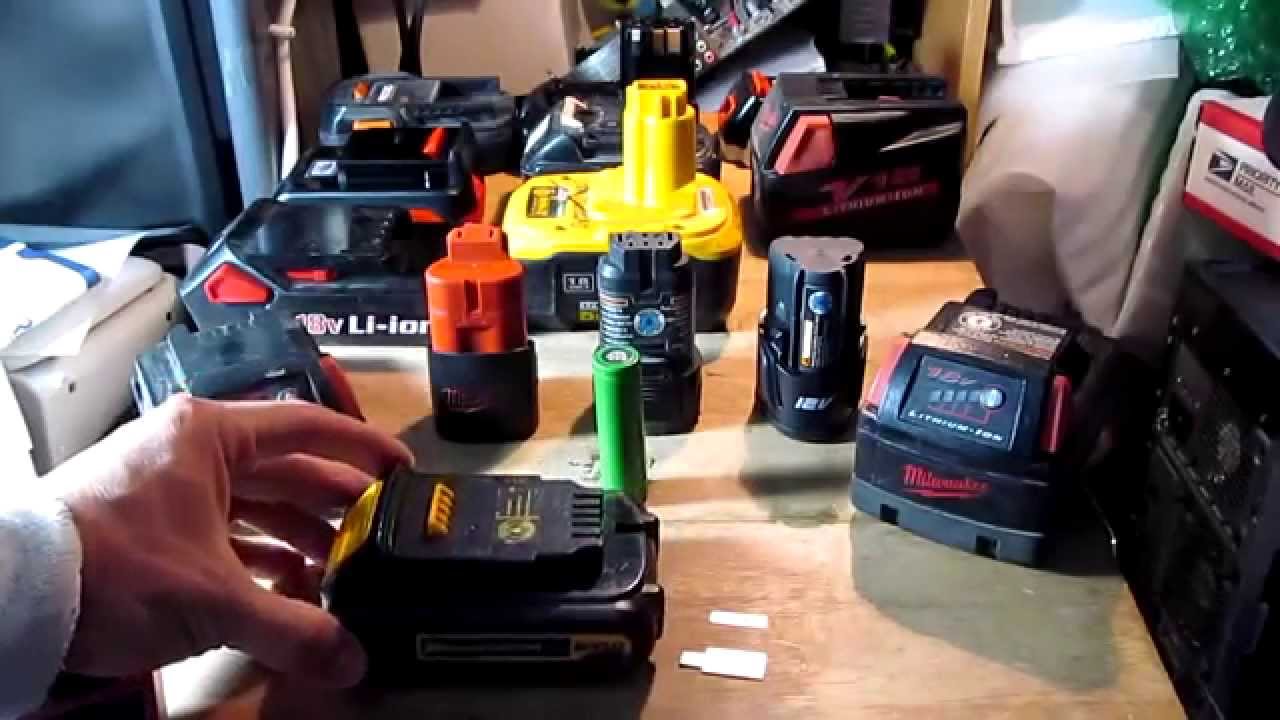
Credit: www.youtube.com
Frequently Asked Questions
How Do I Make A Cordless Drill Charger At Home?
You can make a cordless drill charger by using a compatible power adapter and wiring it correctly. Ensure the voltage matches the drill battery specifications. Use a proper connector to fit the battery terminals safely. Follow safety guidelines to avoid electric hazards.
What Materials Are Needed For A Cordless Drill Charger?
You need a power adapter, voltage regulator, connector plug, wires, and a casing. The power adapter should match your battery’s voltage. A voltage regulator ensures stable charging. Proper connectors and insulation keep the charger safe and functional.
How Long Does It Take To Charge A Cordless Drill Battery?
Charging time varies by battery capacity and charger output. Typically, it takes 1 to 3 hours for a full charge. Fast chargers reduce this time but may reduce battery life. Always follow manufacturer recommendations for optimal charging.
Is It Safe To Build My Own Cordless Drill Charger?
Yes, if you follow proper electrical safety and use correct components. Avoid overcharging or using incompatible parts to prevent damage or injury. Double-check wiring and insulation before use. When in doubt, consult an expert or buy a certified charger.
Conclusion
Making a cordless drill charger is simple and saves money. You only need some basic tools and materials. Follow the steps carefully to build a reliable charger. Testing it ensures your drill stays powered longer. This project helps you understand your drill better.
Try it yourself and enjoy the satisfaction of DIY work. Small efforts bring great results. Keep your tools ready anytime without extra costs. A handy charger is useful in many situations. Give it a try and see the difference.