

Have you ever needed to fix something quickly, only to realize your cordless drill won’t open? Knowing how to open your cordless drill properly can save you time, frustration, and even money.
Whether you want to change the battery, clean the inside, or fix a jam, this simple skill puts you in control. In this guide, you’ll discover clear, step-by-step instructions that anyone can follow. Ready to make your cordless drill work like new again?
Keep reading, and you’ll master it in no time.
Tools Needed
Basic tools like a screwdriver set and a small wrench help open a cordless drill. A clean workspace also makes the process easier. Safety gloves protect your hands during the task.
Basic Screwdriver Set
A basic screwdriver set is essential for opening a cordless drill. Most drills use screws to hold the casing together. A Phillips head and flathead screwdriver will cover common screw types. Choose screwdrivers with comfortable handles for better grip and control.
Plastic Pry Tools
Plastic pry tools help separate the drill casing without damage. They are gentle on plastic and metal parts. Using a metal tool might scratch or break the drill’s surface. Pry tools allow you to open the drill carefully and safely.
Small Wrench Or Pliers
A small wrench or pliers can be useful for loosening tight parts inside the drill. Sometimes, nuts or bolts hold internal components. These tools provide the grip needed to remove them. Use them gently to avoid stripping or breaking parts.
Safety Gear
Safety gear protects you during the process. Wear safety glasses to shield your eyes from dust and debris. Gloves protect your hands from sharp edges inside the drill. Always work in a clean, well-lit area to avoid accidents.

Credit: www.youtube.com
Safety Precautions
Opening a cordless drill requires care and attention. Safety comes first. Without proper precautions, accidents can happen. Follow these steps to stay safe while handling your drill.
Turn Off And Unplug The Drill
Always switch off the drill before opening it. Remove the battery to stop any power flow. This prevents the drill from starting by accident.
Wear Protective Gear
Use safety glasses to protect your eyes. Gloves help avoid cuts and scratches. Wear clothes that cover your skin well.
Work In A Clean, Well-lit Area
Choose a tidy workspace to avoid losing small parts. Good lighting helps you see clearly. It lowers the chance of mistakes.
Handle Tools Carefully
Use the right screwdriver to open screws. Avoid forcing parts apart. Gentle movements keep the drill and you safe.
Keep Small Parts Organized
Place screws and tiny pieces in a container. This keeps them from getting lost. It also helps during reassembly.
Removing The Battery
Removing the battery is the first step to safely open a cordless drill. It stops the drill from turning on by accident. This makes handling the drill easier and safer. Always remove the battery before opening the drill.
Locate The Battery Release Button
Most cordless drills have a button or latch near the battery. This button locks the battery in place. Find the button before trying to remove the battery. It is usually easy to spot.
Press And Hold The Release Button
Press the button firmly. Hold it down to unlock the battery. This action releases the battery from the drill. Keep the button pressed while pulling the battery out.
Pull The Battery Out Carefully
Gently pull the battery away from the drill. Do not use too much force. The battery should slide out smoothly. If stuck, check the release button again.
Check The Battery For Damage
Look at the battery after removal. Check for cracks or leaks. Damaged batteries can be dangerous. Replace any battery that looks worn or broken.
Locating Screws And Fasteners
Locating screws and fasteners is the first step to open a cordless drill. These screws hold the drill’s casing together. Finding them helps you take the drill apart safely. Some screws hide under stickers or rubber pads. Others are visible on the drill body.
Knowing where to look saves time and prevents damage. Each cordless drill model may have screws in different spots. Carefully checking the drill’s surface reveals these fasteners. Use a bright light and a magnifying glass if needed. This makes hidden screws easier to spot.
Check Around The Battery Compartment
The battery compartment often hides screws. Remove the battery first. Look inside the battery slot for small screws. These keep the drill’s body secured. Sometimes screws sit near the battery door hinges. Inspect this area closely.
Inspect The Handle And Grip Area
The handle or grip often contains hidden screws. These secure the drill’s internal parts. Feel for small holes or indentations. Remove any rubber covers or stickers. Screws might be underneath these covers. Use a flat tool to lift covers gently.
Look Along The Drill’s Outer Shell
Screws may line the drill’s outer shell. Check all sides of the drill body. Look near the trigger or motor vents. These areas commonly have fasteners. Some screws have small caps hiding them. Remove caps carefully with a flat tool.
Separating The Drill Housing
Separating the drill housing is a key step in opening a cordless drill. It lets you access the drill’s inner parts. This step requires care and the right tools. You must work slowly to avoid breaking any pieces.
Start by preparing a clean workspace. Gather a screwdriver that fits your drill’s screws. Keep a small container nearby to hold the screws safely. This will help prevent losing them during the process.
Removing Screws From The Drill
Locate all visible screws on the drill housing. Use the screwdriver to turn each screw counterclockwise. Keep steady pressure to avoid stripping the screw heads. Place each removed screw in your container. Check for hidden screws under labels or rubber grips.
Separating The Two Halves
After removing the screws, gently pry the housing apart. Use a plastic opening tool if needed. Avoid using metal tools to prevent damage. Work around the edges to loosen clips inside. Take your time to prevent cracking the plastic.
Handling Internal Components Carefully
Once opened, do not rush to remove parts. Internal wires and connections are fragile. Note the position of each component for easy reassembly. Avoid pulling on wires or circuit boards. Use a small brush to clean dust inside if necessary.
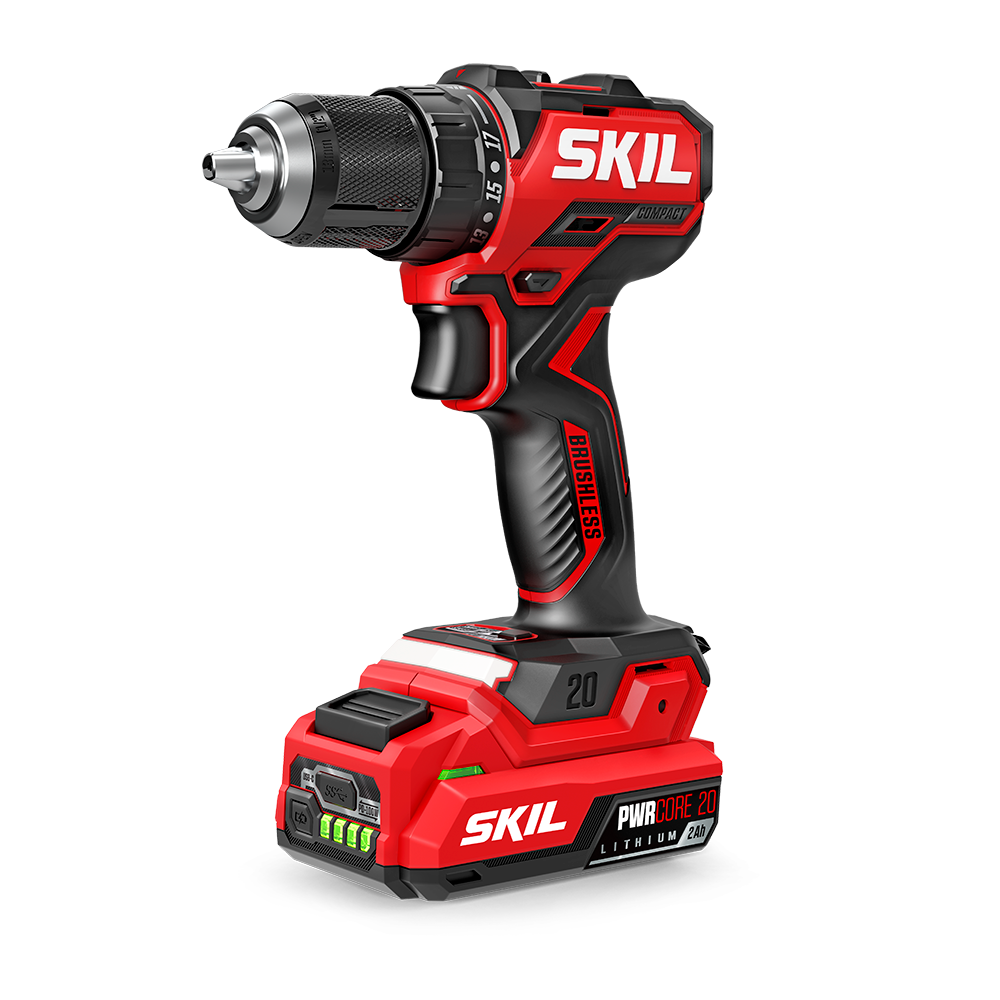
Credit: www.skil.com
Accessing Internal Components
Accessing the internal parts of a cordless drill helps with repairs and maintenance. Opening the drill carefully keeps parts safe. It also makes fixing easier.
Focus on key parts inside. The motor, chuck, and trigger switch are important. Knowing their location helps in understanding how the drill works.
Motor
The motor powers the drill. It is usually at the center inside the body. Remove screws to see the motor clearly. Avoid pulling wires connected to it. The motor has small parts that can break easily.
Chuck
The chuck holds the drill bit tightly. It is at the front of the drill. To access it, open the drill casing carefully. Check if the chuck is worn or stuck. Cleaning or replacing the chuck improves drill performance.
Trigger Switch
The trigger switch controls the drill’s power. It is near the handle. Open the drill to find the switch wires. Check if the switch moves freely. A faulty trigger switch stops the drill from working.
Cleaning And Inspection
Cleaning and inspection are key steps after opening your cordless drill. They keep the tool working well and make it last longer. Dirt and dust can build up inside. This can cause the drill to work poorly or even break.
Regular cleaning removes grime and small debris. Inspection helps find worn or damaged parts early. Fixing problems now saves time and money later.
Cleaning The Drill Components
Use a soft brush to remove dust from all parts. Avoid water or harsh chemicals. They can damage the motor or battery.
Wipe metal parts with a dry cloth. This prevents rust and corrosion. Clean the vents carefully to keep airflow free.
Inspecting For Wear And Damage
Look closely at the drill’s chuck and gears. Check for cracks or worn teeth. These parts must hold bits tightly and work smoothly.
Examine the battery contacts for dirt or corrosion. Clean them gently with a dry cloth. Poor contact can stop the drill from powering on.
Checking The Internal Wiring
Look at all wires inside the drill. They should be tight and undamaged. Loose or broken wires cause power loss or sparks.
Replace any frayed or broken wires before reassembling. Safety first. This prevents electrical hazards and tool failure.

Credit: www.youtube.com
Reassembling The Drill
Reassembling the drill is an important step after opening it. This process helps ensure the drill works properly again. Take your time to put every part back in the right place. Follow the steps carefully to avoid damage or mistakes.
Preparing The Parts For Reassembly
Start by organizing all parts on a clean surface. Check for any damage or dirt on the components. Clean any dust or debris gently with a soft cloth. Make sure all screws and small pieces are accounted for. This helps avoid losing important parts during assembly.
Putting The Internal Components Back
Place the motor and wiring carefully into the drill casing. Align the gear assembly correctly to fit the motor shaft. Connect any wires or clips as they were before. Avoid forcing parts together to prevent breaking them. Make sure moving parts spin freely after placement.
Closing The Drill Case Securely
Fit the two halves of the drill case together. Check that no wires get pinched between the parts. Insert screws into their holes and tighten them evenly. Do not over-tighten screws to avoid cracking the plastic. The case should close snugly without gaps.
Testing The Drill After Reassembly
Insert the battery before testing the drill. Turn on the drill to check if it runs smoothly. Listen for unusual noises or vibrations. If something feels wrong, open the case and check again. A well-assembled drill will work quietly and efficiently.
Testing The Drill
Testing the drill is an important step after opening it. It helps check if everything works well. You can find problems early and fix them. Testing also makes sure the drill is safe to use. Follow these steps to test your cordless drill properly.
Check The Battery Connection
Insert the battery into the drill. Make sure it fits tightly. Press the power button to see if the drill turns on. If it does not start, remove the battery and check for dirt or damage. Clean the contacts gently and try again.
Test The Drill Speed
Hold the drill firmly in your hand. Press the trigger slowly to test the speed control. The drill should start slow and get faster as you press more. If the speed stays the same or is jerky, the speed control may need repair.
Listen For Unusual Noises
Run the drill without a bit attached. Listen closely to the motor sound. It should be smooth and steady. Grinding or rattling noises mean parts might be loose or worn out. Stop testing and inspect the drill further if you hear strange sounds.
Test The Chuck And Bit
Insert a drill bit into the chuck. Tighten the chuck firmly. Turn the drill on to check if the bit spins straight. Wobbling or slipping bits show the chuck may be damaged. Fix or replace the chuck before using the drill.
Frequently Asked Questions
How Do I Safely Open A Cordless Drill?
First, remove the battery to avoid electric shock. Use a screwdriver to unscrew the casing carefully. Keep all small parts organized. Follow the manufacturer’s instructions for your drill model to avoid damage.
What Tools Are Needed To Open A Cordless Drill?
Typically, you need a Phillips or flathead screwdriver. Some models require a Torx or hex key. A plastic prying tool can help open clips without damage. Always check your drill’s manual for specific tools.
Can Opening A Cordless Drill Void The Warranty?
Yes, opening your cordless drill often voids the warranty. Manufacturers consider unauthorized repairs as tampering. Always check warranty terms before disassembling your drill. Contact customer support for authorized repairs.
How To Identify The Problem Inside A Cordless Drill?
Look for signs like worn brushes, faulty switches, or motor issues. Test the battery and connections for power flow. Visual inspection can reveal broken gears or loose wires. Proper diagnosis guides effective repair or replacement.
Conclusion
Opening a cordless drill is simple with the right steps. Always start by removing the battery for safety. Use the correct tools to avoid damage. Take your time and work carefully. Knowing how to open your drill helps with repairs and maintenance.
This skill saves money and keeps your drill working well. Practice these steps to feel more confident. A little patience goes a long way. Keep your drill in good shape for future projects.