

Are you ready to take your DIY projects to the next level? The Ryobi P206 cordless hammer drill is a powerful tool designed to make your work faster and easier.
But if you’re not sure how to operate it properly, you might miss out on its full potential—or even risk damaging it. In this guide, you’ll learn simple, step-by-step instructions to use your Ryobi P206 safely and effectively. By the end, you’ll feel confident handling your drill like a pro and finishing your tasks with ease.
Keep reading to unlock the secrets to mastering your Ryobi P206 cordless hammer drill!
Ryobi P206 Features
The Ryobi P206 cordless hammer drill offers a mix of power and convenience. It suits DIY projects and home repairs. This tool is lightweight and easy to handle for long periods. Its design focuses on user comfort and efficiency.
The drill has several features that help deliver reliable performance. These features improve drilling speed and accuracy. Understanding these features helps users operate the drill safely and effectively.
Key Specifications
The Ryobi P206 runs on an 18-volt battery system. It delivers up to 2,000 beats per minute in hammer mode. The drill has two speed settings for different tasks. Maximum torque reaches 315 inch-pounds. The chuck size is 1/2 inch, fitting many drill bits. Its weight is about 3.5 pounds, making it easy to carry. The tool also includes LED work lights to brighten dark areas.
Battery And Charger Details
The drill uses Ryobi’s ONE+ 18V lithium-ion battery. The battery provides long runtime and quick recharge. A charger comes with the drill or can be bought separately. Charging takes around 60 minutes for a full charge. The battery has no memory effect, keeping its capacity over time. It fits all Ryobi ONE+ tools for versatile use.
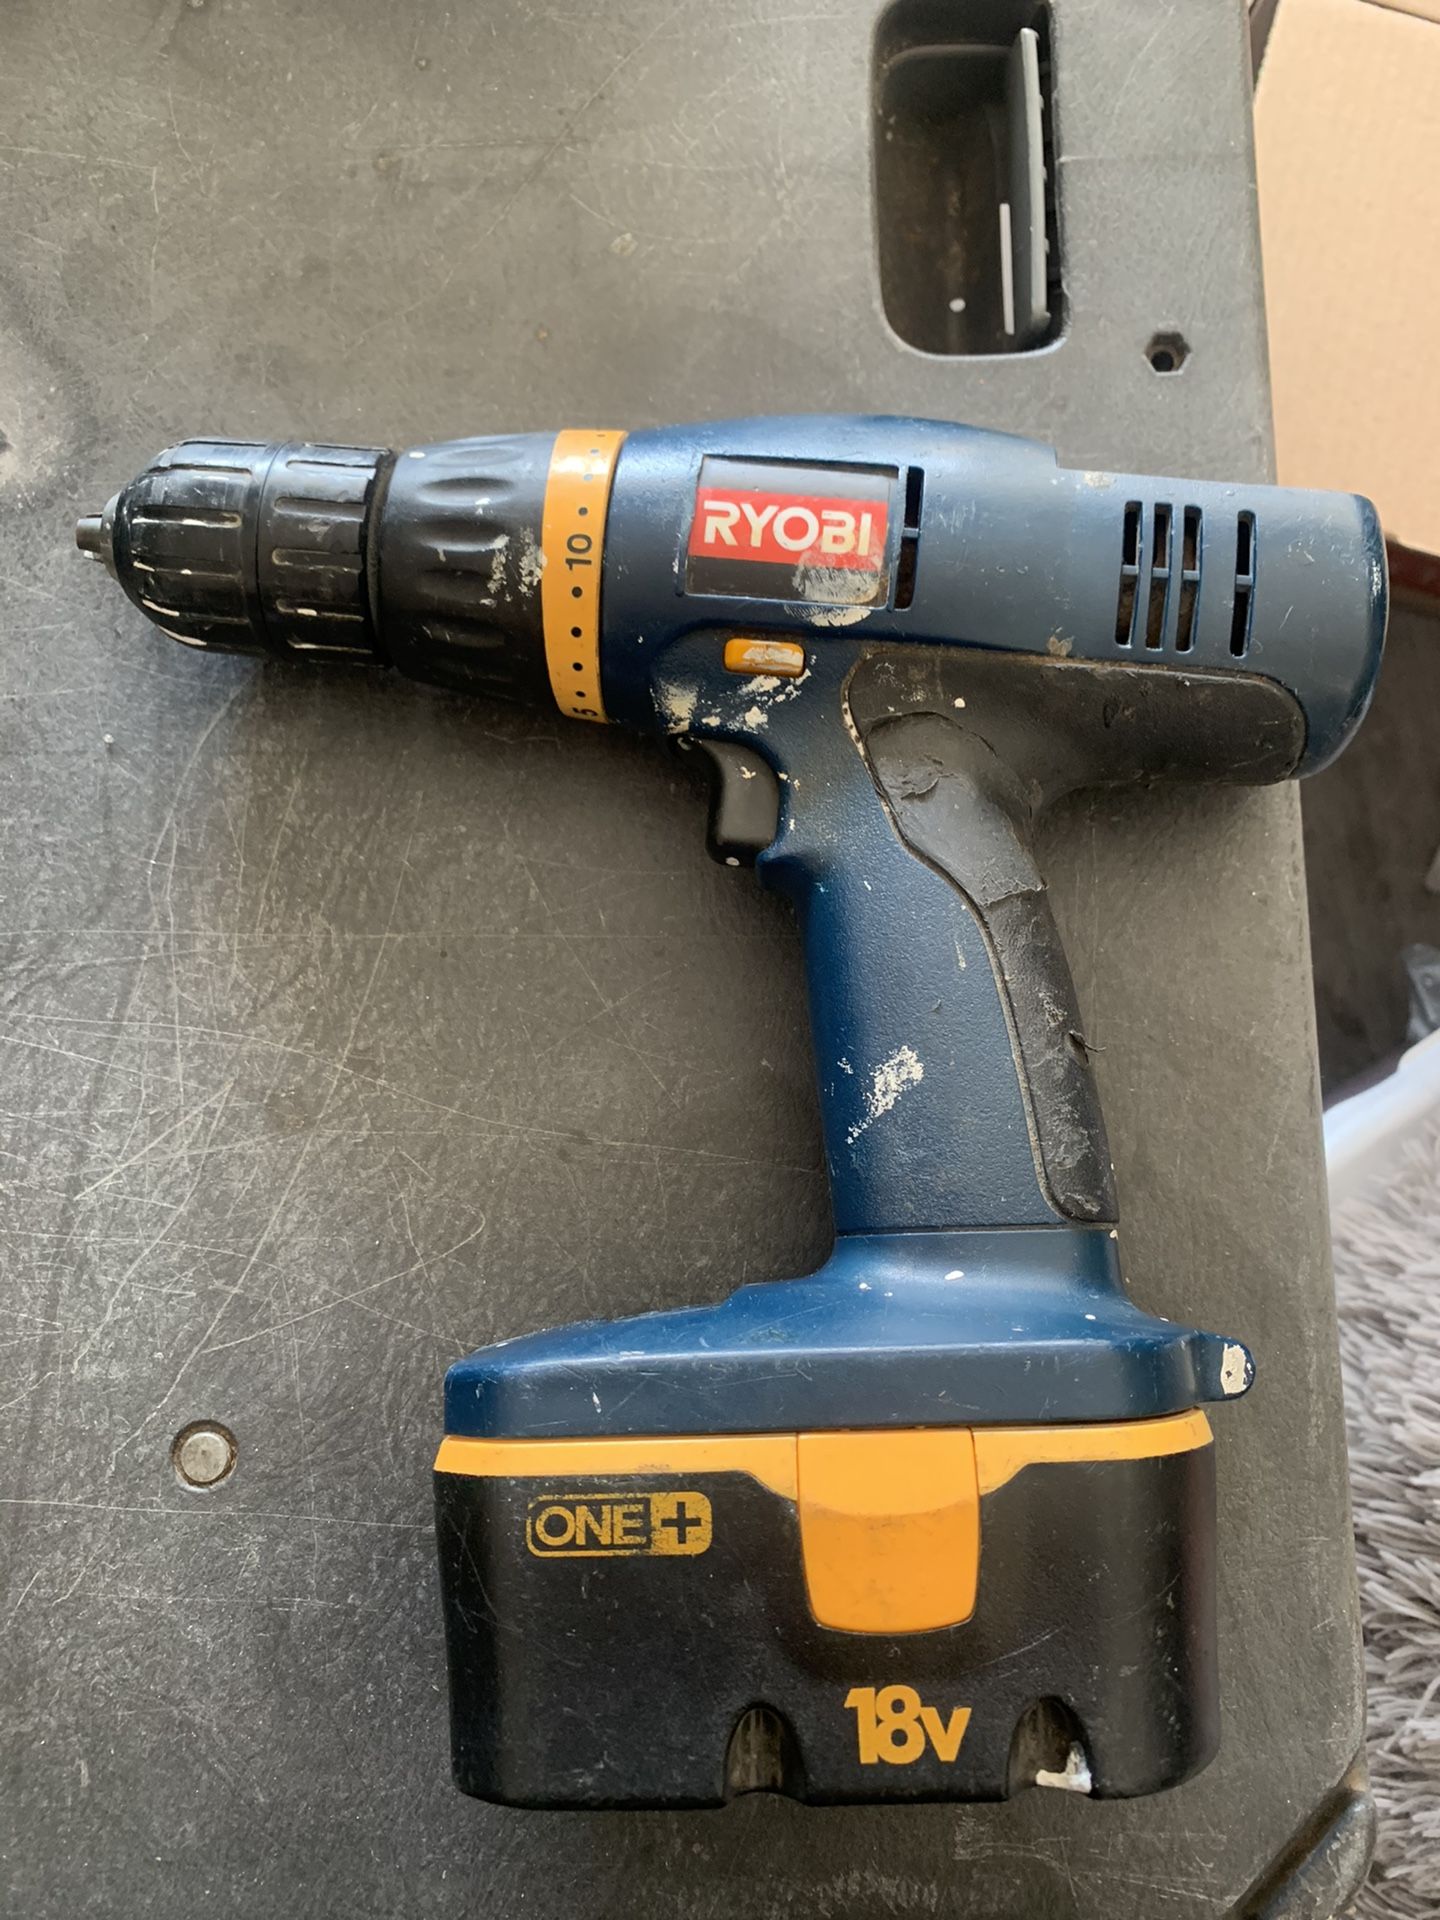
Drill Components
The Ryobi P206 has a keyless chuck for fast bit changes. The handle has a rubber grip for better control. It features a variable speed trigger for precise drilling. A forward and reverse switch helps with driving and removing screws. The drill body includes vents to prevent overheating. The battery release button allows easy removal of the battery pack.

Credit: www.ebay.com
Preparing The Drill
Preparing the Ryobi P206 cordless hammer drill is the first step to working efficiently. Proper setup ensures safety and smooth operation. Follow simple steps to get the drill ready for any project.
Installing The Battery
Start by selecting a fully charged battery for the drill. Align the battery pack with the slot at the drill’s base. Push the battery firmly until it clicks into place. Check if the battery is secure before use. Removing the battery is just as easy. Press the release button and pull the battery out.
Attaching The Drill Bit
Choose the right drill bit for your task. Open the chuck by turning it counterclockwise. Insert the drill bit into the chuck as far as it will go. Tighten the chuck by turning it clockwise until the bit is secure. Give the bit a gentle tug to confirm it is locked in place.
Adjusting Settings
The Ryobi P206 offers speed and mode settings. Use the selector switch to choose between drill and hammer mode. Adjust the speed trigger for slower or faster drilling. Set the torque ring to control how much power is used. These settings help match the drill to your work needs.
Operating The Drill
Operating the Ryobi P206 cordless hammer drill is simple and safe. Understanding the controls helps you work efficiently. This drill offers different modes and speed settings to suit your task. Follow these steps to use it properly.
Powering On And Off
Insert a fully charged battery into the drill. Press the trigger to power on the tool. Release the trigger to stop the drill. Always remove the battery before changing bits or adjusting settings. This prevents accidental starts and keeps you safe.
Selecting Hammer Or Drill Mode
Locate the mode selector switch on the drill. Slide it to “hammer” for drilling into concrete or brick. Slide it to “drill” for wood, metal, or plastic. Choose the mode based on the material you work with. This ensures the best performance and tool longevity.
Using Variable Speed Control
The trigger controls the drill’s speed. Press lightly for slow speed and more control. Press fully for faster drilling or hammering. Adjust speed based on the task and material hardness. This helps avoid damage and improves precision.
Safety Tips
Safety is the top priority when using the Ryobi P206 Cordless Hammer Drill. Following safety tips helps prevent accidents and injuries. This section covers key safety advice to keep you protected.
Protective Gear Recommendations
Wear safety glasses to protect your eyes from dust and debris. Use ear protection to reduce noise levels. Gloves help protect your hands from vibration and sharp objects. Wear a dust mask if you work in dusty areas. Sturdy shoes keep your feet safe from falling objects.
Safe Handling Practices
Hold the drill firmly with both hands. Keep a balanced stance to avoid slips and falls. Never force the drill; let it work at its own speed. Keep fingers away from moving parts. Turn off the drill before changing bits or making adjustments.
Battery Safety
Use only Ryobi-approved batteries for your drill. Charge batteries in a dry, cool place. Avoid overcharging or leaving batteries on the charger too long. Inspect batteries for damage before use. Store batteries away from heat and metal objects.
Maintenance And Care
Proper maintenance and care keep your Ryobi P206 Cordless Hammer Drill working well. Taking time to clean, store, and maintain the battery extends its life. A well-cared tool performs better and lasts longer. Follow these simple steps to keep your drill in top shape.
Cleaning The Drill
Remove dust and debris after every use. Use a soft brush or cloth to clean vents and surfaces. Avoid using water or harsh chemicals. Keep the chuck free of dirt to ensure smooth operation. Regular cleaning prevents damage and improves performance.
Battery Maintenance
Charge the battery fully before first use. Avoid overcharging by removing it from the charger once full. Store batteries in a cool, dry place. Do not let the battery completely drain before charging. Check for any signs of damage or wear regularly.
Storage Tips
Store the drill in a clean, dry area. Avoid extreme temperatures and humidity. Keep the drill and battery separate if storing for long periods. Use the original case or a protective bag to prevent dust and damage. Proper storage keeps your drill ready for use.

Credit: centromedicoloira.com
Troubleshooting Common Issues
Troubleshooting common issues with the Ryobi P206 cordless hammer drill helps keep it running smoothly. Problems may occur, but many have simple fixes. Understanding these issues saves time and frustration. Here are some common problems and easy solutions.
Drill Not Starting
Check if the battery is fully charged. A dead battery stops the drill from starting. Ensure the battery is properly seated in the drill. Dirt or debris can block connection points. Clean the contacts with a dry cloth. Press the trigger firmly; a loose grip may prevent power flow.
Battery Problems
Batteries lose charge quickly if old or damaged. Test the battery with a charger to see if it holds power. Avoid using non-Ryobi batteries as they may not fit well. Store batteries in a cool, dry place to prolong life. Replace batteries that swell or leak immediately.
Performance Issues
The drill may slow down during use. This can happen if the motor overheats. Let the tool cool down before continuing work. Check the drill bit for wear or damage; dull bits reduce efficiency. Tighten loose parts as they can cause vibrations and poor performance.
Accessories And Upgrades
Accessories and upgrades improve your Ryobi P206 cordless hammer drill’s performance. They make your work easier and help you finish tasks faster. Using the right accessories also keeps your drill in good shape. Choose the items that match your needs and projects.
Compatible Bits And Attachments
The Ryobi P206 works with many drill bits and attachments. Use masonry bits for concrete and stone. Wood bits help drill clean holes in wood. Metal bits cut through metal surfaces smoothly. Attachments like right-angle adapters let you drill in tight spaces. Choose bits with a 1/2 inch shank for best fit.
Additional Battery Options
Extra batteries keep your drill running without breaks. Ryobi offers 18V lithium-ion batteries that last long. Having two or three batteries means no waiting to recharge. Quick chargers refill batteries faster. Spare batteries also extend your work time at job sites.
Helpful Add-ons
Use a belt clip to keep the drill handy. A carrying case protects your drill and accessories during travel. Depth stops help drill holes at a specific depth. LED lights on some models brighten dark work areas. Add a handle for better control and less wrist strain.
Credit: www.kaz-metiz.com
Frequently Asked Questions
How Do I Start The Ryobi P206 Hammer Drill?
To start, insert a fully charged battery into the drill. Press the trigger gently to begin drilling. Adjust speed as needed for precision.
What Safety Tips Should I Follow With Ryobi P206?
Always wear safety glasses and gloves. Check the drill bit is secure. Keep hands away from the rotating bit for safety.
How Do I Change Drill Bits On Ryobi P206?
Hold the chuck and twist it counterclockwise to loosen. Remove the old bit and insert the new one. Tighten the chuck firmly before use.
What Battery Type Does Ryobi P206 Use?
The Ryobi P206 uses an 18V Lithium-ion battery. Ensure the battery is fully charged for optimal performance.
Conclusion
Operating the Ryobi P206 cordless hammer drill is simple and safe. Remember to check the battery charge before starting. Always hold the drill firmly and control your speed. Practice on scrap materials to get comfortable. Clean the drill after use to keep it working well.
Follow these steps, and your drilling tasks will go smoothly. Enjoy your work with confidence and ease.