

Key Takeaways
- Understanding Pump Down: Pumping down isolates the refrigerant in the outdoor unit, making repairs safer and easier.
- Necessary Tools: You need a set of manifold gauges, a recovery tank, and basic hand tools.
- Preparation: Always turn off power and wear protective gear before starting.
- Step-by-Step Process: Follow precise steps to attach gauges, close valves, and activate the pump-down cycle.
- Common Troubleshooting: Know what to do if the system doesn’t pump down properly or if there are leaks.
- Safety First: Always prioritize safety and double-check connections before operating.
Introduction
If you’re a homeowner or HVAC technician, knowing how to pump down an air conditioner is a vital skill. Pumping down isolates refrigerant in the outdoor condenser, making repairs safer and more manageable. Whether you’re replacing a compressor, repairing leaks, or performing routine maintenance, mastering this process can save you time and money. In this comprehensive guide, you’ll learn the step-by-step method to pump down an air conditioning system safely and effectively.
What Is Pumping Down an Air Conditioner?
Before diving into the steps, let’s clarify what pumping down means. It involves using the system’s components to contain all refrigerant in the outdoor unit. This process prevents refrigerant from escaping into the indoor unit or the environment, making repairs safer and more environmentally friendly. Pumping down is especially useful when disconnecting the refrigerant lines or replacing parts like the compressor.
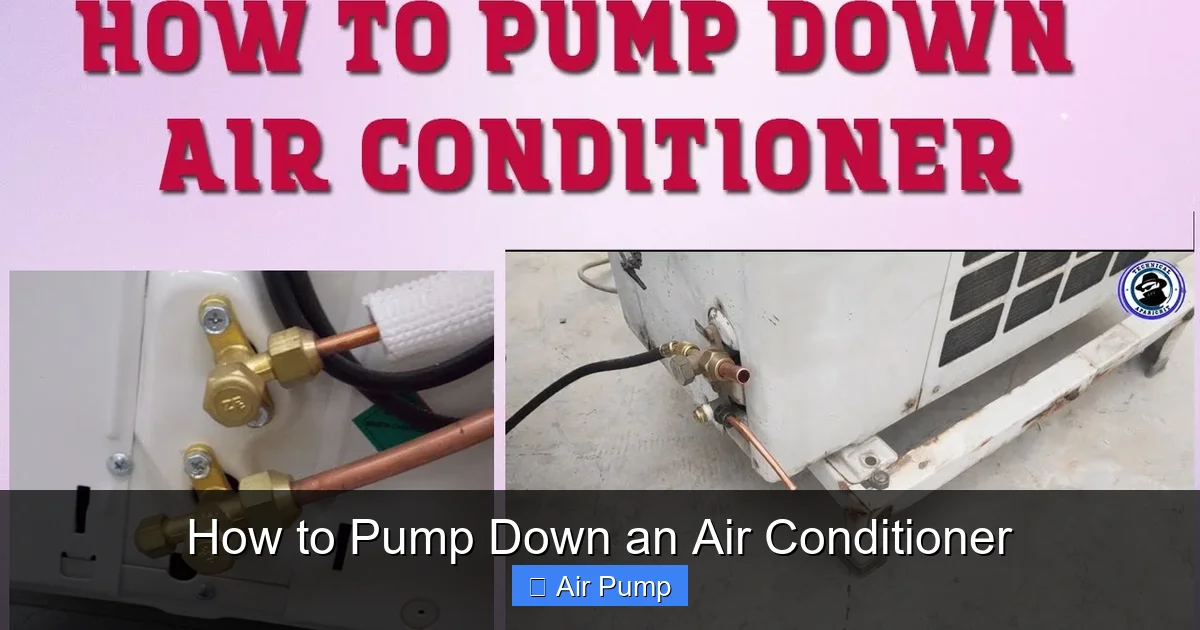
Visual guide about How to Pump Down an Air Conditioner
Image source: i.ytimg.com
Tools and Equipment Needed
Gather these essential tools before starting:

Visual guide about How to Pump Down an Air Conditioner
Image source: i.ytimg.com
- Manifold gauge set: For measuring pressure and controlling refrigerant flow.
- Refrigerant recovery tank: To safely contain the refrigerant during the process.
- Adjustable wrenches and screwdrivers: For connecting and disconnecting fittings.
- Vacuum pump (optional): For removing moisture and air if needed.
- Personal protective equipment (PPE): Safety glasses, gloves, and long sleeves.
Preparation Before Pumping Down
1. Turn Off the Power
Always switch off the air conditioning unit at the circuit breaker. This ensures safety and prevents accidental operation during maintenance.
2. Locate the Service Ports
Identify the low-pressure (suction) and high-pressure (discharge) service ports on your system. These are usually capped with Schrader valves.
3. Prepare Your Tools
Check that your manifold gauge set and recovery tank are clean and in good working condition. Wear PPE to protect yourself from refrigerant exposure.
Step-by-Step Guide to Pump Down an Air Conditioner
1. Connect the Manifold Gauges
Attach the manifold hoses to the service ports:
- Blue hose: Connect to the low-pressure (suction) port.
- Red hose: Connect to the high-pressure (discharge) port.
Ensure all connections are tight to prevent leaks.
2. Attach the Recovery Tank
Connect the blue (suction) hose from the manifold to the intake of your refrigerant recovery tank. Confirm the tank is properly grounded and upright.
3. Open the Service Valves
Open both the low-pressure and high-pressure valves on the manifold gauges. This allows refrigerant to flow when the system is activated.
4. Initiate the Pump-Down Cycle
Locate the system’s contactor or compressor relay. Turn on the power to the system at the breaker. The compressor should start running, and the refrigerant will begin to flow into the recovery tank.
Monitor the gauges closely. The pressure on the low-pressure side will decrease as refrigerant is pumped into the tank.
5. Confirm the System Has Pumped Down
Allow the compressor to run until the low-pressure gauge stabilizes at the system’s specified shut-off pressure. This indicates all refrigerant has been moved to the outside tank.
Most systems have a built-in pressure switch that stops the compressor once the desired pressure is reached. If your system lacks this, manually monitor the gauges.
6. Shut Off the System and Close Valves
Turn off the power at the breaker. Close the manifold valves to seal the system. Disconnect the hoses from the service ports and recovery tank carefully, ensuring no refrigerant escapes.
7. Verify and Finalize
Check the system to ensure all connections are sealed. If necessary, perform a vacuum test or leak check to confirm system integrity.
Practical Tips for a Successful Pump Down
- Use proper PPE: Refrigerant can cause frostbite or eye injuries. Always wear safety glasses and gloves.
- Monitor gauges carefully: Overpressure or underpressure can indicate leaks or system issues.
- Do not overfill the recovery tank: Keep the tank below the recommended level to prevent pressure buildup.
- Perform regular maintenance: Clean your tools and check for leaks regularly to ensure safety and efficiency.
Common Troubleshooting Tips
1. Compressor Not Starting
If the compressor doesn’t run during pump down, verify the system’s power supply, check the contactor, and ensure no safety switches or pressure controls are tripped.
2. No Refrigerant Movement
Ensure all valves are open, and the manifold gauges are correctly connected. A blocked or faulty expansion valve can also prevent proper pump down.
3. Leaks Detected
If refrigerant escapes during the process, check all connections for tightness. Repair any leaks before proceeding.
Conclusion
Knowing how to pump down an air conditioner is a valuable skill for maintenance and repairs. By following these simple steps, you can safely contain refrigerant, prevent environmental harm, and make repairs easier. Always prioritize safety, use proper tools, and take your time to ensure a successful pump-down process. With practice, you’ll be able to handle this task confidently and efficiently.
Final Tips
- Regularly inspect your HVAC system to catch issues early.
- Keep your tools in good condition for accurate and safe work.
- Consult professional HVAC technicians for complex repairs or if you’re unsure about any step.