

Are you struggling to figure out how to put the drill driver into your cordless drill? You’re not alone.
Many people find this simple step confusing at first, but once you know the trick, it becomes second nature. Imagine being able to switch bits quickly and get your projects done faster without any hassle. In this guide, you’ll learn exactly how to secure the drill driver in your cordless drill safely and easily.
Keep reading, and you’ll be ready to tackle any task with confidence.
Choosing The Right Drill Driver
Choosing the right drill driver is key to getting the best use from your cordless drill. The drill driver fits into the drill and holds the drill bits or screwdriver bits. Picking the right one ensures smooth work and better results. Different projects need different types of drill drivers. Understanding the types and compatibility helps avoid problems and saves time.
Types Of Drill Drivers
Drill drivers come in several types. The most common are keyed and keyless chucks. Keyed chucks use a small key to tighten or loosen the drill bit. This offers a strong grip but takes more time to change bits. Keyless chucks twist by hand for quick bit changes. They work well for light to medium tasks.
Some drill drivers have a single sleeve, and others have a double sleeve. Single sleeve chucks allow one-handed bit changes. Double sleeve chucks need two hands but hold bits more tightly. There are also hex-shank drivers designed for quick bit swaps in impact drivers.
Compatible Drill Drivers For Cordless Drills
Not all drill drivers fit every cordless drill. Check the chuck size to match your drill. Most cordless drills use 3/8-inch or 1/2-inch chucks. Make sure the drill driver supports these sizes. The drive type also matters—some drills need a specific chuck type.
Look for drill drivers made for cordless models. They are lighter and fit better. Some brands have unique designs that only fit their drills. Using a compatible drill driver prevents slippage and damage. It also makes your work safer and easier.
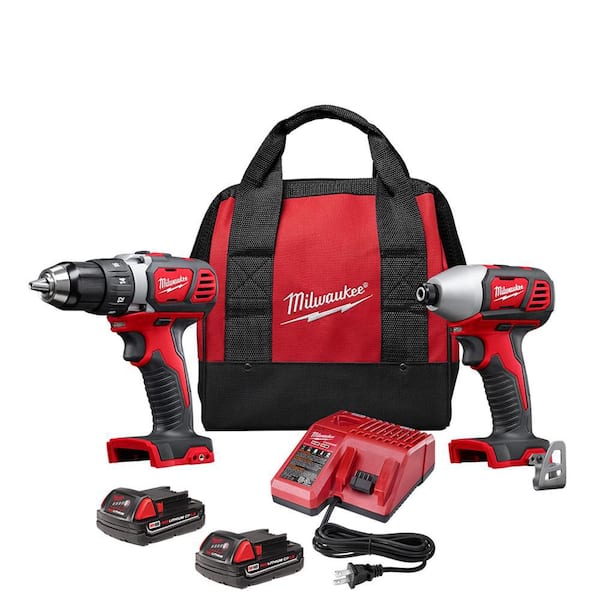
Credit: www.homedepot.com
Preparing Your Cordless Drill
Preparing your cordless drill is the first step before attaching the drill driver. This step ensures your safety and makes the process smooth. Taking time here helps avoid accidents and damage to the tool.
Before you start, check your workspace. Make sure it is clean and well-lit. Keep your drill and accessories close to avoid unnecessary moves.
Safety Precautions
Always wear safety glasses to protect your eyes. Keep your hands dry and clean to hold the drill firmly. Avoid loose clothing or jewelry that might get caught in the drill. Work in a stable position to keep control of the tool. Do not rush. Take your time to handle the drill carefully.
Removing The Battery
Turn off the drill before removing the battery. Press the release buttons on the battery pack. Pull the battery out gently from the drill base. Keep the battery away from heat or water. Place the battery on a flat surface while you work. This step prevents accidental starts and protects your battery.
Inserting The Drill Driver
Inserting the drill driver into a cordless drill is a simple step that helps you start your work quickly. This process ensures the drill driver fits tightly and works safely. Follow these easy steps to insert it correctly.
Opening The Chuck
Hold the drill firmly in one hand. Turn the chuck counterclockwise to open its jaws. Make sure the opening is wide enough to fit the drill driver. If your drill has a keyless chuck, just twist it by hand. For keyed chucks, use the chuck key to turn it.
Aligning The Drill Driver
Take the drill driver and place its shank into the chuck opening. Align the driver straight with the drill’s axis. Avoid tilting the driver to prevent damage. Push it gently but fully inside the chuck.
Securing The Drill Driver
Turn the chuck clockwise to close the jaws around the drill driver. Tighten it firmly to hold the driver in place. For keyed chucks, use the chuck key to secure it tightly. Check by pulling the driver lightly to ensure it won’t slip.
Testing The Drill Driver
Testing the drill driver is important before starting any project. It ensures the tool works well and is safe to use. This step saves time and avoids damage to materials. Follow these simple checks to confirm your cordless drill is ready.
Reattaching The Battery
First, place the battery back into the cordless drill. Slide it in firmly until you hear a click. This sound means the battery is locked in place. Without a secure battery, the drill will not work properly.
Checking For Proper Fit
Next, check that the drill driver fits snugly in the chuck. The driver should not wobble or slip. Turn the chuck by hand to tighten it around the driver. A tight fit keeps the driver steady during use.
Performing A Test Run
Hold the drill firmly and press the trigger lightly. Listen for a smooth, steady sound from the motor. The drill driver should spin without shaking or stopping. Stop the test if you hear strange noises or feel vibrations.
Troubleshooting Common Issues
Troubleshooting common issues helps you use your cordless drill better. Problems can stop work or cause damage. Fix these issues fast to keep drilling safely and smoothly. This guide covers easy fixes for frequent problems with drill drivers.
Drill Driver Slips
Slipping drill drivers reduce control and cause mistakes. Check if the driver bit is worn out. Replace dull bits for better grip. Tighten the chuck firmly to hold the driver in place. Clean the chuck and driver to remove dust or grease. Use the right size driver for your drill and screws.
Chuck Won’t Tighten
A loose chuck can stop the driver from fitting well. Remove debris inside the chuck using a brush or compressed air. Make sure the chuck is free to turn and not stuck. Apply a little oil if the chuck feels stiff. Hold the drill firmly while turning the chuck to tighten it completely.
Driver Not Aligning Properly
Misaligned drivers cause poor drilling and damage. Check if the driver bit fits the chuck hole correctly. Push the bit straight into the chuck to avoid angle problems. Inspect the driver bit for bends or damage. Replace bent or broken drivers to ensure proper alignment. Tighten the chuck evenly to hold the driver straight.
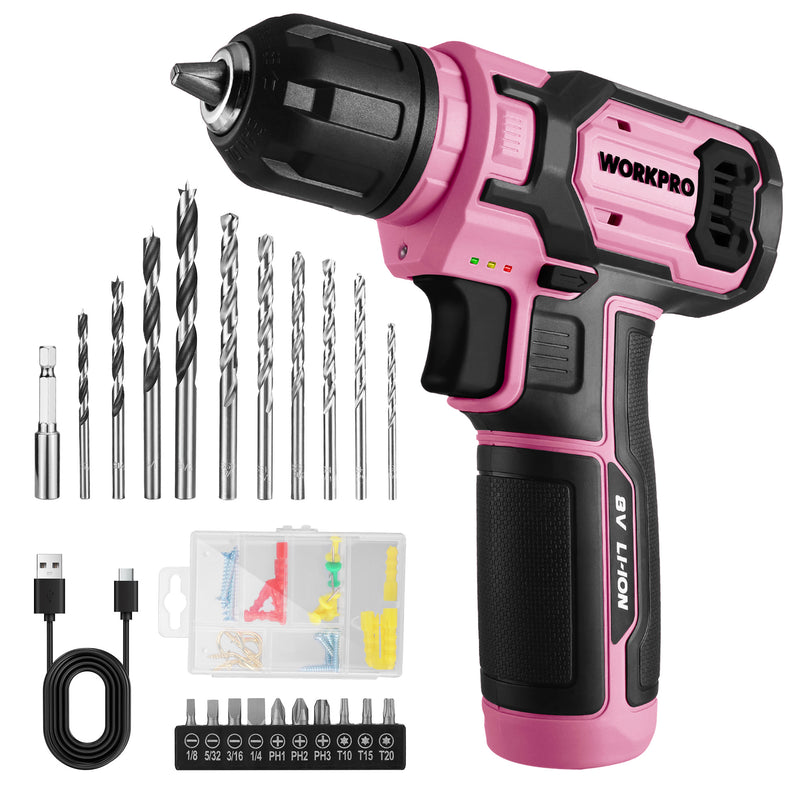
Credit: workprotools.store
Maintaining Your Drill And Drivers
Maintaining your drill and drivers keeps them working well and lasting longer. Dirt, dust, and rust can cause problems. Regular care helps you avoid damage and costly repairs. Simple habits protect your tools and make your work easier.
Cleaning Tips
Remove dirt and dust after each use. Use a dry cloth to wipe the drill and drivers. Avoid water or harsh chemicals that can harm parts. For tight spaces, use a small brush or compressed air. Keep the chuck clean to hold bits firmly. Clean tools perform better and last longer.
Storage Recommendations
Store your drill and drivers in a dry place. Avoid damp or humid areas that cause rust. Use a case or toolbox to protect from dust and damage. Keep drivers organized to prevent bending or losing them. Proper storage saves time and keeps tools safe.
Regular Inspection
Check your drill and drivers before every use. Look for cracks, rust, or loose parts. Test the chuck to ensure it tightens correctly. Replace worn or damaged drivers to avoid accidents. Regular inspection stops small problems from growing. Safe tools mean safer work.

Credit: www.blackanddecker.com
Frequently Asked Questions
How Do I Insert A Drill Driver Into A Cordless Drill?
To insert a drill driver, first loosen the chuck by turning it counterclockwise. Insert the drill driver shaft fully. Then, tighten the chuck by rotating it clockwise until secure. Ensure the bit is firmly held before use to prevent slipping during operation.
Can I Use Any Drill Driver With A Cordless Drill?
Most cordless drills accept standard drill drivers with compatible shank sizes. Check your drill’s chuck size, usually 3/8 or 1/2 inch. Using the correct size ensures a secure fit and optimal performance. Avoid forcing bits that don’t match to prevent damage.
How Do I Tighten The Drill Driver In A Cordless Drill?
After inserting the drill driver, hold the chuck and rotate it clockwise. Turn until the drill driver feels firmly locked. Some drills have a keyless chuck, allowing hand-tightening. For keyed chucks, use the chuck key to tighten securely.
What Safety Tips Apply When Fitting A Drill Driver?
Always unplug or remove the battery before changing bits. Wear safety glasses to protect your eyes from debris. Ensure the drill driver is properly seated and tightened before use. Avoid over-tightening, which can damage the chuck or bit.
Conclusion
Putting a drill driver into a cordless drill is simple and quick. Follow the steps carefully and take your time. Make sure the drill is off before starting. Tighten the chuck to hold the driver firmly. This helps you work safely and efficiently.
Practice a few times to feel confident. Soon, changing drill bits will feel natural and easy. Keep your tools ready for any task ahead. Simple steps, good results.