

If you’ve ever struggled to remove a stuck bit from your Ryobi cordless drill, you’re not alone. It can be frustrating and slow down your project.
But don’t worry—removing the bit doesn’t have to be a hassle. You’ll discover simple, effective steps to quickly and safely get that bit out. Whether you’re a beginner or a DIY pro, these tips will save you time and keep your drill working smoothly.
Keep reading to master the easy way to remove the bit from your Ryobi cordless drill.
Identify Your Ryobi Drill Type
Removing a bit from a Ryobi cordless drill starts with knowing the drill type. Different drills use different chucks. This affects how you remove the bit. Identifying your drill type saves time and frustration. It also helps you avoid damage to the tool or bit.
Start by checking the chuck style. Ryobi drills usually have either a keyless or keyed chuck. Each style has a unique method for bit removal. Knowing this detail is essential for smooth operation.
Keyless Vs. Keyed Chucks
Keyless chucks allow quick bit changes without extra tools. You twist the chuck sleeve by hand to loosen or tighten the bit. This type is common on many Ryobi cordless drills. It is user-friendly and fast.
Keyed chucks need a special key to loosen or tighten the bit. The key fits into holes on the chuck to turn the mechanism. This type offers a stronger grip on the bit. It is less common on newer Ryobi models.
Check Drill Model
Look at the label or manual to find your drill model. This information helps confirm the chuck type. It also guides you to the correct removal method. Model numbers are usually on the side or bottom of the drill.
Searching the model online can give you more details. You can find videos or instructions for your exact drill. Knowing your model ensures you remove the bit safely and correctly.
Credit: www.reddit.com
Prepare For Bit Removal
Preparing to remove the bit from your Ryobi cordless drill is important. It helps keep you safe and makes the task easier. Taking simple steps before you start can prevent accidents and damage.
Follow these steps carefully to get ready for bit removal. Safety and power control come first.
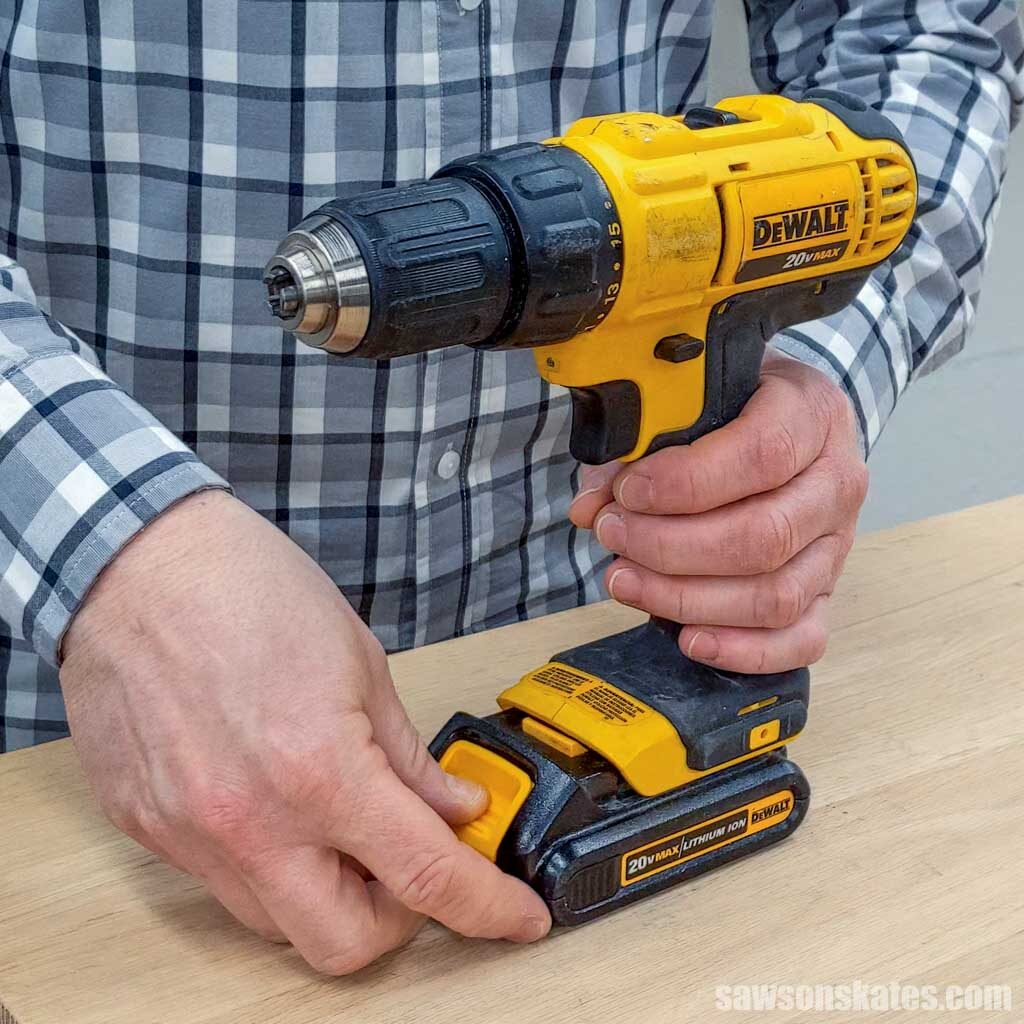
Power Off And Unplug
Always turn off your Ryobi drill before removing the bit. This stops the drill from running by mistake. Remove the battery pack to cut all power. Without power, the drill cannot start suddenly. This step keeps your hands safe during the removal.
Wear Safety Gear
Put on safety glasses to protect your eyes from dust or small debris. Use gloves to protect your hands from sharp edges on the bit. Safety gear reduces the chance of injury. Prepare your workspace with good light and clear space to work safely.
Remove Bit From Keyless Chuck
Removing the bit from a Ryobi cordless drill with a keyless chuck is simple. The keyless chuck lets you change bits fast, without tools. This section explains how to loosen the chuck and remove the bit safely.
Loosen Chuck By Hand
Hold the drill firmly with one hand. Turn the chuck counterclockwise with your other hand. This will loosen the grip on the bit. Keep turning until the bit moves freely. Don’t force it. The chuck should open smoothly.
Remove Bit Carefully
Once the chuck is loose, pull the bit straight out. Use a gentle, steady pull. Avoid twisting or bending the bit. This prevents damage to the bit or chuck. Place the bit in a safe spot to avoid losing it.

Credit: www.youtube.com
Remove Bit From Keyed Chuck
Removing the bit from a Ryobi cordless drill with a keyed chuck is simple. The keyed chuck uses a special tool to tighten or loosen the grip on the drill bit. This design keeps the bit secure during use but allows easy removal when needed. Follow these steps to take out the bit safely and quickly.
Insert Chuck Key
Find the chuck key that came with your drill. It has a gear on one end. Insert this key into the small hole on the side of the chuck. Make sure the teeth of the key match the teeth on the chuck.
Turn To Loosen Chuck
Hold the drill steady with one hand. Use your other hand to turn the chuck key counterclockwise. This action loosens the jaws of the chuck. Turn until the jaws open enough to release the bit.
Extract Bit
Pull the bit straight out from the chuck. If it feels stuck, turn the chuck key a little more. Remove the bit carefully to avoid dropping or damaging it. Now your drill is ready for a new bit.
Troubleshoot Stuck Bits
Dealing with a stuck bit in your Ryobi cordless drill can be frustrating. It stops your work and may cause damage if not handled properly. Troubleshooting stuck bits helps avoid harm and saves time.
Start with simple steps to loosen the bit. Use gentle methods to protect your drill. Follow these tips to remove stuck bits safely and effectively.
Use Penetrating Oil
Apply a small amount of penetrating oil on the stuck bit. Let it sit for 10 to 15 minutes. The oil seeps into tight spaces and loosens rust or dirt. After waiting, try to turn the bit gently. This method often frees stuck bits without damage.
Apply Gentle Tapping
Use a small hammer or the handle of a screwdriver. Tap lightly around the bit’s base. The vibrations help break the grip holding the bit. Avoid hard hits that might damage the drill or bit. Gentle tapping can make removal easier and safer.
Seek Professional Help
If the bit stays stuck after trying these steps, get expert assistance. A professional can use special tools to remove the bit safely. This prevents damage to your drill and saves you stress. Don’t risk breaking your tool by forcing the bit out.
Credit: vixencomposites.com
Maintain Your Ryobi Drill Chuck
Maintaining your Ryobi drill chuck helps keep your drill working well. A clean and smooth chuck grips bits firmly. It also makes bit changes easier and safer. Regular care extends the life of your drill and its parts.
Clean Regularly
Dirt and dust build up inside the chuck. This makes it hard to hold bits tightly. Use a small brush to remove dust and debris. You can also blow air into the chuck to clear out dirt. Wipe the outside with a dry cloth to keep it clean.
Lubricate Moving Parts
Lubrication keeps the chuck moving smoothly. Apply a few drops of light machine oil to the moving parts. Turn the chuck back and forth to spread the oil. Avoid using too much oil to prevent dirt buildup. Proper lubrication stops rust and makes bit changes easy.
Store Properly
Store your drill in a dry place to avoid rust. Keep it in a case or toolbox to protect from dust. Avoid leaving the drill in damp areas. Proper storage keeps the chuck in good shape and ready to use.
Frequently Asked Questions
How Do I Remove A Bit From Ryobi Cordless Drill?
To remove a bit, first power off the drill. Hold the chuck firmly and rotate it counterclockwise. The bit will loosen and can be pulled out easily. For keyless chucks, twisting by hand works best.
Can I Remove Drill Bits Without A Chuck Key?
Yes, Ryobi cordless drills often have keyless chucks. Simply twist the chuck counterclockwise by hand to loosen and remove the bit. No additional tools are needed for this process.
Why Is My Ryobi Drill Bit Stuck In The Chuck?
A bit may get stuck due to overtightening or debris inside the chuck. Apply steady counterclockwise pressure while holding the chuck. If stuck, use a pair of pliers gently to loosen the chuck.
How To Safely Change Bits On Ryobi Cordless Drills?
Always power off and remove the battery before changing bits. Hold the chuck firmly and turn it counterclockwise to loosen the bit. Replace with the new bit and tighten the chuck securely by turning clockwise.
Conclusion
Removing a bit from a Ryobi cordless drill is simple and quick. Just hold the drill firmly and twist the chuck to release the bit. Always keep your hands safe and avoid forcing the bit out. Practicing this process a few times will make it easier each time.
Now, you can change bits smoothly and keep your drill ready for any task. A small step that saves time and effort on your projects.