

If you’ve ever struggled with a stuck chuck on your Porter Cable cordless drill, you’re not alone. Knowing how to remove the chuck quickly and safely can save you time and frustration.
Whether you need to replace a worn-out part or switch drill bits, mastering this simple skill puts you in control of your tool. In this guide, you’ll discover easy steps to get the job done right—no special tools or experience needed.
Keep reading to unlock the secret to hassle-free chuck removal and get your drill working like new again.

Credit: www.pirouette-editions.fr
Tools Needed
Removing the chuck from a Porter Cable cordless drill is easier with the right tools. Preparing these tools first saves time and effort. Each tool plays a specific role in the removal process. Using the correct tools also prevents damage to the drill.
Adjustable Wrench
An adjustable wrench helps hold the drill steady. It grips the chuck or drill body firmly. This tool prevents slipping and protects parts from scratches.
Allen Wrench
The Allen wrench fits into the chuck’s set screw. It loosens the screw to release the chuck. This tool is essential for removing the chuck safely.
Hammer Or Mallet
A hammer or mallet can tap the chuck loose. Use gentle taps to avoid damage. This tool helps break the chuck’s tight grip.
Screwdriver
A screwdriver may be needed to remove any covers. It allows access to hidden screws or parts. Choose a screwdriver that fits the screws well.
Safety Gloves
Wear safety gloves to protect your hands. Gloves improve grip and prevent injuries. This simple tool adds safety during the task.
Safety Precautions
Always unplug the drill before removing the chuck to avoid accidents. Wear safety glasses to protect your eyes from debris. Keep hands clear of moving parts during the process.
Unplug The Drill
Always remove the battery before starting any work on the drill. This stops the drill from turning on by mistake. It keeps you safe from injuries.
Wear Safety Gear
Use safety glasses to protect your eyes from small bits or dust. Gloves can protect your hands from sharp edges and dirt. Wear clothes that fit well and do not hang loose.
Work In A Clean Area
Clear your workspace of clutter and dirt. A tidy area helps you focus and reduces accidents. Good lighting is important to see the drill clearly.
Handle Parts Carefully
Parts like the chuck can be small and sharp. Hold them gently but firmly. Avoid dropping or forcing parts to prevent damage or injury.
Follow The Manual
Read the drill’s manual before removing the chuck. It has important safety tips and steps specific to your model. Manuals help you work safely and correctly.
Locate The Chuck
Start by loosening the chuck by turning it counterclockwise. Use a wrench or pliers if needed to grip tightly. Once loose, pull the chuck off the drill shaft carefully.
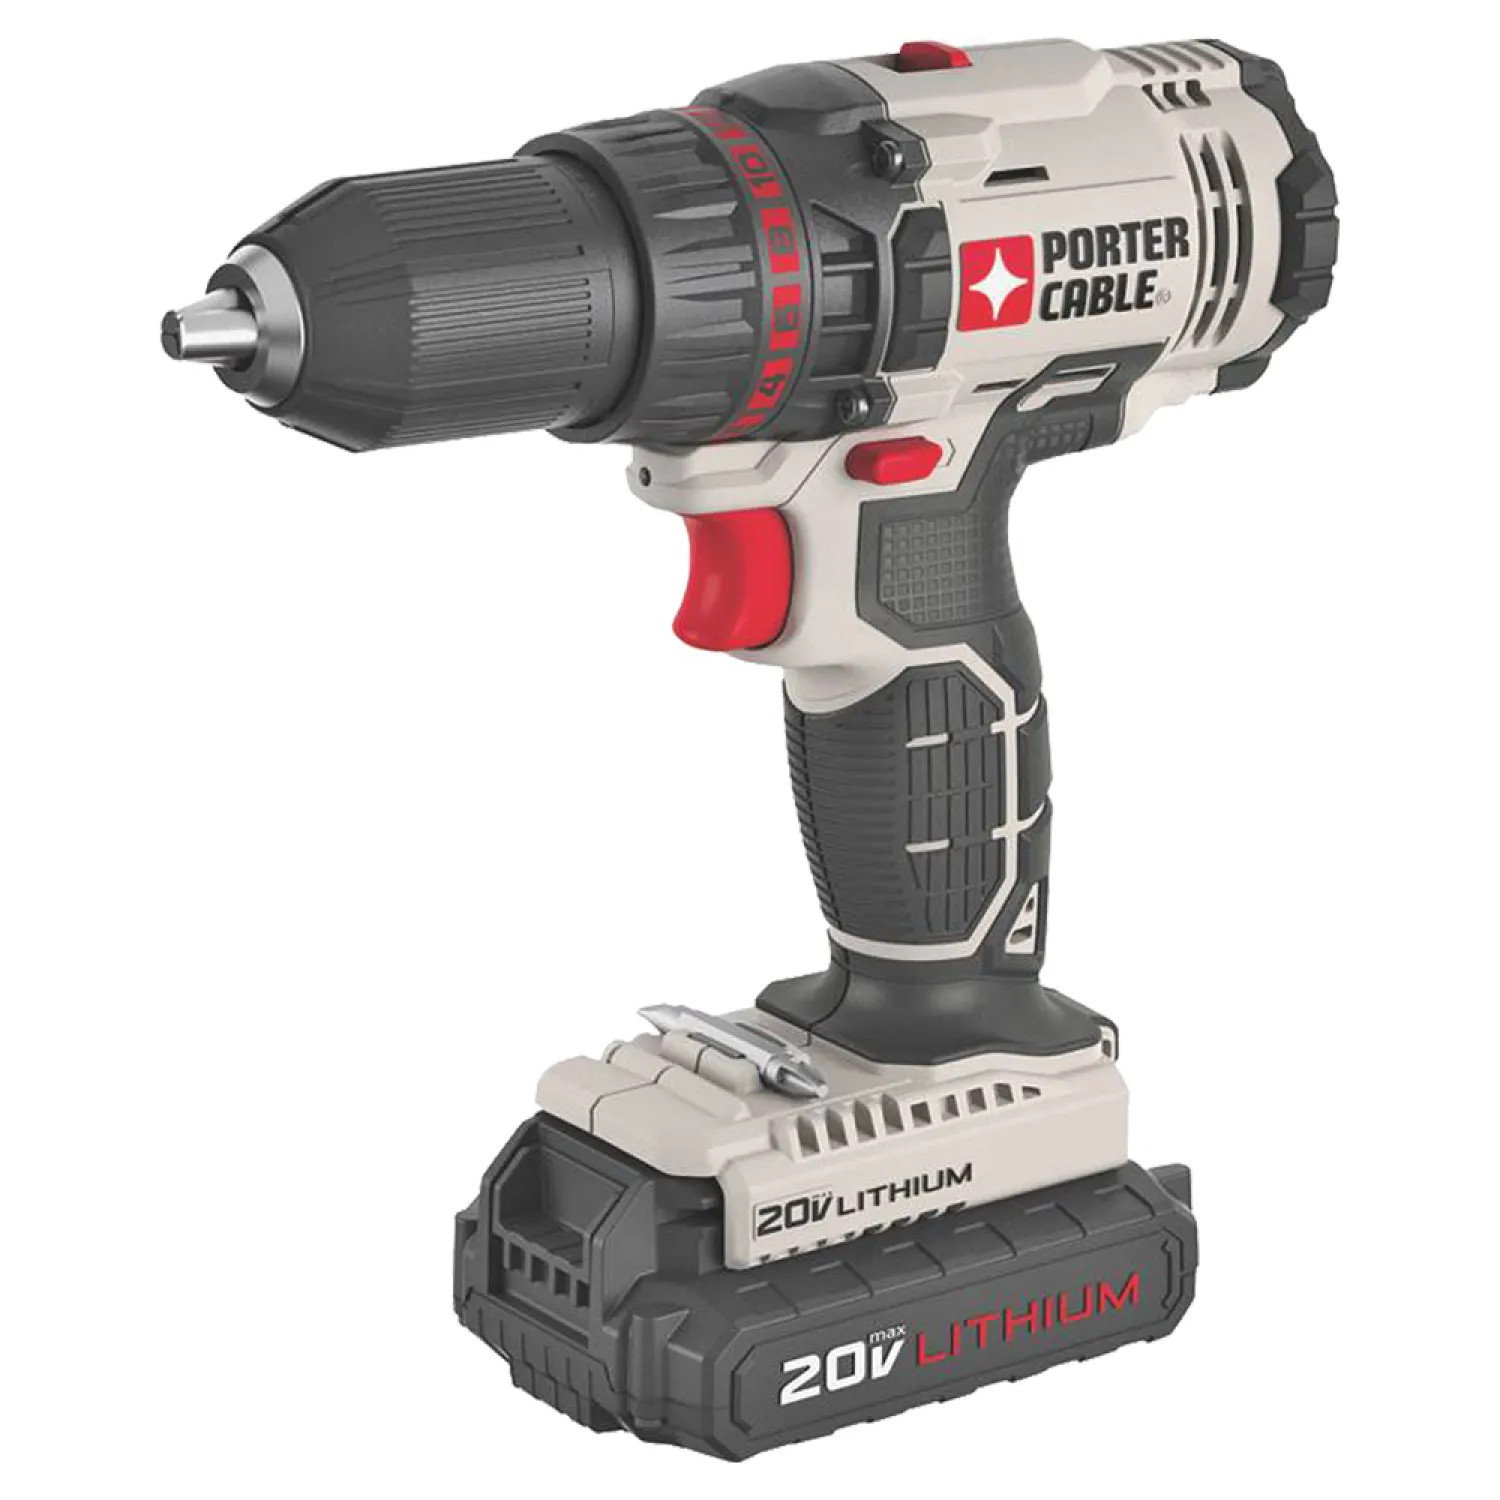
Understanding The Chuck On A Porter Cable Cordless Drill
The chuck is the part of the drill that holds the drill bit. It sits at the front of the drill. On a Porter Cable cordless drill, the chuck is easy to spot. It looks like a round, black ring with grips or ridges. This design helps you tighten or loosen it by hand.
The chuck controls the drill bit’s movement. It keeps the bit steady during use. Knowing its location is important before removing it. This step makes the process safer and simpler.
Where To Find The Chuck
Hold your drill and look at the front end. The chuck is the piece that opens and closes around the drill bit. You can usually turn it by hand. Some models have a keyless chuck, which means no extra tools are needed. Others might need a chuck key.
Check if the drill bit is inside the chuck. If yes, you will need to loosen the chuck first. This allows you to remove the bit and then the chuck itself if needed.
Identifying Keyless And Keyed Chucks
Porter Cable cordless drills often use keyless chucks. These have ridges you can grip with your fingers. Twist the chuck counterclockwise to open it. A keyed chuck has small holes around the ring. It uses a chuck key to turn and loosen.
Recognizing your chuck type helps in choosing the right removal method. Make sure to prepare the correct tools before starting.
Loosen The Chuck
Loosening the chuck on a Porter Cable cordless drill is the first step to remove it safely. The chuck holds the drill bit tightly. You need to loosen it to take the bit or chuck off. There are two simple ways to do this. One uses the drill’s built-in release mechanism. The other is manual loosening. Both methods are easy to follow and do not need special tools.
Using The Drill’s Release Mechanism
Most Porter Cable cordless drills have a release mechanism on the chuck. Hold the drill firmly. Turn the chuck counterclockwise. This action loosens the grip on the drill bit. Keep turning until the chuck feels loose. You may hear a click or feel a slight release. This means the chuck is ready to be removed or adjusted.
Manual Loosening Techniques
If the release mechanism does not work well, try manual loosening. Hold the drill with one hand. Use your other hand to grip the chuck. Turn the chuck counterclockwise. Apply steady pressure but do not force it. Sometimes tapping the chuck gently with a rubber mallet helps. This can break any stuck parts free. Always be careful not to damage the drill.
Remove The Chuck
Removing the chuck from a Porter Cable cordless drill is a simple task. This step helps when you need to clean, repair, or replace the chuck. Follow clear steps to avoid damage and keep your drill in good shape.
Understanding how to remove the chuck safely saves time and effort. Use the right tools and method for best results.
Unscrewing The Chuck
First, make sure the drill is off and the battery is removed. Hold the drill firmly. Open the chuck jaws by turning them counterclockwise. Locate the small screw inside the chuck. This screw usually tightens left-handed. Use a screwdriver to turn it clockwise and remove it.
Next, grip the chuck and turn it counterclockwise to unscrew it from the drill shaft. Use a wrench if it is too tight. Keep turning until the chuck comes off completely.
Handling Stubborn Chucks
Sometimes the chuck is very tight or stuck. Tap the chuck gently with a rubber mallet to loosen it. Avoid hitting hard to prevent damage. Apply a small amount of penetrating oil around the base. Let it sit for 10-15 minutes to help loosen rust or dirt.
Use a strap wrench for better grip if the chuck does not budge. Turn slowly and steadily. Avoid forcing the chuck to prevent breaking the drill parts.
Credit: www.plumbersstock.com
Clean And Inspect The Drill
Start by wiping dirt and dust from the drill and chuck. Check for any damage or wear before removing the chuck. Keeping the drill clean helps it work better and last longer.
Clean The Drill Exterior
Start by wiping the drill’s outside with a dry cloth. Dirt and dust can build up during use. Removing grime helps keep the drill working well. Avoid using water or harsh chemicals. Use a soft brush to clear vents and crevices. This prevents overheating and damage.
Inspect The Chuck And Jaws
Check the chuck carefully for dirt or debris. Clean inside the jaws using a small brush or toothpick. Look for rust or damage on the jaws. Dirty jaws can cause the drill bit to slip. Smooth jaws hold the bit firmly in place.
Check The Battery And Contacts
Remove the battery before cleaning. Wipe the battery contacts with a dry cloth. Dirty contacts can stop the drill from working. Inspect the battery for cracks or leaks. Replace a damaged battery to avoid hazards.
Reattach Or Replace The Chuck
Reattaching or replacing the chuck on your Porter Cable cordless drill is an important skill. The chuck holds the drill bit tightly. A loose or damaged chuck can cause problems during drilling. Fixing or changing it ensures your drill works well and lasts longer.
This process is simple and saves money. You do not need special tools or skills. Just follow clear steps carefully to avoid damage. Whether reattaching or replacing, your drill will be ready for the next project.
How To Reattach The Chuck
First, clean the drill spindle and chuck threads. Remove dirt or old grease. Align the chuck with the drill spindle. Push it in gently but firmly. Turn the chuck clockwise to screw it on. Use your hand to tighten it as much as possible. Avoid using power tools to prevent overtightening.
Steps To Replace The Chuck
Start by removing the old chuck. Open the chuck jaws fully. Find the screw inside the chuck. Use a screwdriver to remove it. Hold the chuck and turn it counterclockwise. It will unscrew from the spindle. Take the new chuck and screw it onto the spindle clockwise. Tighten the screw inside the chuck to secure it.
Tips For A Secure Attachment
Check the chuck fits tightly after attachment. Test by inserting a drill bit and spinning the chuck. It should hold the bit firmly without slipping. Avoid overtightening to protect the drill threads. Apply a small amount of grease to the spindle threads. This prevents rust and makes future removal easier.

Credit: www.youtube.com
Frequently Asked Questions
How Do I Remove The Chuck From A Porter Cable Drill?
To remove the chuck, first loosen it by turning counterclockwise. Use the chuck key to grip and turn. If stuck, tap gently with a hammer to loosen it before pulling off.
What Tools Are Needed To Remove A Porter Cable Chuck?
You typically need a chuck key and possibly a hammer. The chuck key helps loosen the chuck jaws. A hammer may assist if the chuck is tightly stuck.
Can I Remove The Chuck Without A Chuck Key?
Yes, some Porter Cable drills have keyless chucks. Twist the chuck counterclockwise by hand to loosen and remove. For keyed chucks, the key is necessary to loosen the grip.
Why Is My Porter Cable Chuck Stuck When Removing?
The chuck may be jammed due to dirt or over-tightening. Apply penetrating oil and wait. Tap gently with a hammer to loosen. Avoid forcing it to prevent damage.
Conclusion
Removing the chuck from a Porter Cable cordless drill is simple and quick. Follow the steps carefully for safe results. Use the right tools and apply steady pressure. Avoid forcing parts to prevent damage. Practice makes the process easier each time.
Now, you can change drill bits faster and work more efficiently. Keep your drill in good shape with regular care. This guide helps you handle your tool with confidence. Ready to tackle your next project?