

Replacing your heat pump air filter is a simple way to maintain optimal performance and indoor air quality. This guide walks you through each step, from turning off your system to installing the new filter, ensuring you do it correctly and safely.
Key Takeaways
- Regular replacement is essential: Changing your heat pump air filter every 1-3 months helps maintain efficiency and air quality.
- Identify your filter type: Knowing your filter size and type ensures you purchase the correct replacement.
- Turn off the system first: Always shut down the heat pump before replacing the filter to prevent damage or injury.
- Properly remove and install: Carefully take out the old filter and insert the new one with correct airflow direction.
- Check for secure fit: Ensure the filter fits snugly to prevent air bypass and maximize filtration.
- Regular maintenance saves money: Routine filter changes prolong your heat pump’s lifespan and reduce energy costs.
- Troubleshooting: If airflow is weak after replacement, double-check filter placement and clear any blockages.
Introduction
If you own a heat pump, you know how important it is to keep it running smoothly. One of the simplest ways to do that is by regularly replacing its air filter. A clean filter helps your system work efficiently, saves energy, and improves indoor air quality. Even if you’re new to HVAC maintenance, replacing a heat pump air filter is straightforward. In this guide, you’ll learn exactly how to do it step-by-step, with helpful tips along the way. Let’s get started!
Why Replacing the Air Filter Matters
Over time, dust, dirt, pet hair, and other particles build up in your heat pump’s filter. A dirty filter can cause your system to work harder, increase energy bills, and reduce air quality. It can also lead to system breakdowns or costly repairs. Regularly replacing the filter ensures your heat pump runs efficiently and keeps your indoor environment healthy.

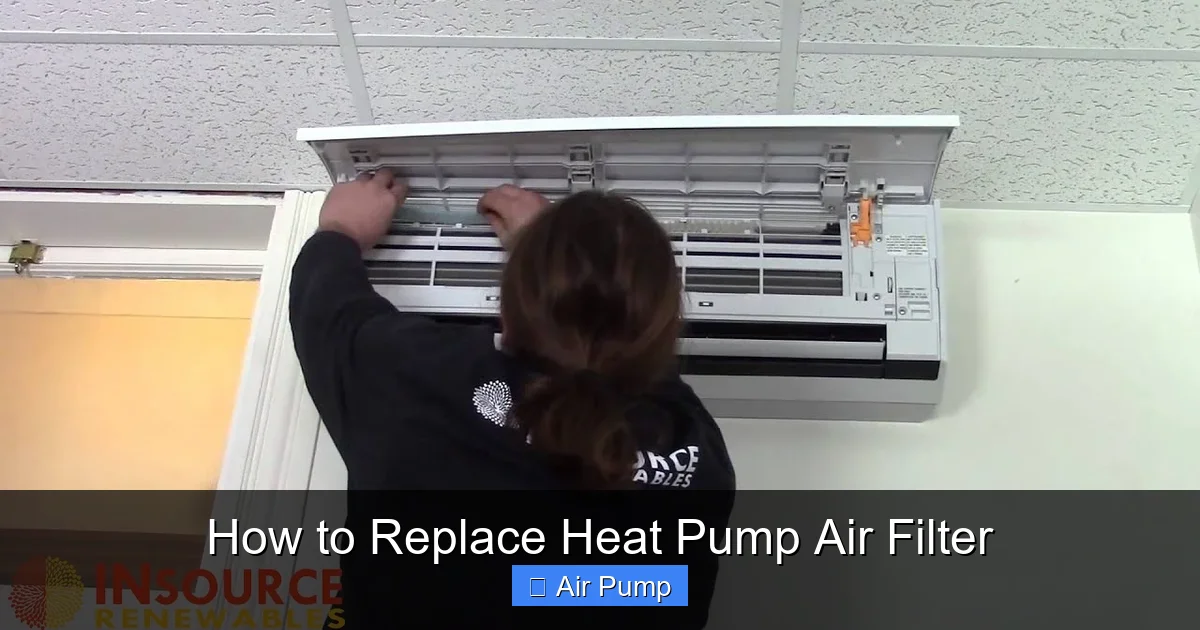
Visual guide about How to Replace Heat Pump Air Filter
Image source: hvacseer.com
Tools and Materials Needed
- Replacement air filter: Make sure it matches the size and type of your existing filter.
- Screwdriver: If your system panel is secured with screws.
- Vacuum cleaner or brush: To clean around the filter slot if needed.
- Gloves: Optional, for protection and cleanliness.
Step 1: Turn Off the Heat Pump
Safety First
Before beginning, turn off your heat pump to prevent airflow and ensure safety. This can be done via the thermostat or the power switch on the unit.
Visual guide about How to Replace Heat Pump Air Filter
Image source: i.ytimg.com
- Locate the thermostat: Set it to the off position.
- Switch off at the breaker: For extra safety, switch off the circuit breaker dedicated to your heat pump.
Tip: Always turn off the system before opening any panels or touching internal components.
Step 2: Access the Air Filter
Find the Filter Panel
Depending on your heat pump model, the filter is usually located inside a panel or door on the air handler or outdoor unit.
- Locate the panel: Look for a removable cover near the return air duct or inside the unit.
- Use a screwdriver if needed: Unscrew any screws holding the panel in place.
Tip: Keep screws in a safe place so you don’t lose them.
Step 3: Remove the Old Filter
Careful Extraction
Gently pull out the old filter. Be cautious to avoid knocking dust or debris into the system.
- Note the orientation: Check which side faces in which direction. Most filters have arrows indicating airflow direction.
- Inspect the filter: If it’s excessively dirty or damaged, it’s time for a new one.
Tip: Wear gloves to minimize contact with dust or allergens.
Step 4: Clean the Filter Slot and Surroundings
Preparation for New Filter
Before installing the new filter, clean the area around the slot to prevent dust from contaminating the new filter.
- Use a vacuum or soft brush: Remove any dust or debris from the compartment.
- Check for blockages: Ensure there are no obstructions that could restrict airflow.
Step 5: Insert the New Filter
Correct Orientation Matters
Insert the new filter into the slot, making sure it fits snugly. Follow the airflow arrows printed on the filter or indicated in your manual.
- Align the arrows: Ensure the airflow direction matches your system’s specifications.
- Check fit: The filter should sit firmly without gaps.
Tip: If you’re unsure of the filter size, check the old filter or your system’s manual before purchasing a replacement.
Step 6: Close the Panel and Turn the System Back On
Final Checks
Securely attach the panel or cover, ensuring all screws are tightened properly. Then, turn the heat pump back on:
- Restore power: Flip the breaker back on if you turned it off.
- Set thermostat to desired temperature: Confirm the system is running correctly.
Tip: Listen for abnormal noises and check for proper airflow from vents.
Additional Tips for Maintaining Your Heat Pump Filter
- Set reminders: Mark your calendar to replace filters every 1-3 months.
- Choose the right filter: Use HEPA or high-quality filters for better air quality.
- Keep the area clean: Regularly dust and vacuum around your heat pump to reduce debris.
- Inspect filters regularly: Even if not due for replacement, check filters monthly during peak seasons.
Troubleshooting Common Problems
- Weak airflow after replacement: Ensure the filter is installed correctly and fully inserted. Check for any obstructions in the ductwork.
- Unusual noises: Verify all panels are secured tightly. Loose panels can cause vibrations.
- Frequent filter clogging: Consider upgrading to a higher-quality filter or reducing indoor pollutants.
Conclusion
Replacing your heat pump air filter is a simple maintenance task that can save you money and improve your indoor air quality. By following these clear steps, you can do it yourself confidently and keep your system running efficiently. Remember to check and replace your filter regularly—your heat pump and your lungs will thank you!
Remember:
Regular filter replacement is key to a healthy, efficient heating and cooling system. It only takes a few minutes but offers long-term benefits. Stay proactive, and enjoy clean, fresh air in your home.