
If you want to get the perfect grip and power from your Makita cordless drill, knowing how to set the torque to 140 Nm is key. This adjustment can make a big difference in how your drill handles tough jobs without damaging screws or materials.
Whether you’re a DIY enthusiast or a professional, mastering this setting puts you in full control of your tool. Keep reading, and you’ll learn simple, clear steps to dial in the torque just right—making your work smoother, faster, and more precise.
Makita Cordless Drill Features
The Makita cordless drill offers a blend of power and ease of use. It suits both DIY projects and professional jobs. This drill features a compact design that fits comfortably in your hand. Lightweight and balanced, it reduces user fatigue during long tasks.
Its battery technology provides reliable power and longer run time. The drill’s motor delivers consistent performance for drilling and driving screws. With adjustable settings, it adapts to various materials and tasks.
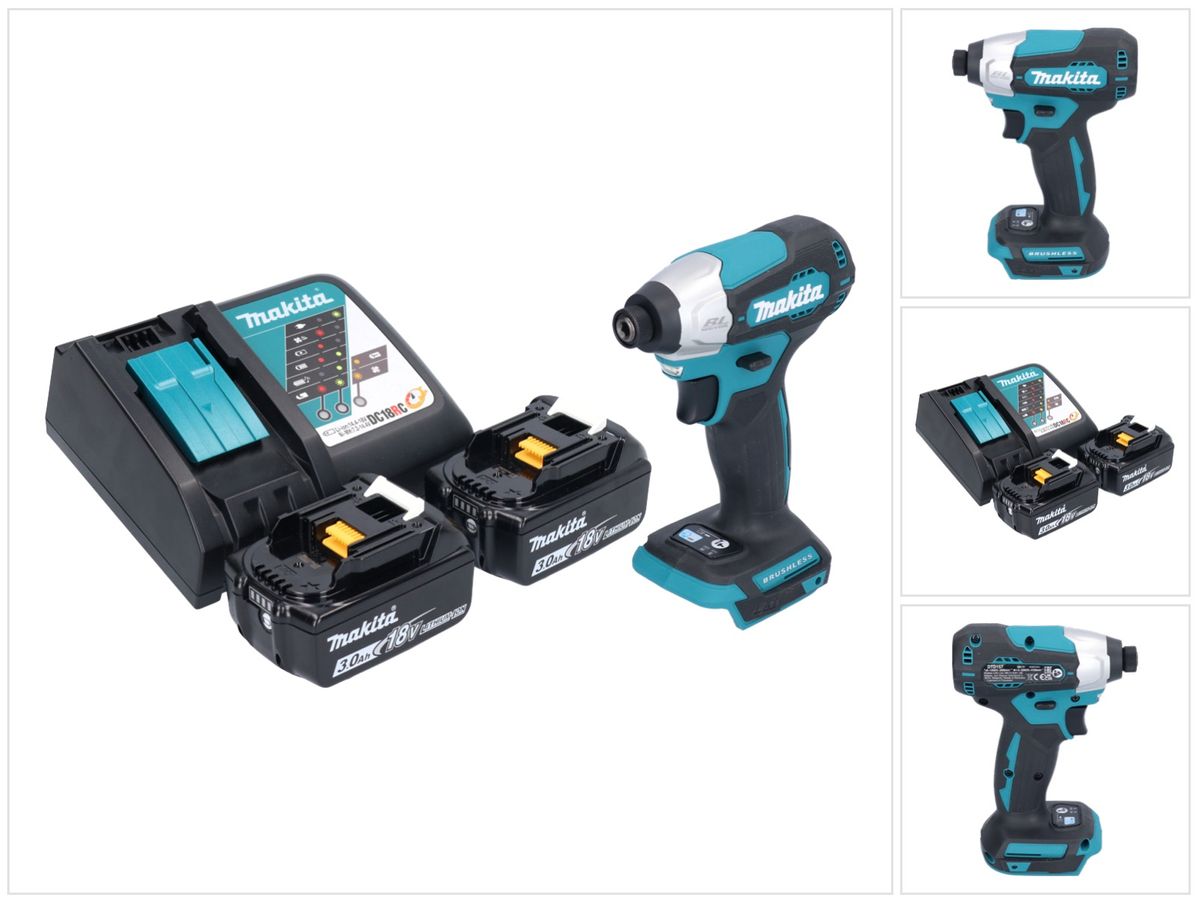
Key Specifications
The Makita cordless drill typically runs on an 18V lithium-ion battery. It weighs around 3 pounds, making it easy to handle. The drill features a 2-speed gearbox for different drilling needs. Its chuck size is usually 13mm, suitable for many drill bits. The battery charges quickly, helping you stay productive.
Torque Settings Overview
This drill includes multiple torque settings to control driving force. Settings range from low to high torque for precision and strength. The drill also features a clutch that prevents over-tightening screws. Setting torque to 140 Nm is possible on specific models. Adjusting torque ensures you do not damage materials or fasteners.

Credit: www.ubuy.com.br
Preparing The Drill
Preparing your Makita cordless drill is the first step to setting the torque correctly. Proper preparation ensures smooth operation and safety. This section covers essential steps before adjusting the torque to 140 Nm.
Battery Installation
Start by inserting the battery into the drill. Align the battery pack with the drill’s base. Push it firmly until you hear a click sound. A secure battery connection prevents power loss during use. Check the battery charge level. A fully charged battery offers better performance and longer run time.
Selecting The Right Drill Bit
Choose a drill bit that fits your task. Match the bit size to the screw or hole you want to make. Insert the bit into the drill chuck. Tighten the chuck by turning it clockwise. A tight chuck keeps the bit stable while working. Using the correct bit helps achieve accurate torque settings and avoids damage.
Adjusting Torque Settings
Adjusting the torque settings on your Makita cordless drill helps control the power used for different tasks. Proper torque prevents damage to screws and materials. It also improves accuracy during drilling or fastening.
Setting the correct torque is simple once you know where to find the controls. Follow these steps to set the torque to 140 Nm safely and effectively.
Locating The Torque Ring
The torque ring is a round dial near the drill’s chuck. It usually has numbers or symbols around it. These numbers show different torque levels.
Look for a small arrow or mark on the drill body. This mark points to the current torque setting on the ring. The ring turns smoothly but clicks into place at each level.
Setting Torque To 140 Nm
First, turn the torque ring until the arrow points to 140 Nm. Some Makita models may list torque in different units. Check your drill’s manual to confirm.
Turn the ring slowly and stop once you reach the correct number. Avoid forcing the ring to prevent damage. After setting, test the drill on scrap material to ensure the torque is right.
Credit: www.toolbrothers.de
Testing The Torque Setting
Testing the torque setting on your Makita cordless drill is important. It ensures the drill delivers the right power and prevents damage to screws and materials. Checking the torque setting helps confirm that the tool is working as expected. Follow these steps for safe and effective testing.
Safe Test Procedures
Wear safety glasses before starting any test. Choose a scrap piece of wood or soft material for testing. Set the drill to 140 Nm torque mode. Hold the drill firmly with both hands. Slowly press the trigger and let the drill work. Stop if you feel slipping or hear unusual noise. Check if screws tighten without stripping. Repeat the test a few times to confirm results.
Troubleshooting Common Issues
If the drill does not reach 140 Nm, check the battery charge. Low power can reduce torque output. Inspect the clutch ring for wear or damage. Replace it if it looks worn out. Clean the drill’s chuck and gears from dust. Tighten loose parts to avoid slipping. If problems continue, contact Makita service for help. Proper maintenance improves torque accuracy and tool life.
Tips For Optimal Performance
Setting the torque to 140 Nm on your Makita cordless drill is just the start. For best results, take care of your drill and use the right speed. These simple steps help your drill work well and last long.
Follow these tips to get the most from your Makita drill every time.
Maintaining Your Drill
Keep your drill clean after each use. Wipe off dust and dirt with a dry cloth. Avoid using water or wet cloths that can damage the tool. Check the battery regularly and charge it fully before use. Store your drill in a dry place to stop rust. Tighten loose parts to keep the drill safe and strong. Regular maintenance helps your drill perform at its best.
Using Correct Speed Settings
Choose the right speed for your task. Use low speed for drilling into hard materials like metal. High speed works well for softer materials like wood. Adjust speed based on the bit size and material hardness. Using the correct speed keeps the drill bit sharp and prevents damage. It also helps set torque at 140 Nm more accurately. Speed control is key for smooth and safe drilling.

Credit: toolsadvisory.com
Frequently Asked Questions
How Do I Set Torque To 140 Nm On A Makita Cordless Drill?
To set 140 Nm torque, first, check your Makita model’s max torque limit. Adjust the torque ring to 140 Nm or closest setting. Some models use a digital interface to input torque directly. Always refer to your user manual for precise instructions.
Why Is Setting Torque To 140 Nm Important?
Setting torque to 140 Nm ensures optimal screw tightness without damaging materials. It prevents overdriving or stripping screws. Proper torque improves work quality and tool longevity. It also ensures safety during drilling tasks.
Can All Makita Cordless Drills Reach 140 Nm Torque?
Not all Makita cordless drills reach 140 Nm torque. High torque models or brushless drills typically provide this setting. Check your drill’s specifications before attempting to set this torque level to avoid tool damage.
What Tools Help Verify Torque Accuracy On Drills?
Torque wrenches or digital torque testers verify drill torque accuracy. Using these tools ensures your drill delivers the correct 140 Nm torque. They help maintain consistent and safe torque application during projects.
Conclusion
Setting the torque to 140 Nm on your Makita cordless drill is simple and quick. Just follow the steps carefully to avoid mistakes. This setting helps you control the drill better and finish tasks with ease. Always check the torque before starting your work.
Proper torque settings protect your tools and materials. Now, you are ready to use your drill safely and effectively. Practice a few times to get comfortable with the process. Keep your drill in good condition for best results every time.