

Setting up an air pump for your aquarium is easy with the right steps. This guide covers everything from choosing the right pump to proper installation and maintenance. Follow our tips to ensure your fish have a healthy, oxygen-rich environment.
How to Set Up Air Pump Aquarium
If you want your fish to stay healthy and happy, proper aeration is essential. An air pump is a simple, effective way to increase oxygen levels in your aquarium. This guide will walk you through each step to set up your air pump correctly, ensuring your tank is well-oxygenated and your fish thrive.
Key Takeaways
- Choose the right air pump: Select a pump suitable for your tank size and fish requirements.
- Gather necessary supplies: You’ll need tubing, a check valve, air stones or diffusers, and clamps.
- Proper installation: Connect the tubing securely to the pump and accessories, ensuring no leaks.
- Placement tips: Position the pump in a dry, stable area, away from direct sunlight and drafts.
- Adjust airflow: Use the regulator to control oxygen flow for optimal aeration.
- Routine maintenance: Regularly clean the air stones and check connections to keep the system running smoothly.
- Troubleshooting: Address common issues like no bubbles or noise with simple fixes to keep your tank healthy.
Understanding the Importance of an Air Pump
An air pump helps circulate oxygen in your aquarium water. It creates bubbles that increase water surface agitation, which improves oxygen exchange. Proper aeration prevents fish stress, reduces algae growth, and promotes a healthier environment overall.
Choosing the Right Air Pump
Consider Tank Size
Size matters when selecting an air pump. For smaller tanks (up to 20 gallons), a compact pump with lower airflow is sufficient. Larger tanks (over 50 gallons) need more powerful pumps to ensure proper oxygenation.
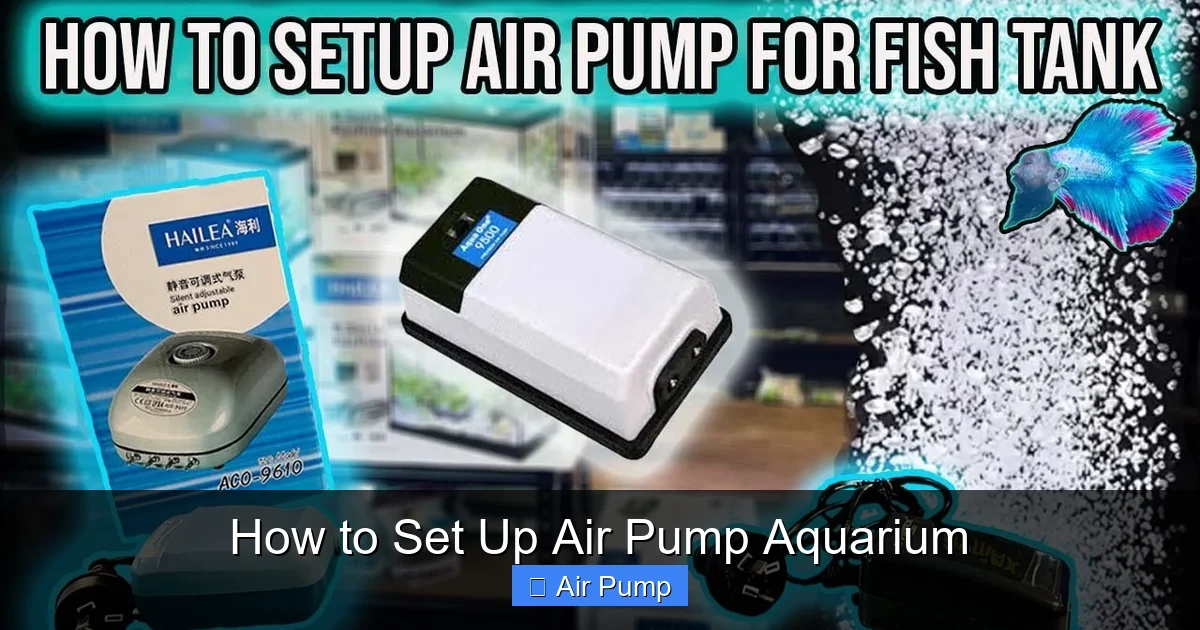
Visual guide about How to Set Up Air Pump Aquarium
Image source: i.ytimg.com
Check the Pump’s Capacity
Look for the cubic feet per hour (CFH) or liters per minute (LPM) rating. A good rule of thumb is to choose a pump that can circulate the entire volume of your tank at least 4-6 times per hour.
Noise Level and Energy Efficiency
Choose a quiet, energy-efficient pump to avoid disturbing your fish or increasing electricity bills. Read reviews to find models known for silent operation.
Gathering the Necessary Supplies
- Air pump: The main device to generate airflow.
- Air tubing: Connects the pump to the air stones or diffusers.
- Check valve: Prevents water from siphoning back into the pump.
- Air stones or diffusers: Disperse air into tiny bubbles for better oxygenation.
- Clamps or clips: Secure tubing and prevent leaks.
- Optional: Regulators or flow control valves: Adjust airflow to your preference.
Step-by-Step Setup Instructions
Step 1: Position the Air Pump
Choose a dry, stable location for your pump. It should be away from direct sunlight, heat sources, and areas prone to moisture. Elevate the pump slightly off the ground if possible to prevent water damage and noise transmission.
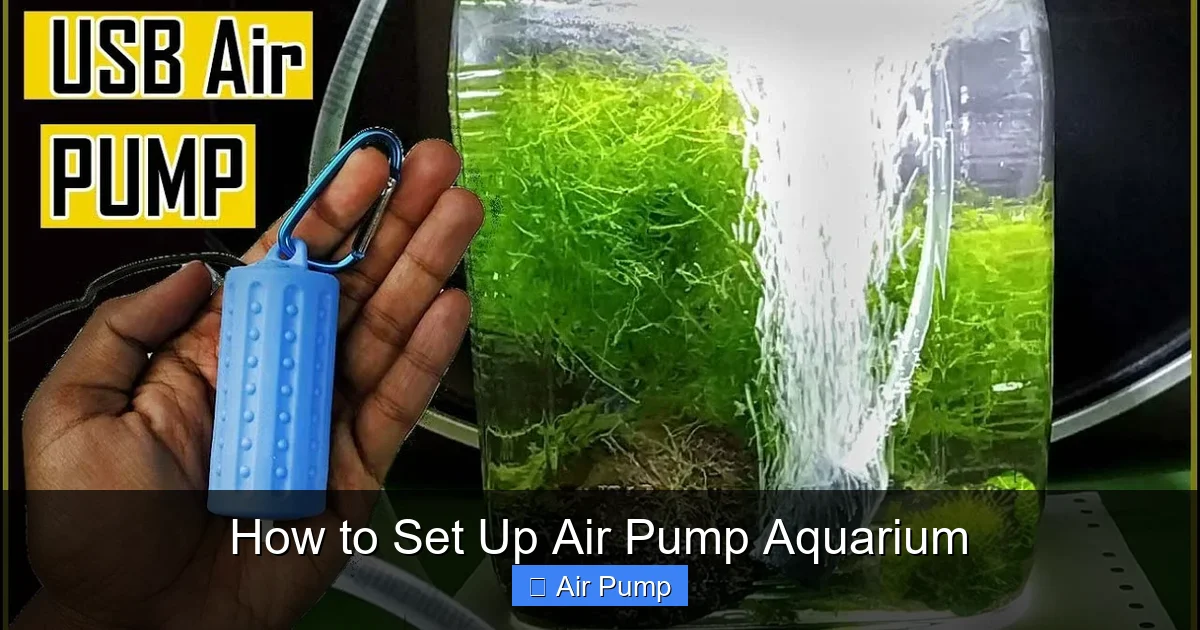
Visual guide about How to Set Up Air Pump Aquarium
Image source: i.ytimg.com
Step 2: Connect the Tubing to the Pump
Attach one end of the air tubing securely to the pump’s outlet. Ensure the connection is tight to prevent air leaks. Use clamps if necessary for a snug fit.
Step 3: Install the Check Valve
Place the check valve along the tubing, close to the pump. The check valve allows air to flow out but prevents water from flowing back into the pump if power is lost. Make sure the arrow on the check valve points away from the pump.
Step 4: Attach the Air Stone or Diffuser
Connect the other end of the tubing to your chosen aeration device—either an air stone or diffuser. If using an air stone, insert it into your tank at a suitable location, typically near the substrate or along the side glass.
Step 5: Position the Air Stone
Place the air stone at the bottom of the tank or in a location where bubbles can circulate freely. Secure it with suction cups or gravel to prevent movement.
Step 6: Power On the System
Plug in your air pump and turn it on. Observe the bubbles emerging from the air stone. If you see no bubbles, check all connections and ensure the pump is functioning properly.
Step 7: Adjust the Airflow
If your pump has a flow regulator, turn it to control the amount of air being pumped. Start with a gentle flow and increase as needed, making sure the bubbles are not too vigorous, which can disturb the fish.
Practical Tips for Effective Aeration
- Use multiple air stones: For larger tanks, consider multiple stones for even oxygen distribution.
- Maintain your equipment: Regularly clean air stones to prevent clogging and ensure optimal bubble production.
- Avoid excessive noise: Place the pump in a quiet area or use noise-reducing pads.
- Monitor bubble size: Fine bubbles dissolve better in water, providing more oxygen.
Maintenance and Troubleshooting
Common Issues and Solutions
- No bubbles: Check connections, ensure the pump is working, and verify the air stone isn’t clogged.
- Excessive noise: Place the pump on a soft surface or consider upgrading to a quieter model.
- Water siphoning into the pump: Make sure the check valve is installed correctly and functioning.
- Reduced airflow: Clean or replace clogged air stones and check for kinks in tubing.
Conclusion
Setting up an air pump in your aquarium is a straightforward process that greatly benefits your fish’s health. By choosing the right pump, assembling the components correctly, and maintaining the system regularly, you can create a vibrant, oxygen-rich environment for your aquatic friends. Remember, proper aeration is key to a thriving aquarium, so take your time to set up and tweak your system for optimal performance.
Final Tips
- Always test your setup before introducing fish.
- Adjust airflow gradually to avoid stressing your aquatic life.
- Keep spare parts like tubing and air stones handy for quick repairs.