

< strong >Having a jammed nail gun can halt your project. In this guide, you’ll learn < /strong > simple, effective steps to clear jams safely. With these tips, you’ll get your nailer back in action in no time.
Key Takeaways
- Identify the jam: Carefully inspect your nail gun to understand what’s causing the jam before attempting to clear it.
- Safety first: Always disconnect the nail gun from power or air supply before working on it to prevent accidents.
- Use proper tools: Use the correct tools like pliers or a cleaning brush to remove nails or debris.
- Follow manufacturer instructions: Consult your nail gun’s manual for specific jam removal procedures.
- Regular maintenance: Prevent future jams by cleaning and lubricating your nailer regularly.
- Troubleshoot persistent jams: If jams persist, check for damaged parts or worn-out components that need replacement.
Introduction
If you work with a nail gun regularly, you’ve probably experienced a jam at some point. A jam can be frustrating and slow down your project. But don’t worry! In this guide, you’ll learn how to unjam a nail gun safely and effectively. We’ll walk you through step-by-step instructions, safety tips, and troubleshooting advice to get your nailer back in working order quickly.
Understanding Why Nail Guns Jam
Nail guns can jam for various reasons, such as:
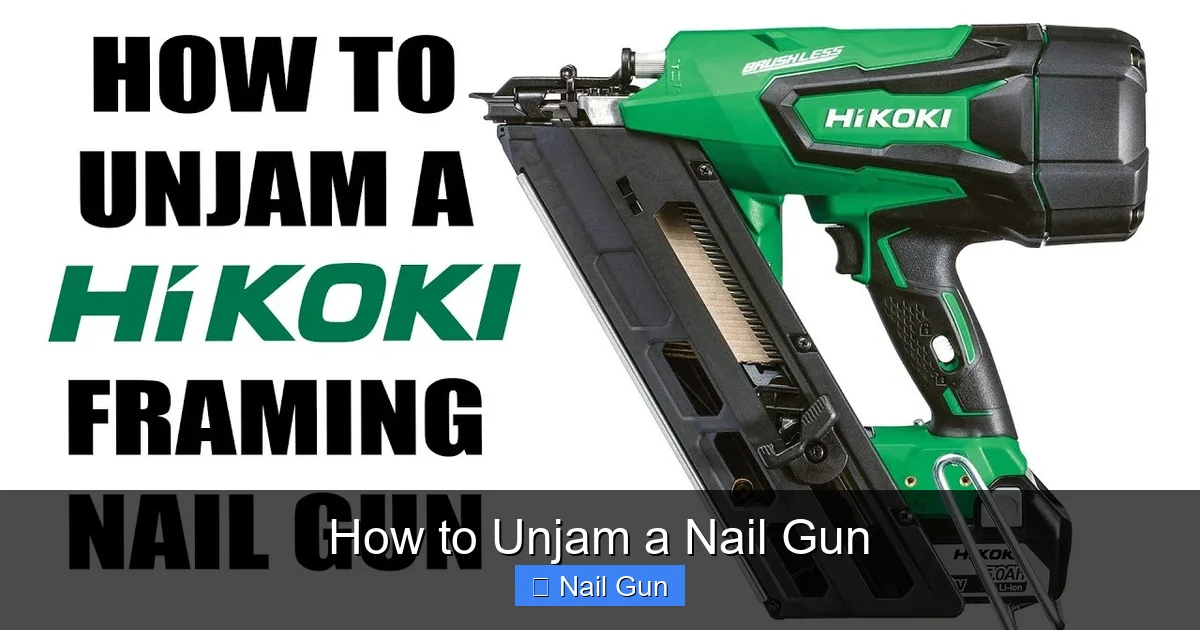
Visual guide about How to Unjam a Nail Gun
Image source: i.ytimg.com
- Using nails that are too long or incompatible
- Dirty or clogged firing chamber
- Worn-out or damaged parts
- Overloading the magazine
Knowing the cause helps you choose the right method to fix the jam.
Safety Precautions Before Unjamming
Before you start, always prioritize safety:
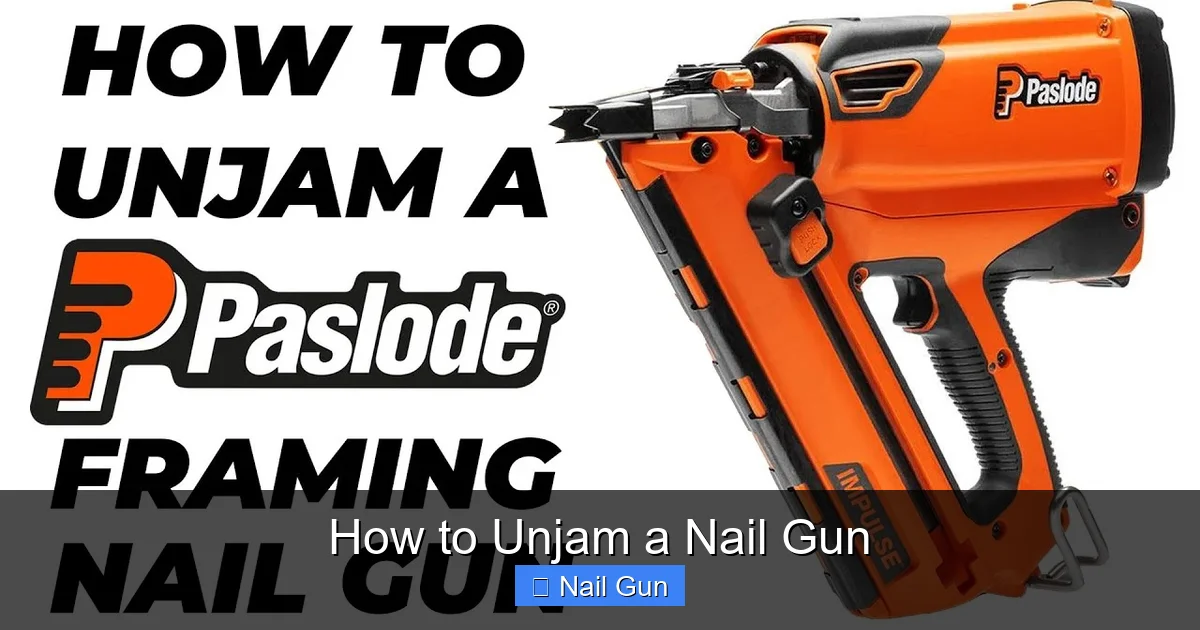
Visual guide about How to Unjam a Nail Gun
Image source: i.ytimg.com
- Disconnect power: Unplug the nail gun from the power source or disconnect the air supply if it’s pneumatic.
- Wear safety gear: Use safety glasses and gloves to protect yourself from accidental nails or debris.
- Work in a clear area: Ensure your workspace is clean and free from obstacles.
Following these precautions prevents injuries and accidents during the unjamming process.
Tools You’ll Need
Gather these tools before starting:
- Pliers or needle-nose pliers
- Allen wrenches or screwdrivers (as per your nail gun manual)
- Cleaning brush or air compressor
- Lubricant oil (recommended by manufacturer)
- Replacement nails or parts (if needed)
Step-by-Step Guide to Unjam a Nail Gun
Step 1: Disconnect the Nail Gun
Always start by disconnecting your nail gun from its power source. For electric models, unplug from the outlet. For pneumatic guns, detach the air hose. This ensures no accidental firing occurs while you work.
Step 2: Inspect the Nail Gun
Look at the firing chamber and magazine. Check for visible nails, debris, or obstructions. Carefully remove any nails or debris with pliers. If nails are stuck, gently pull them out.
Step 3: Clear the Jammed Nails
- Use needle-nose pliers to grasp and remove jammed nails.
- If nails are deeply embedded, you might need to disassemble parts of the nail gun.
Consult your manufacturer’s manual for disassembly instructions specific to your model.
Step 4: Clean the Firing Chamber and Components
Use a cleaning brush or compressed air to remove dust, dirt, and debris from the firing chamber and moving parts. Keeping these parts clean helps prevent future jams and maintains optimal performance.
Apply a few drops of lubricant oil (as recommended by the manufacturer) to the moving parts to ensure smooth operation.
Step 5: Reassemble and Check for Damage
If you disassembled any parts, reassemble the nail gun carefully. Inspect all components for signs of damage or wear, such as cracked parts or worn-out springs. Replace damaged parts as needed.
Step 6: Reload Nails and Test
Load compatible nails into the magazine. Make sure they are properly aligned and not overloaded. Reconnect the power or air supply, then test the nail gun on a scrap piece of wood to ensure it fires correctly.
Additional Tips for Preventing Future Jams
- Use compatible nails: Always use nails recommended by your nail gun’s manufacturer.
- Keep it clean: Regularly clean the firing chamber and magazine.
- Lubricate: Apply oil periodically to moving parts for smooth operation.
- Avoid overloading: Don’t overload the magazine; stick to the recommended capacity.
- Store properly: Store your nail gun in a dry, clean place to prevent rust and debris buildup.
Troubleshooting Common Issues
- Repeated jams: Check for damaged parts or incompatible nails. Replace worn components.
- Gun not firing: Ensure nails are loaded correctly and the air pressure (for pneumatic guns) is adequate.
- Misfires or weak shots: Clean the firing pin and apply proper lubrication.
- Air leaks (pneumatic guns): Inspect seals and hoses for damage and replace if necessary.
Conclusion
Getting your nail gun unjammed doesn’t have to be complicated. With the right tools, safety precautions, and a systematic approach, you can fix jams quickly and keep your tool in top shape. Regular maintenance and proper handling go a long way in preventing future issues. Remember, always consult your specific model’s manual for detailed instructions and safety guidelines. Happy nailing!
🎥 Related Video: How to Unjam a Milwaukee Framing Nail Gun
📺 Dave Does DIY
This video shows you how to easily open your Milwaukee framing Nailer and remove any stuck nails. This is also how to open the …