

Using a nail gun can save you time and effort on your projects. This guide walks you through the essential steps to operate a nail gun safely and correctly, whether you’re a beginner or experienced DIYer.
How to Use a Nail Gun
Using a nail gun can make your woodworking, framing, or finishing projects much faster and more precise. However, safety and proper technique are crucial to prevent accidents and achieve professional results. This comprehensive guide will teach you step-by-step how to use a nail gun safely and effectively in 2026.
Key Takeaways
- Choose the right nail gun: Select the appropriate type for your project, such as framing, finish, or brad nailers.
- Wear safety gear: Always use eye protection and hearing safety equipment before operating a nail gun.
- Prepare your workspace: Clear the area and secure your materials to prevent accidents.
- Load the nails correctly: Follow the manufacturer’s instructions to load nails properly into the gun.
- Practice proper technique: Position the nail gun correctly and keep your hands clear of the firing zone.
- Test the nail gun: Fire into scrap material to ensure proper functioning before starting your project.
- Follow safety precautions: Never point the nail gun at yourself or others, and disconnect it when not in use.
Quick Answers to Common Questions
Tip 1: How do I prevent nail jams?
Ensure nails are the correct size and loaded properly, and regularly clear any debris from the magazine.
Tip 2: Can I use a nail gun for outdoor projects?
Yes, but choose a model and nails suitable for outdoor use to prevent rust and corrosion.
Question 3: How do I know if my nail gun is safe to operate?
Check that safety features are functional, inspect for damage, and follow the manufacturer’s safety guidelines.
Tip 4: What’s the proper way to hold a nail gun?
Grip the handle firmly with your dominant hand and keep your other hand steady away from the firing zone.
Question 5: How often should I maintain my nail gun?
Clean and lubricate your nail gun after each use, and perform a thorough inspection monthly, depending on usage frequency.
Understanding the Types of Nail Guns
Before diving into usage, it’s important to know the different types of nail guns available. Each is designed for specific tasks, so choosing the right one is key to your project’s success.
Framing Nailers
Ideal for large construction projects, they fire long nails for framing walls and structural work.
Finish Nailers
Used for trim, molding, and finish carpentry, these fire smaller nails for a clean look.
Brad Nailers
Best for delicate work like cabinetry and furniture, firing very small nails.
Pin Nailers
Used for detailed finish work, firing tiny nails for minimal visibility.
Safety First: Preparing to Use a Nail Gun
Safety should always come first. Before operating your nail gun, follow these essential safety steps:
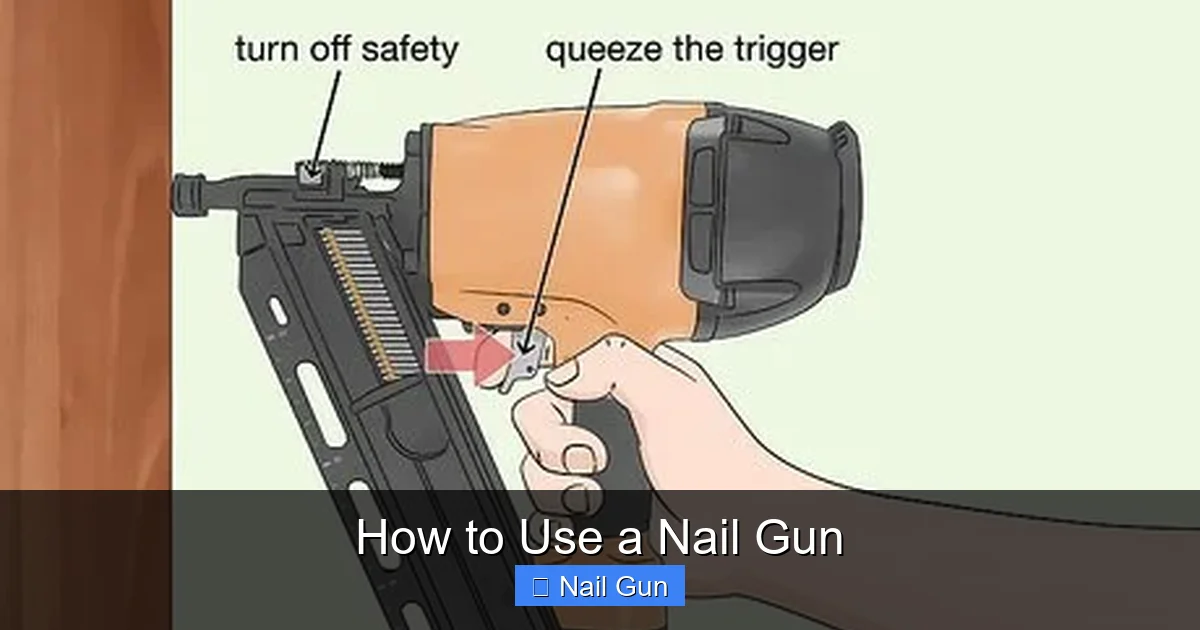
Visual guide about How to Use a Nail Gun
Image source: wikihow.com
Wear Personal Protective Equipment (PPE)
- Eye protection: Always wear safety goggles to shield your eyes from flying debris or nails.
- Hearing protection: Use earplugs or earmuffs, as nail guns can be loud.
- Work gloves: Protect your hands from accidental nicks and splinters, but keep your gloves loose enough to maintain dexterity.
Inspect Your Nail Gun
- Check for any damage or wear, especially on the trigger, safety mechanisms, and power source.
- Ensure the safety features are functioning properly.
- Verify that the gun is clean and free of obstructions.
Ensure Proper Power Source
- If using a pneumatic nail gun, connect it securely to an air compressor with the correct pressure (usually indicated on the gun).
- For cordless models, check the battery charge and installation.
Clear Your Workspace
- Remove clutter and obstacles.
- Secure the workpiece firmly to prevent movement during nailing.
- Ensure no one is in your firing zone.
Loading the Nail Gun
Proper loading ensures smooth operation and prevents jams or misfires. Follow these steps:
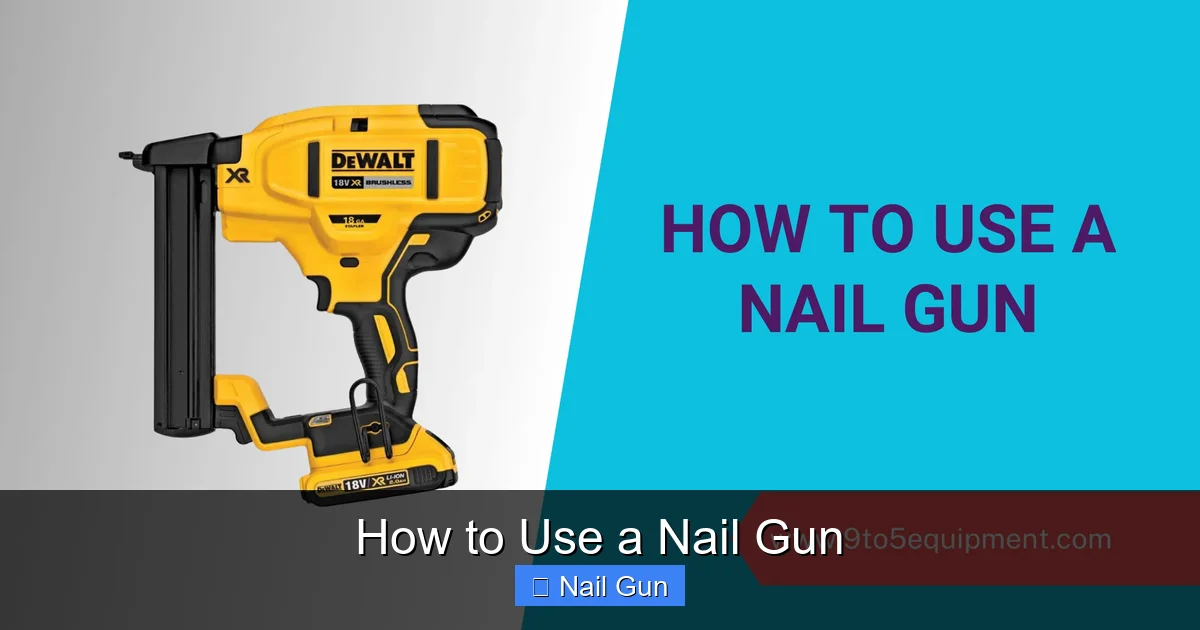
Visual guide about How to Use a Nail Gun
Image source: 9to5equipment.com
Read the Manufacturer’s Instructions
Every nail gun model has specific loading procedures. Always follow the manual for your particular tool.
Insert the Nails Correctly
- Open the magazine or nail compartment as instructed.
- Insert the nails with the correct orientation, typically with the pointed end facing forward and the head aligned properly.
- Ensure that the nails are compatible with your gun’s specifications.
Close the Magazine and Check
- Securely close the magazine or nail compartment.
- Pull back the follower or slide to make sure nails are seated correctly.
- Test the feed by gently firing into scrap material if your gun has a test mode.
Using the Nail Gun: Step-by-Step
Now that your tool is ready, follow these steps to operate it safely and accurately.
Visual guide about How to Use a Nail Gun
Image source: i.ytimg.com
Step 1: Position Your Material
- Place the materials you want to nail together securely.
- Use clamps or a workbench to prevent movement.
Step 2: Hold the Nail Gun Properly
- Grip the handle firmly with your dominant hand.
- Keep your non-dominant hand steady on the workpiece, away from the firing zone.
Step 3: Align the Nosing and Safety Mechanism
- Position the nose of the nail gun flat against the surface you want to nail.
- Ensure the safety tip or contact tip is depressed against the workpiece. Most nail guns require this contact to fire.
Step 4: Firing the Nail Gun
- Keep the gun pressed firmly against the workpiece, with the contact tip depressed.
- Pull the trigger to fire a nail.
- Maintain control of the gun during and after firing.
Step 5: Repeating the Process
- Move the gun to the next position, maintaining proper alignment.
- Repeat firing, ensuring each nail is properly seated.
Practical Tips:
- Use a consistent angle for nails to ensure neat results.
- Take your time for accuracy, especially on delicate projects.
- When working overhead or in tight spaces, consider using a shorter nail or a different angle.
Common Troubleshooting
Sometimes, issues may arise during operation. Here are common problems and solutions:
Jammed Nails
Open the magazine and carefully clear any jammed nails. Avoid forcing nails out to prevent damage.
Misfired Nails
Ensure the nails are loaded correctly, and the safety mechanism is engaged properly. Check for proper power supply.
Gun Not Firing
Verify that the safety contact is pressed, the tool is loaded, and there’s sufficient air or power. Also, check for blockages or damage.
Uneven or Bent Nails
Use the correct type and size of nails for your project. Avoid forcing nails into hard materials.
Post-Use Safety and Maintenance
After completing your work, follow these steps:
- Disconnect the nail gun from power or air supply.
- Clean the tool with a dry cloth to remove dust and debris.
- Lubricate moving parts as recommended by the manufacturer.
- Store the nail gun in a safe, dry place out of reach of children.
Regular maintenance prolongs the lifespan of your nail gun and ensures safe operation in future projects.
Conclusion
Using a nail gun efficiently and safely can significantly improve your woodworking projects. Remember to choose the right type of nail gun, prioritize safety, and follow proper loading and firing procedures. With practice, you’ll become confident in handling your nail gun and achieving professional results every time.
Final Tips
- Always read and follow the manufacturer’s manual.
- Practice on scrap materials before working on your actual project.
- Never bypass safety features or attempt to modify your tool.
🎥 Related Video: The Ultimate Guide to Using a Manual Steel Nail Gun
📺 Amazing Ideaz
The Ultimate Guide to Using a Manual Steel Nail Gun Welcome to “The Ultimate Guide to Using a Manual Steel Nail Gun”! In this …