

Using a nail gun with a compressor is an efficient way to complete woodworking, framing, and DIY projects. This guide covers everything from setup to safety, helping you master your nail gun for professional results. Get ready to boost your productivity and nail with confidence!
Key Takeaways
- Proper Setup: Always connect your nail gun to a suitable compressor with the correct pressure settings.
- Safety First: Wear safety gear and understand how to handle the nail gun safely to prevent accidents.
- Adjusting Pressure: Set the compressor pressure according to the nail gun’s specifications for optimal performance.
- Loading Nails: Know how to correctly load nails into your nail gun to avoid jams and ensure smooth operation.
- Using the Nail Gun: Learn the correct stance and trigger technique for precise and safe nailing.
- Maintenance and Troubleshooting: Regularly clean and inspect your nail gun to prevent issues and extend its lifespan.
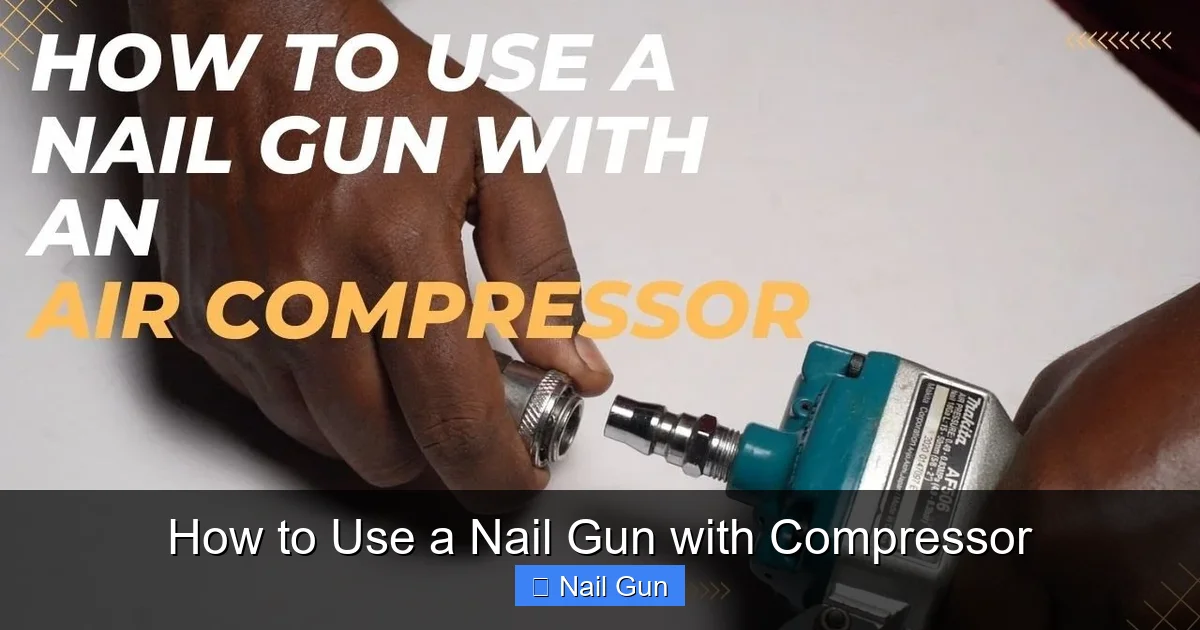
How to Use a Nail Gun with Compressor
If you’re into woodworking, framing, or DIY projects, a nail gun with a compressor can save you time and effort. It allows for fast, consistent nailing, making your work more efficient. But to get the best results and stay safe, you need to understand how to set up and operate your nail gun properly. In this guide, we’ll walk through everything you need to know—from connecting your compressor to troubleshooting common issues. By the end, you’ll be confident in using your nail gun like a pro.
1. Understanding Your Nail Gun and Compressor
Before diving into the actual operation, it’s essential to understand the basic components of your nail gun and compressor.
Visual guide about How to Use a Nail Gun with Compressor
Image source: i.ytimg.com
- Nail Gun: A tool that drives nails into wood or other materials. It comes in various types like framing, finish, or brad nailers.
- Compressor: Provides compressed air to power the nail gun. It has a tank to store air and a motor to generate pressure.
Matching the right nail gun with a compatible compressor is key. Check your nail gun’s manual for recommended PSI (pounds per square inch) and CFM (cubic feet per minute) ratings.
2. Preparing Your Workspace and Safety Gear
Gather Safety Equipment
Always prioritize safety when working with pneumatic tools:

Visual guide about How to Use a Nail Gun with Compressor
Image source: i.ytimg.com
- Wear safety goggles to protect your eyes from debris.
- Use hearing protection, especially for prolonged use.
- Wear gloves if handling nails or parts that might cause minor injuries.
Set Up Your Workspace
Choose a clean, well-lit area. Make sure there’s enough space to maneuver your tools comfortably. Keep bystanders, especially children, away from the work zone.
3. Connecting the Compressor and Nail Gun
Step 1: Check the Equipment
Inspect your compressor and nail gun for damage or wear. Ensure all parts are clean and in good condition.
Step 2: Attach the Air Hose
Use a high-quality air hose compatible with your tools. Connect one end to the compressor’s outlet and the other to the nail gun’s air inlet.
- Ensure the connection is tight to prevent leaks.
- Use quick-connect fittings if available for easy attachment and detachment.
Step 3: Adjust the Compressor Pressure
Set your compressor to the recommended PSI for your nail gun. Typically, this is between 80-120 PSI. Consult your nail gun’s manual for exact figures.
- Turn the pressure regulator knob to the desired PSI.
- Use a tire pressure gauge or built-in gauge to monitor the pressure.
4. Loading Nails into the Nail Gun
Step 1: Safety First
Disconnect the nail gun from the air supply before loading nails.
Step 2: Open the Magazine
Most nail guns have a latch or button to open the magazine. Carefully do this according to your model’s instructions.
Step 3: Load Nails
Insert a strip of nails compatible with your gun’s specifications. Make sure nails are aligned correctly and seated firmly.
- Check the nail size and type (e.g., 2-inch framing nails).
- Do not force nails into a jammed magazine; clear jams carefully.
Step 4: Close the Magazine
Secure the magazine latch properly before reconnecting the air supply.
5. Operating the Nail Gun
Step 1: Safety Checks
Ensure safety covers are in place, and you’re wearing safety gear.
Step 2: Position the Nail Gun
Hold the nail gun firmly with both hands. Position the tip perpendicular to the surface you want to nail.
Step 3: Test on Scrap Material
Before working on your actual project, press the tip against scrap wood and give a test shot. Adjust pressure if needed.
Step 4: Nailing Technique
Pull the trigger while pressing the tip firmly against the surface. Keep the gun steady to ensure nails go straight.
- Do not tilt the gun at an angle to avoid misfires or jams.
- Use a consistent pressure for uniform nails.
Step 5: Moving Along
Work in a systematic way, moving your position smoothly and keeping the gun perpendicular to the surface.
6. Troubleshooting Common Issues
Jammed Nails
If the nail gun jams, disconnect it from the air supply. Carefully clear the jam according to your manual. Avoid forcing nails, as it can damage the gun.
Inconsistent Firing or Short Nailing
Check the air pressure and ensure nails are loaded correctly. Clean the nail gun’s internal parts if dirt or debris are present.
Leaks or Loss of Pressure
Inspect hoses and fittings for leaks. Replace damaged hoses or tighten fittings. Regular maintenance helps prevent leaks.
Not Shooting Nails
Verify the compressor is providing enough pressure. Check the safety triggers and reset if necessary. Make sure nails are properly loaded.
7. Maintenance and Care
- Regularly clean the nail gun to remove dust and debris.
- Lubricate moving parts with pneumatic tool oil as recommended.
- Inspect hoses and fittings periodically for wear.
- Store the nail gun in a dry, clean place to prevent rust and damage.
Conclusion
Using a nail gun with a compressor can dramatically improve your workflow. Proper setup, safety practices, and regular maintenance are key to getting the best results. With patience and practice, you’ll nail like a pro and complete your projects efficiently and safely.
Final Tips
- Always read your tool manuals for specific instructions.
- Test your setup on scrap material before starting your project.
- Never point the nail gun at yourself or others.
- Keep safety gear on at all times during operation.
🎥 Related Video: How to use a Nail Gun with an Air Compressor
📺 Mellowpine Woodworking
This video will show you how to safely and efficiently use a nail gun with an air compressor. We’ll cover everything from setting up …