

A pneumatic nail gun is a powerful tool that speeds up construction and DIY projects. In this guide, you’ll learn how to properly operate, maintain, and troubleshoot your nail gun for safe and efficient use. Whether you’re a beginner or experienced user, this step-by-step tutorial will help you master your pneumatic nail gun.
Key Takeaways
- Safety first: Always wear protective gear and check the tool before use to prevent accidents.
- Proper setup: Connect the nail gun to an appropriate air compressor and adjust pressure settings as needed.
- Loading nails: Use the correct nails and load them properly into the magazine for smooth operation.
- Operating technique: Hold the tool firmly, position it correctly, and trigger shots carefully to ensure precision.
- Maintenance: Regularly clean and inspect your nail gun to prolong its lifespan and ensure safety.
- Troubleshooting: Recognize common issues like jams or misfires and know how to fix them quickly.
How to Use a Pneumatic Nail Gun
Using a pneumatic nail gun can significantly speed up your construction, carpentry, or DIY projects. However, it’s crucial to operate it safely and correctly to avoid accidents or damage. In this comprehensive guide, you will learn everything from setting up your nail gun to troubleshooting common problems. By the end, you’ll be confident in handling your pneumatic nail gun like a pro.
1. Understanding Your Pneumatic Nail Gun
Before diving into the operation, spend some time familiarizing yourself with the parts of your nail gun:
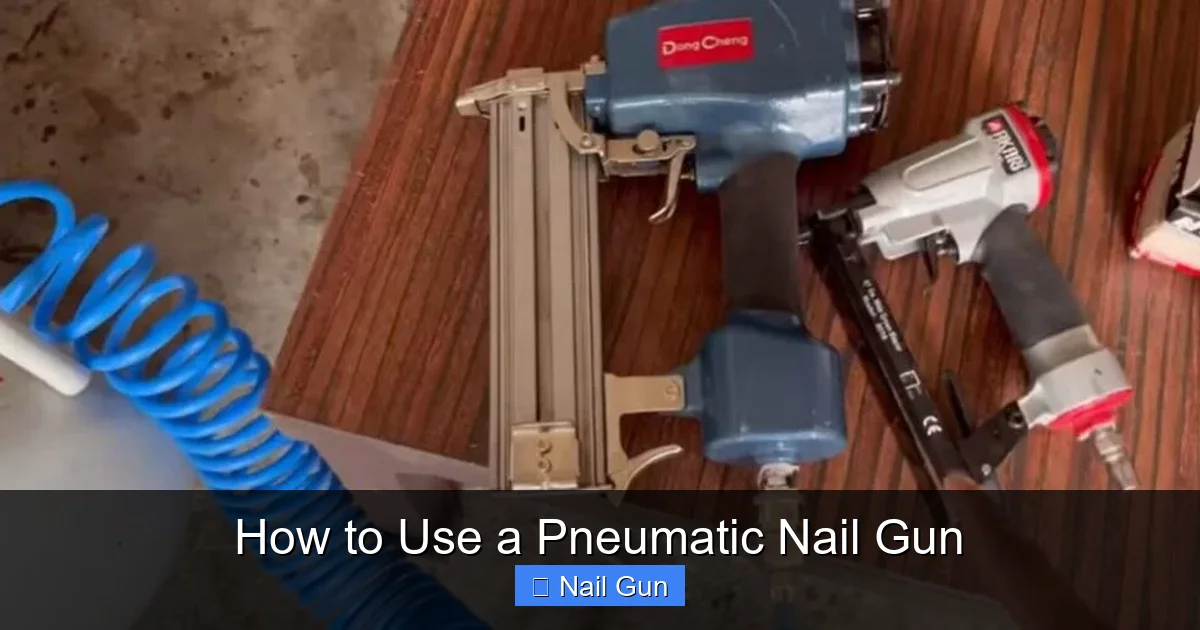
Visual guide about How to Use a Pneumatic Nail Gun
Image source: toolsmirror.com
- Magazine: Holds the nails and feeds them into the firing chamber.
- Trigger: Activates the firing mechanism.
- Nozzle or Tip: Where the nails exit.
- Air Inlet: Connects to the air compressor.
- Safety Tip: Usually a small metal or plastic piece that must be pressed against the work surface before firing.
Understanding these components helps you operate your nail gun safely and efficiently.
2. Setting Up Your Pneumatic Nail Gun
Step 1: Choose the Right Air Compressor
Select an air compressor with enough capacity to power your nail gun. Check the recommended PSI (pounds per square inch) and CFM (cubic feet per minute) on your nail gun’s manual. A typical small to medium project may need a compressor rated at 90 PSI and 2-4 CFM.
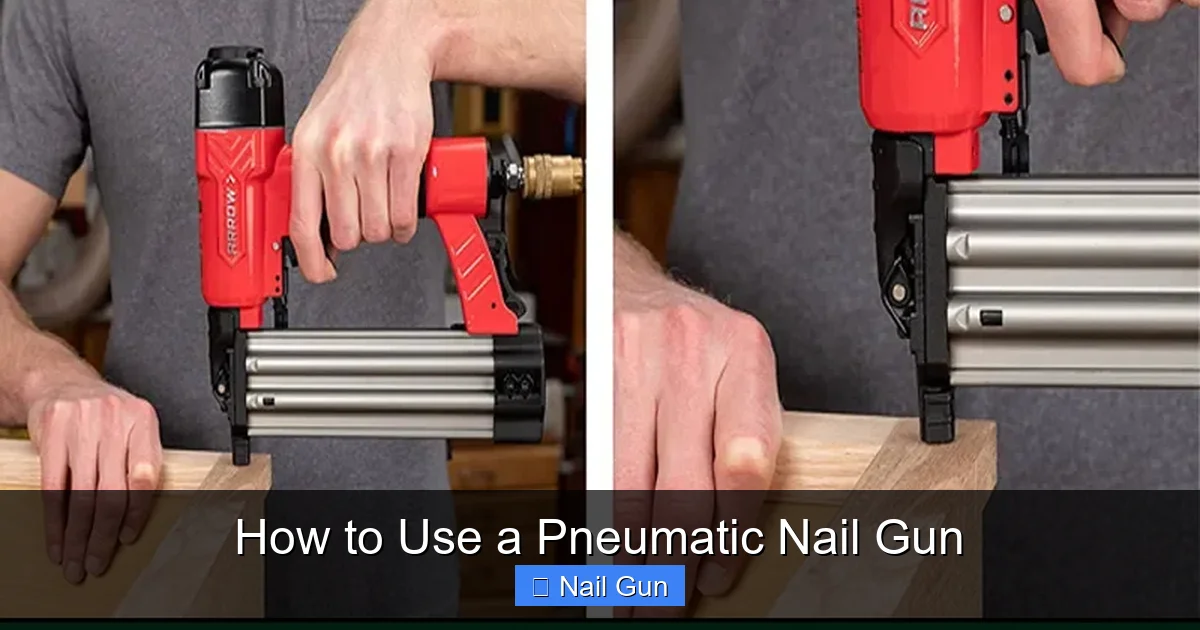
Visual guide about How to Use a Pneumatic Nail Gun
Image source: ik.imagekit.io
Step 2: Connect the Air Hose
Attach the air hose securely to the compressor and the nail gun’s air inlet. Use quick-connect fittings for easy attachment and detachment. Ensure the connections are tight to prevent leaks.
Step 3: Adjust the Air Pressure
Set the compressor to the recommended PSI level. Too high pressure can damage nails or the tool; too low can result in misfires. Use the pressure regulator on your compressor to fine-tune the setting.
Practical Tip:
Always disconnect the air hose when loading nails or performing maintenance.
3. Loading Nails into the Pneumatic Nail Gun
Step 1: Select the Correct Nails
Use nails that match the size and type specified for your nail gun. Common types include clipped head, round head, or brad nails.
Step 2: Load the Nails
Open the magazine, usually by pressing a latch or releasing a cover. Insert the nails with the pointed end facing outward and aligned properly. Close the magazine securely.
Practical Tip:
Never force nails into the magazine. Ensure they slide smoothly and are properly seated.
4. Operating Your Pneumatic Nail Gun Safely
Step 1: Wear Protective Gear
Always wear safety glasses or goggles to protect your eyes from flying debris. Hearing protection is also recommended for prolonged use.
Step 2: Prepare Your Work Surface
Ensure the surface is stable and clear of obstructions. Hold the nail gun firmly with both hands for better control.
Step 3: Position the Nail Gun
Position the tip squarely against the work surface. Keep your fingers away from the trigger until ready to fire.
Step 4: Engage the Safety Tip
Most nail guns require the safety tip to be pressed against the surface before firing. This prevents accidental discharge.
Step 5: Firing the Nail
Press the trigger while maintaining firm contact with the surface. For precise placement, keep the tool steady and avoid tilting.
Practical Tips:
- Use the control trigger lock if your nail gun has one, especially when not actively firing.
- Do not lean or press heavily on the tool while firing to avoid misfires or damage.
5. Maintaining Your Pneumatic Nail Gun
Proper maintenance prolongs the life of your nail gun and keeps it operating safely:
- Clean Regularly: Wipe down the tool after use to remove dust and debris.
- Lubricate: Add a few drops of pneumatic tool oil into the air inlet before each use to keep internal parts moving smoothly.
- Inspect for Damage: Check for worn parts, loose fittings, or damaged safety tips.
- Clear Jams: If nails jam, disconnect the air supply, open the magazine, and carefully remove the jammed nails.
6. Troubleshooting Common Issues
Misfires or No Nails Firing
Check the air pressure—if it’s too low or too high, adjust accordingly. Also, inspect for jams or worn-out parts.
Jammed Nails
Disconnect the air, open the magazine, and carefully remove the jammed nails. Clean the magazine and ensure nails are loaded correctly.
Air Leaks
Inspect connections and fittings for leaks. Tighten or replace damaged hoses or fittings as needed.
Tool Not Firing Even When Triggered
Ensure the safety tip is pressed against a surface. Check for proper air pressure and for any internal blockages or damages.
Conclusion
Using a pneumatic nail gun effectively involves understanding its parts, setting it up correctly, and following safety procedures. Regular maintenance and troubleshooting ensure your tool works well and lasts longer. With practice, you’ll be able to complete projects faster and more accurately, making your work safer and more enjoyable. Remember, safety always comes first—never skip protective gear or safety checks!
🎥 Related Video: How To Use A Pneumatic Brad Nailer
📺 HouseImprovements
Amazon link to nailers: https://amzn.to/2BXH7Xl Shannon from https://www.house-improvements.com shows you how to use a …