

If you’re tackling drywall sanding, you might think you need a lot of special tools. But what if your cordless drill could do the job for you?
Using your cordless drill as a drywall sander can save you time, effort, and money. You’ll learn simple steps to turn your drill into a powerful sanding tool. Keep reading, and you’ll discover how to get smooth, professional-looking walls without buying extra equipment.
Ready to make your drywall work easier? Let’s dive in!
Choosing The Right Drill
Choosing the right drill is key for sanding drywall efficiently. Not all drills work well for this task. The right drill saves time and effort. It helps achieve a smooth, even surface without damage. Focus on the drill’s features and speed settings. These factors affect sanding quality and ease.
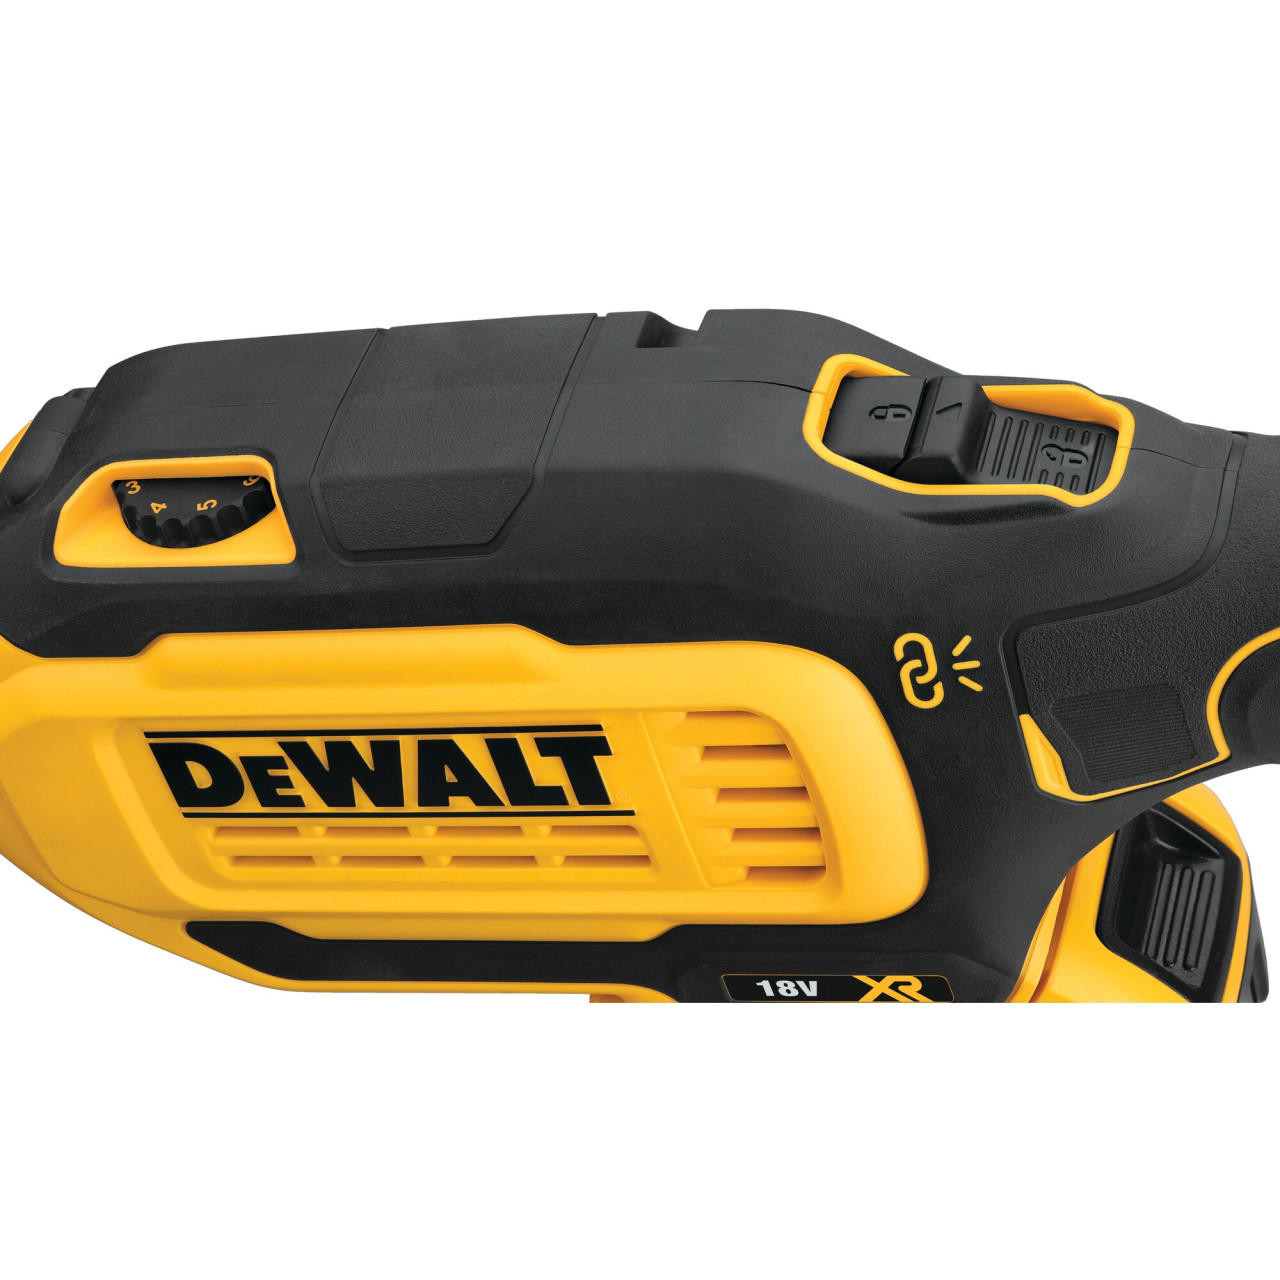
Cordless Drill Features For Sanding
Choose a cordless drill with good power and control. A drill with variable speed control works best. Look for a drill that feels comfortable in your hand. Lightweight models reduce fatigue during long sanding jobs. A drill with a strong battery lasts longer on the job. Check if the drill supports attaching sanding pads or discs.
Selecting The Appropriate Speed Settings
Speed control is important for sanding drywall smoothly. Use low to medium speeds to avoid damaging the wall. High speeds can cause uneven sanding and dust clouds. Start slow and increase speed if needed. A drill with multiple speed options offers better control. Proper speed settings help create a fine, even finish on drywall.
Credit: ahturf.com
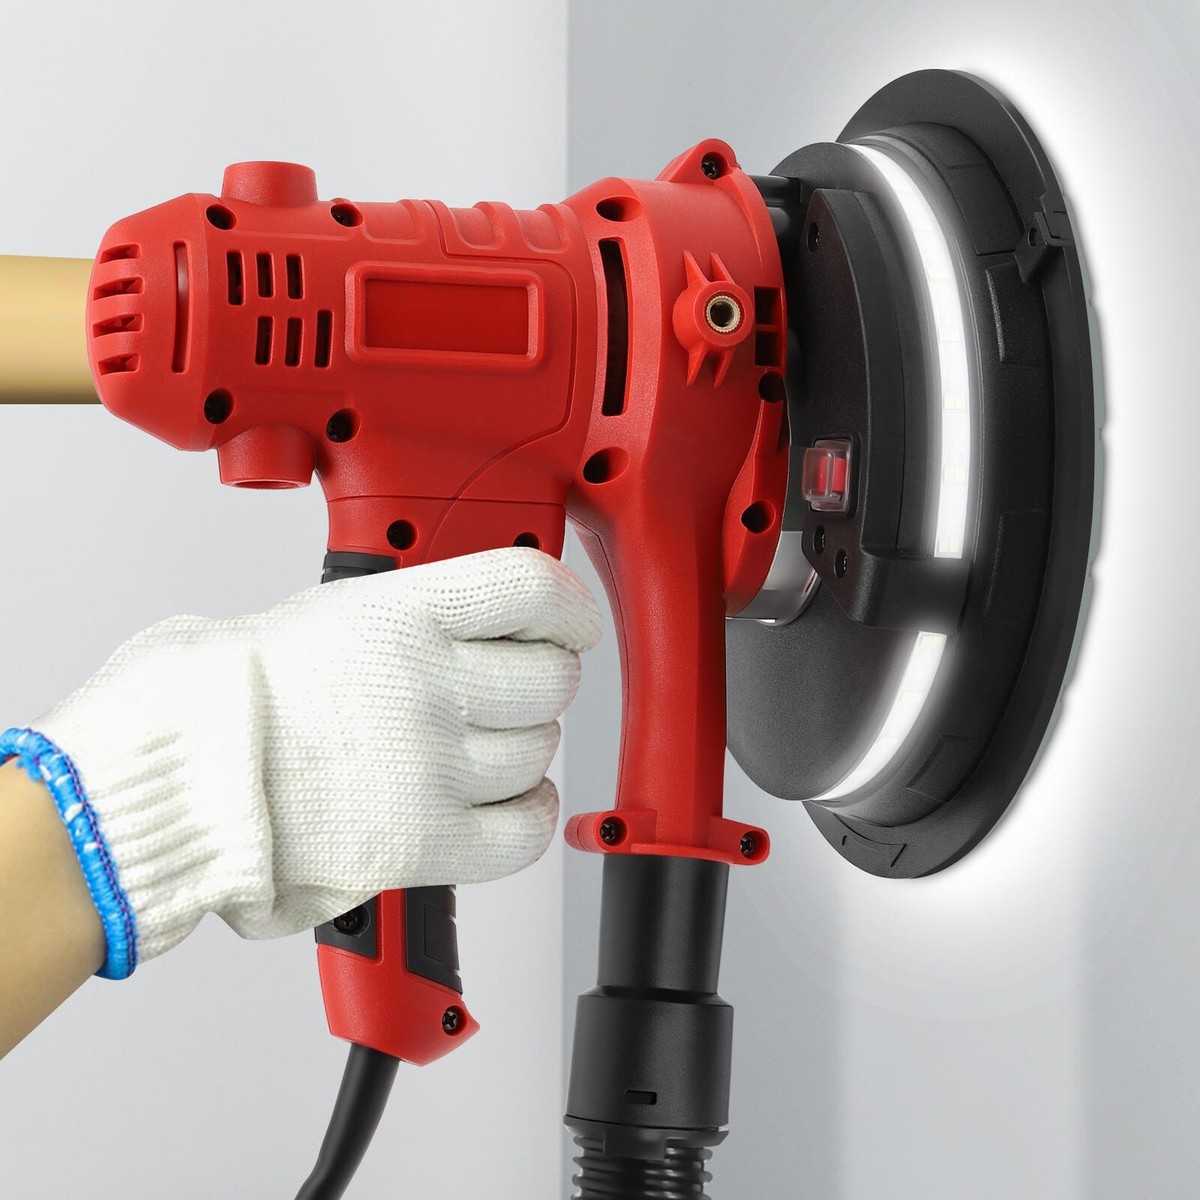
Gathering Sanding Attachments
Gathering the right sanding attachments is key to using a cordless drill for drywall sanding. The right tools make the job easier and cleaner. Sanding attachments come in different shapes and materials. They fit different surfaces and sanding needs.
Types Of Sanding Pads And Discs
Sanding pads and discs vary in size and grit. Foam pads are soft and work well on smooth drywall. Abrasive discs come in coarse, medium, and fine grits. Coarse grits remove rough spots fast. Fine grits smooth the surface for painting. Hook-and-loop discs stick to pads for easy changing. Choose the right grit for the stage of sanding.
Attaching Sanding Accessories Securely
Secure sanding attachments tightly to avoid accidents. Use the drill’s chuck or a backing pad for firm grip. Check that the sanding pad fits the drill’s speed and size. Loose attachments cause uneven sanding and damage. Tighten all parts before starting work. Test the attachment on a scrap piece first. This ensures safe and smooth sanding.
Preparing Drywall For Sanding
Preparing drywall for sanding is a key step to get smooth, even walls. Proper preparation helps avoid dust clouds and damage. It makes the sanding process easier and more effective. Two important tasks are cleaning and inspecting the surface, and protecting the surrounding areas.
Cleaning And Inspecting The Surface
Start by removing dust and loose debris from the drywall. Use a soft brush or vacuum to clear the surface gently. Check for any cracks, holes, or uneven patches. These spots need filling before sanding. A smooth surface helps the sanding tool work better. Clean drywall also reduces dust and improves finish quality.
Protecting Surrounding Areas
Cover floors and furniture with drop cloths or plastic sheets. Tape edges to keep dust from spreading. Use painter’s tape on baseboards and trim. This protects them from scratches and dust buildup. Protecting the area saves time cleaning later. It keeps your work space safe and tidy.
Credit: www.ebay.com
Sanding Techniques With A Drill
Sanding drywall with a cordless drill can save time and effort. The right sanding techniques help create a smooth, even finish. Understanding how to handle the drill and control pressure makes a big difference. Avoiding common mistakes keeps your work clean and professional.
Proper Drill Handling And Movement
Hold the drill firmly but not too tight. Keep your wrist relaxed to avoid fatigue. Move the drill in slow, steady circles or side-to-side motions. Let the sanding pad glide over the drywall surface. Avoid staying in one spot too long to prevent damage.
Maintaining Even Pressure
Apply light pressure for the best results. Too much force can cause uneven sanding or holes. Keep the drill moving smoothly and evenly across the surface. Check your progress often to ensure a consistent finish. Adjust pressure as needed to avoid rough spots.
Avoiding Common Mistakes
Do not press the drill too hard against the wall. Avoid fast drill speeds that can tear the drywall paper. Change sanding pads regularly to keep the surface clean. Keep dust control measures in place to protect your lungs. Take breaks to reduce hand strain and improve control.
Safety Tips During Sanding
Sanding drywall with a cordless drill can speed up your work. It also creates a lot of dust and small debris. Safety is very important during this process. Protect yourself to avoid health issues and accidents.
Using Protective Gear
Wear safety glasses to shield your eyes from dust and particles. Use a dust mask or respirator to protect your lungs. Gloves help protect your hands from rough surfaces. Long sleeves and pants keep your skin safe from irritation.
Managing Dust And Ventilation
Sanding drywall releases fine dust into the air. Use a vacuum or dust collection system to reduce dust spread. Open windows and doors to allow fresh air to flow. Use fans to improve air movement and remove dust. Keep your workspace clean to avoid dust buildup on surfaces.

Credit: www.walmart.com
Post-sanding Cleanup
After sanding drywall with a cordless drill, cleaning up is key. Dust and debris can settle on surfaces, causing problems for painting or finishing. Proper cleanup makes your work look smooth and professional. It also protects your health from inhaling fine dust particles. Follow these steps to tidy up your workspace effectively.
Removing Dust Residue
Start by wiping down the walls with a damp cloth. This helps lift the fine dust left behind from sanding. Use a vacuum cleaner with a brush attachment to clean corners and edges. Avoid using a dry broom, as it can spread dust in the air. Make sure to clean the floor and nearby surfaces too.
Inspecting For Smoothness
After cleaning, check the wall surface carefully. Run your hand gently over the drywall to feel for bumps or rough spots. Use good lighting to spot any uneven areas. If you find imperfections, sand them lightly again. This step ensures your wall is ready for painting or wallpaper.
Frequently Asked Questions
How Do I Attach A Sanding Pad To A Cordless Drill?
To attach a sanding pad, use a drill-compatible sanding attachment or backing pad. Secure it tightly to the drill’s chuck before sanding drywall.
What Drill Speed Is Best For Sanding Drywall?
Use a low to medium drill speed for drywall sanding. High speeds can damage the drywall surface or cause uneven sanding.
Can A Cordless Drill Damage Drywall When Sanding?
If used improperly, yes. Use light pressure and appropriate sanding pads to avoid gouging or damaging drywall.
Which Sanding Grit Works Best With A Cordless Drill?
Start with 120-grit sandpaper for smoothing drywall. Finer grits like 220 can be used for final finishing.
Conclusion
Using a cordless drill for sanding drywall saves time and effort. It works well with the right sanding attachment. Keep the drill speed low to avoid damage. Move the drill gently over the surface for a smooth finish. Always wear a mask to protect from dust.
This method makes drywall sanding easier and faster. Practice a bit before starting your project. You will get better with each use. Try this simple trick to improve your drywall work today.