

Are you struggling to drill into tough surfaces like brick, stone, or concrete? Using a masonry hammer drill can make your job much easier, but only if you know how to handle it right.
In this guide, you’ll discover simple, step-by-step tips to use your masonry hammer drill safely and effectively. Whether you’re a beginner or just want to improve your technique, this article will help you get the best results with less effort.
Keep reading to unlock the secrets of mastering your masonry hammer drill and take your DIY projects to the next level.
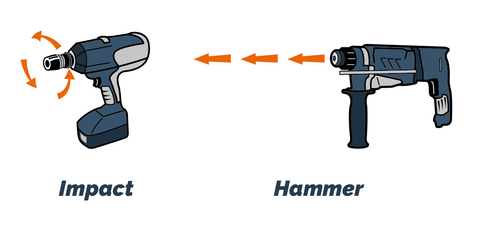
Credit: holemaker-technology.com
Choosing The Right Drill
Choosing the right masonry hammer drill is important for your project’s success. The correct drill helps you work faster and safer. It also protects your materials from damage. Understanding different types and features makes the choice easier. Safety gear is key to protect yourself during use.
Types Of Masonry Hammer Drills
There are two main types of masonry hammer drills. The first type is a rotary hammer. It uses a piston mechanism for strong impact. This type is good for heavy jobs like drilling into concrete.
The second type is a hammer drill. It combines rotation with a hammering action. It works well for light to medium tasks like drilling into brick or stone. Choose a type based on the job size and material.
Key Features To Consider
Power is a key feature to check. A higher power drill handles tough materials better. Look at the impact energy, measured in joules. More joules mean stronger impacts.
Speed settings help control drilling. Variable speed lets you adjust for different tasks. Also, check the drill’s weight. A lighter drill is easier to handle for long periods.
Look for a comfortable grip and vibration control. These features reduce fatigue and improve accuracy. Finally, consider the drill’s size and power source, corded or cordless.
Safety Gear Essentials
Always wear safety glasses to protect your eyes. Dust masks prevent inhaling harmful particles. Use ear protection to guard your hearing from loud noise.
Wear gloves to protect your hands from vibration and sharp edges. Use sturdy shoes to protect your feet from falling debris. Follow safety rules to avoid accidents and injuries.
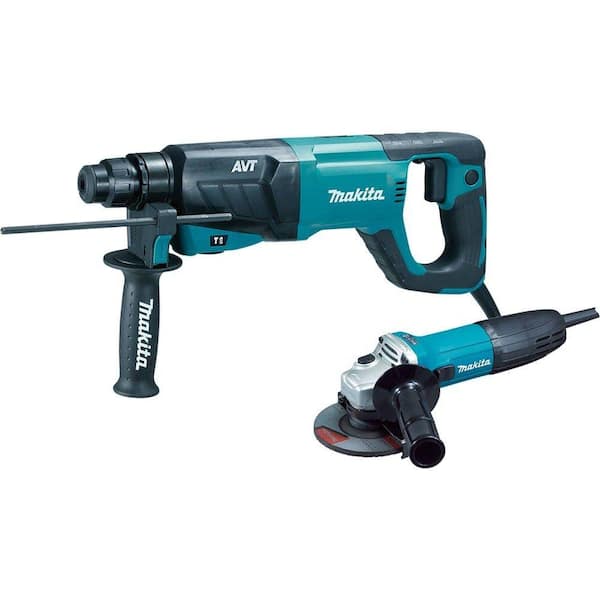
Credit: www.homedepot.com
Preparing For Drilling
Preparing for drilling with a masonry hammer drill requires careful steps. Proper preparation makes the job safer and easier. It also helps you get clean, accurate holes in tough materials like brick, stone, or concrete. Follow these simple steps before you start drilling.
Marking Drill Points Accurately
Begin by marking the exact spots to drill. Use a pencil or chalk to make clear marks on the surface. Double-check the measurements for accuracy. Accurate marks prevent mistakes and save time. Avoid guessing or freehand marks. Take your time to ensure the points are correct.
Selecting The Correct Drill Bit
Choose the right drill bit for your material. Masonry bits have a special tip to cut through stone and brick. Check the size needed for your hole. A bit too small or large will cause problems. Match the bit size to the anchor or fixture you will use. Change the bit if it looks worn or dull.
Securing The Work Surface
Make sure the surface you are drilling is stable. Use clamps or a vise to hold smaller pieces firmly. For walls or floors, clear the area around the drill spot. Remove loose debris or dust that can cause slipping. A steady surface reduces the risk of injury. It also helps keep your drill bit from wandering.
Drilling Techniques
Drilling with a masonry hammer drill needs careful technique. Correct methods help you drill clean holes and protect your tool. Follow simple steps to improve your drilling.
Setting The Drill Mode
Choose the hammer mode for concrete or brick. The hammer action breaks the hard surface. Use the regular drill mode only for wood or metal. Set the mode before starting to avoid damage.
Proper Grip And Stance
Hold the drill firmly with both hands. Keep your body balanced and feet shoulder-width apart. This stance helps control the drill and reduces fatigue. Stay steady to make straight holes.
Controlling Speed And Pressure
Start drilling at low speed to prevent slipping. Increase speed gradually once the bit grips the surface. Apply steady pressure; too much can break the bit. Let the drill do the work, not your strength.

Credit: www.reddit.com
Handling Common Challenges
Using a masonry hammer drill can be tough. Challenges like hard materials, overheating bits, and dust often slow work down. Learning to handle these problems helps you work smarter and faster. This section covers common issues and easy tips to fix them.
Dealing With Tough Materials
Some materials, like concrete or brick, can be very hard. Use a hammer drill with enough power to break through. Start drilling slowly to prevent the bit from slipping. Change to a stronger drill bit if the first one wears out. Let the tool do the work; don’t push too hard. Taking breaks helps the drill and bit last longer.
Avoiding Drill Bit Overheating
Drill bits get hot after long use. Overheating can damage the bit and reduce its life. Stop drilling every few minutes to cool the bit. Use water or a cooling spray to lower the temperature. Choose bits made of tough materials like carbide. A cool bit cuts better and lasts longer.
Managing Dust And Debris
Dust and debris block your view and make a mess. Use a vacuum or dust extractor to keep the area clean. Wear a mask to protect your lungs from fine dust. Clear debris often to avoid clogging the drill bit. Good airflow helps remove dust quickly and keeps the workspace safer.
Maintenance And Storage
Proper maintenance and storage keep your masonry hammer drill working well. It helps the drill last longer and stay safe to use. Taking small steps after each use makes a big difference.
Cleaning After Use
Remove dust and dirt from the drill after every job. Use a soft brush or cloth to clean the outside. Make sure vents are clear to avoid overheating. Never use water to clean the drill. Check the drill bit and wipe off any debris.
Checking For Wear And Tear
Look over the drill for any damage before storing. Check the power cord for cuts or frays. Inspect the drill bit for dullness or cracks. Test the trigger and switches to see if they work well. Replace any worn parts quickly to avoid bigger problems.
Storing The Drill Safely
Keep the drill in a dry, cool place to avoid rust. Use the original case if available. Store the drill away from direct sunlight and moisture. Coil the power cord loosely to prevent damage. Keep the drill out of reach of children and pets.
Frequently Asked Questions
What Is A Masonry Hammer Drill Used For?
A masonry hammer drill is designed to drill holes in hard materials like brick, concrete, and stone. It combines rotary drilling with a hammering action to break through tough surfaces efficiently. This tool is essential for construction and home improvement projects involving masonry.
How Do You Operate A Masonry Hammer Drill Safely?
Always wear safety goggles and ear protection when using a masonry hammer drill. Secure your workpiece and use the correct drill bit. Start drilling at a low speed and apply steady pressure. Avoid forcing the drill to prevent damage and injury.
What Drill Bits Work Best With Masonry Hammer Drills?
Use carbide-tipped or diamond-tipped drill bits for masonry hammer drills. These bits are durable and designed to handle the hammering action. They ensure efficient drilling and longer bit life when working with concrete, brick, or stone.
Can A Masonry Hammer Drill Be Used On Wood Or Metal?
While possible, using a masonry hammer drill on wood or metal is not ideal. The hammering action can damage these materials and reduce drilling precision. Use a regular drill or a drill with appropriate bits for wood and metal instead.
Conclusion
Using a masonry hammer drill makes drilling into hard materials easier. Choose the right drill bit and set the hammer mode. Hold the drill firmly and apply steady pressure. Take breaks to avoid overheating the tool. Always wear safety gear to protect yourself.
Practice on scrap material before starting your project. This tool saves time and effort on tough jobs. Follow these steps for better results and safe use.