

A brad nail gun is a lightweight, precision tool designed for fastening thin trim, moldings, and delicate wood pieces without splitting the material. It uses thin 18-gauge brad nails, making it ideal for finish carpentry and detailed projects where appearance matters.
Key Takeaways
- Brad nail guns use 18-gauge nails: These ultra-thin nails minimize wood splitting and leave tiny holes that are easy to conceal.
- Perfect for trim and molding: Ideal for baseboards, crown molding, door casings, and other finish carpentry tasks.
- Lightweight and easy to control: Designed for one-handed operation, offering precision in tight spaces.
- Available in pneumatic, cordless, and electric models: Choose based on your project needs and power source availability.
- Reduces surface damage: Unlike larger nails, brads leave minimal marks, reducing the need for extensive filling or sanding.
- Requires proper safety gear: Always wear safety glasses and hearing protection when operating any nail gun.
- Maintenance is key: Regular cleaning and lubrication ensure smooth performance and longer tool life.
What Is a Brad Nail Gun?
If you’re into woodworking, DIY home improvement, or professional carpentry, you’ve probably heard of a brad nail gun. But what exactly is it, and why is it such a favorite among craftsmen? Simply put, a brad nail gun is a specialized power tool designed to drive thin, 18-gauge brad nails into wood and other materials with precision and minimal damage. Unlike framing nailers or finish nailers that use thicker nails, brad nail guns are built for delicate tasks where appearance and subtlety matter most.
In this guide, you’ll learn everything you need to know about brad nail guns—from how they work and what they’re used for, to choosing the right model, using it safely, and maintaining it for long-term performance. Whether you’re a weekend warrior or a seasoned pro, understanding this tool will help you achieve cleaner, more professional results on your projects.
How Does a Brad Nail Gun Work?
A brad nail gun operates by using compressed air, battery power, or electricity to drive a thin brad nail into a surface. The mechanism is similar to other nail guns, but the key difference lies in the size and strength of the fastener. Brad nails are extremely fine—about the thickness of a paperclip—which allows them to hold lightweight trim and molding securely without splitting the wood.
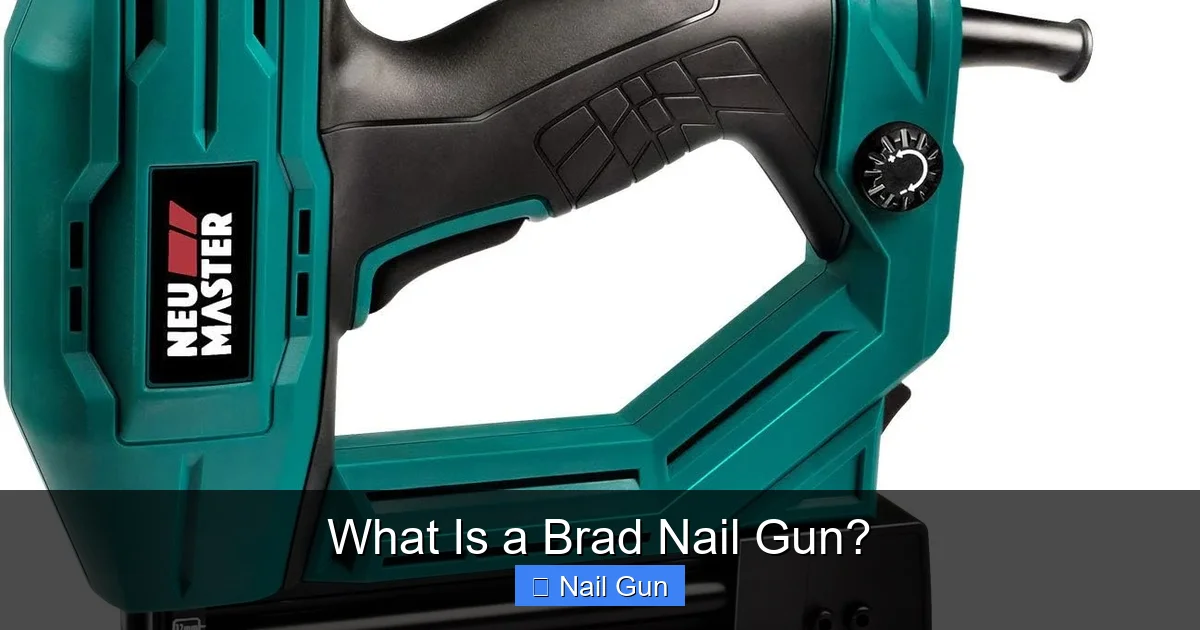
Visual guide about What Is a Brad Nail Gun?
Image source: m.media-amazon.com
Types of Brad Nail Guns
There are three main types of brad nail guns, each with its own advantages:
- Pneumatic Brad Nail Guns: These are powered by an air compressor. They’re lightweight, powerful, and commonly used in professional settings. However, they require a hose and compressor, which can limit mobility.
- Cordless (Battery-Powered) Brad Nail Guns: These offer excellent portability and convenience. Powered by lithium-ion batteries, they’re great for jobs where access to electricity or an air compressor is limited. Modern cordless models deliver impressive power and runtime.
- Electric Brad Nail Guns: These plug into a standard outlet and are a middle ground between pneumatic and cordless. They’re quieter than pneumatic models and don’t need batteries, but the cord can be a hassle on large job sites.
The Firing Mechanism
Most brad nail guns use a sequential or bump firing mode. In sequential mode, you must press the nose against the workpiece and then pull the trigger—this is safer and more precise. Bump mode allows you to hold the trigger and “bump” the gun against the surface to fire nails quickly, which is useful for high-volume work but increases the risk of accidental firing.
What Are Brad Nails?
Brad nails are the fasteners used in brad nail guns. They are 18-gauge in thickness, which is thinner than the 15- or 16-gauge nails used in finish nailers. This slim profile makes them perfect for delicate applications where larger nails could crack or split the material.
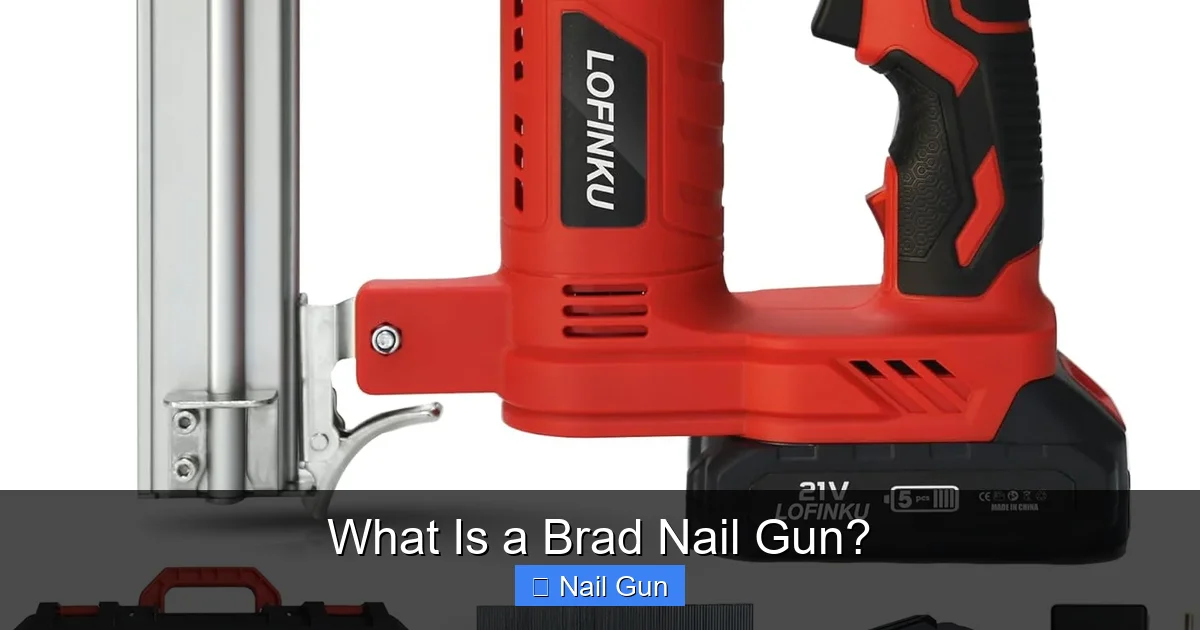
Visual guide about What Is a Brad Nail Gun?
Image source: m.media-amazon.com
Common Brad Nail Lengths
Brad nails typically range from 5/8 inch to 2 inches in length. The right length depends on the thickness of the material you’re fastening. For example:
- 5/8″ to 1″ nails: Ideal for thin trim, veneers, or small moldings.
- 1″ to 1-1/4″ nails: Great for standard baseboards and door casings.
- 1-1/2″ to 2″ nails: Used for thicker trim or when extra holding power is needed.
Always choose a nail that penetrates the top material and goes about halfway into the base material for a secure hold.
Common Uses for a Brad Nail Gun
Brad nail guns are incredibly versatile and are used in a wide range of applications. Here are some of the most common:
Trim and Molding Installation
One of the primary uses of a brad nail gun is installing interior trim, such as baseboards, crown molding, chair rails, and door/window casings. The thin nails hold the trim firmly without damaging the wood, and the small holes are easy to fill with wood filler or spackle.
Cabinet and Furniture Assembly
When building or repairing cabinets, bookshelves, or small furniture, brad nails provide a clean, strong hold without the bulk of screws or thicker nails. They’re especially useful for attaching face frames, back panels, or decorative edging.
Paneling and Veneer Work
Brad nail guns are excellent for securing thin wood panels or veneers to walls or substrates. The fine nails prevent surface cracking and leave nearly invisible holes.
DIY and Craft Projects
From picture frames to custom shelving, brad nail guns are a go-to tool for hobbyists. Their precision and ease of use make them ideal for detailed, small-scale work.
How to Use a Brad Nail Gun: Step-by-Step Guide
Using a brad nail gun is straightforward, but proper technique ensures safety and professional results. Follow these steps:
Step 1: Choose the Right Nails
Select 18-gauge brad nails that match the thickness of your material. For most trim work, 1″ to 1-1/4″ nails work well. Make sure the nails are compatible with your nail gun model.
Step 2: Prepare the Tool
If you’re using a pneumatic model, connect it to an air compressor and set the pressure according to the manufacturer’s recommendations (usually between 70–120 PSI). For cordless or electric models, ensure the battery is charged or the tool is plugged in.
Step 3: Load the Nails
Open the magazine on the nail gun, insert the brad nail strip with the points facing down, and slide it into place. Close the magazine securely. Always disconnect the power source or air supply before loading nails.
Step 4: Adjust the Depth (If Available)
Many brad nail guns have a depth adjustment feature. Set it so the nail sits just below the surface of the wood—this makes filling easier. Test on a scrap piece first.
Step 5: Position and Fire
Hold the gun perpendicular to the workpiece. Press the nose firmly against the material, then pull the trigger (in sequential mode). For tight corners or angled work, use the tip to guide the gun accurately.
Step 6: Fill and Finish
After nailing, use a lightweight wood filler or spackle to cover the tiny holes. Sand lightly when dry, then paint or stain as needed. The result? A seamless, professional finish.
Safety Tips When Using a Brad Nail Gun
Safety should always come first when using power tools. Here are essential safety practices:
- Wear safety glasses: Protect your eyes from flying debris or ricocheting nails.
- Use hearing protection: Even though brad nail guns are quieter than other nailers, repeated use can damage hearing.
- Keep fingers away from the firing area: Always keep your hands clear of the nose and trigger.
- Disconnect power when not in use: Prevent accidental firing by unplugging or removing the battery.
- Work in a well-ventilated area: Especially important if using pneumatic models with oil lubrication.
- Read the manual: Every model is different—familiarize yourself with specific safety and operating instructions.
Troubleshooting Common Brad Nail Gun Issues
Even the best tools can have hiccups. Here’s how to fix common problems:
Nails Not Firing
Check if the magazine is loaded correctly, the air pressure is sufficient (for pneumatic models), or the battery is charged (for cordless). Also, ensure the trigger mechanism isn’t jammed.
Double Firing or Misfires
This often happens in bump mode or if the gun is dirty. Clean the firing mechanism and switch to sequential mode for better control.
Nails Bending or Not Sinking Fully
This could be due to low air pressure, dull nails, or incorrect depth settings. Increase PSI, use fresh nails, or adjust the depth control.
Air Leaks (Pneumatic Models)
Check hose connections and O-rings. Apply a small amount of pneumatic tool oil to keep seals lubricated and prevent leaks.
Maintenance Tips for Long-Lasting Performance
Regular maintenance keeps your brad nail gun running smoothly:
- Clean after each use: Wipe down the exterior and use compressed air to clear dust from the magazine and nose.
- Lubricate pneumatic models: Add a few drops of pneumatic tool oil to the air inlet before each use.
- Store properly: Keep the tool in a dry, clean place, preferably in its original case.
- Inspect nails: Use only high-quality, straight brad nails to prevent jams.
- Check for wear: Replace worn parts like O-rings or driver blades as recommended by the manufacturer.
Choosing the Right Brad Nail Gun
With so many models on the market, how do you pick the best one? Consider these factors:
- Project type: For heavy-duty trim work, a pneumatic model may be best. For mobility, go cordless.
- Frequency of use: Professionals may prefer durable pneumatic tools, while DIYers might favor convenient cordless options.
- Battery compatibility: If you already own cordless tools from a brand (like DeWalt or Milwaukee), choose a brad nailer that uses the same battery platform.
- Weight and ergonomics: A lighter, well-balanced tool reduces fatigue during long projects.
- Depth adjustment and jam clearance: Look for easy-to-use features that save time on the job.
Conclusion
A brad nail gun is an essential tool for anyone working with trim, molding, or delicate wood projects. Its ability to drive thin 18-gauge nails with precision makes it ideal for achieving clean, professional results without damaging materials. Whether you choose a pneumatic, cordless, or electric model, understanding how to use and maintain your brad nail gun will help you work more efficiently and safely.
From installing baseboards to building custom furniture, this versatile tool simplifies tasks that would otherwise require clamps, screws, or messy adhesives. With the right technique, safety practices, and a little practice, you’ll wonder how you ever managed without one. So go ahead—invest in a quality brad nail gun, and take your woodworking and home improvement projects to the next level.