

A brad nail gun 18 gauge is a lightweight, precision tool designed for fine finish work like trim and cabinetry. It uses thin 18-gauge brad nails that leave minimal holes and reduce wood splitting, making it ideal for detailed carpentry tasks.
Key Takeaways
- What it is: An 18-gauge brad nail gun fires thin, nearly invisible nails perfect for delicate trim and finish work.
- Ideal uses: Best for baseboards, crown molding, door casings, and furniture assembly where strength and subtlety matter.
- Nail size: Uses 18-gauge nails ranging from 5/8″ to 2″ in length, offering a balance of hold and minimal surface damage.
- Air-powered or cordless: Available in pneumatic (air compressor) and battery-operated models for flexibility on the job.
- Reduces splitting: Thin nails minimize wood cracking, especially in hardwoods and narrow trim pieces.
- Easy to conceal: Small holes can be filled with wood filler or touched up with paint for a seamless finish.
- Beginner-friendly: Lightweight and easy to control, making it a great choice for DIYers and pros alike.
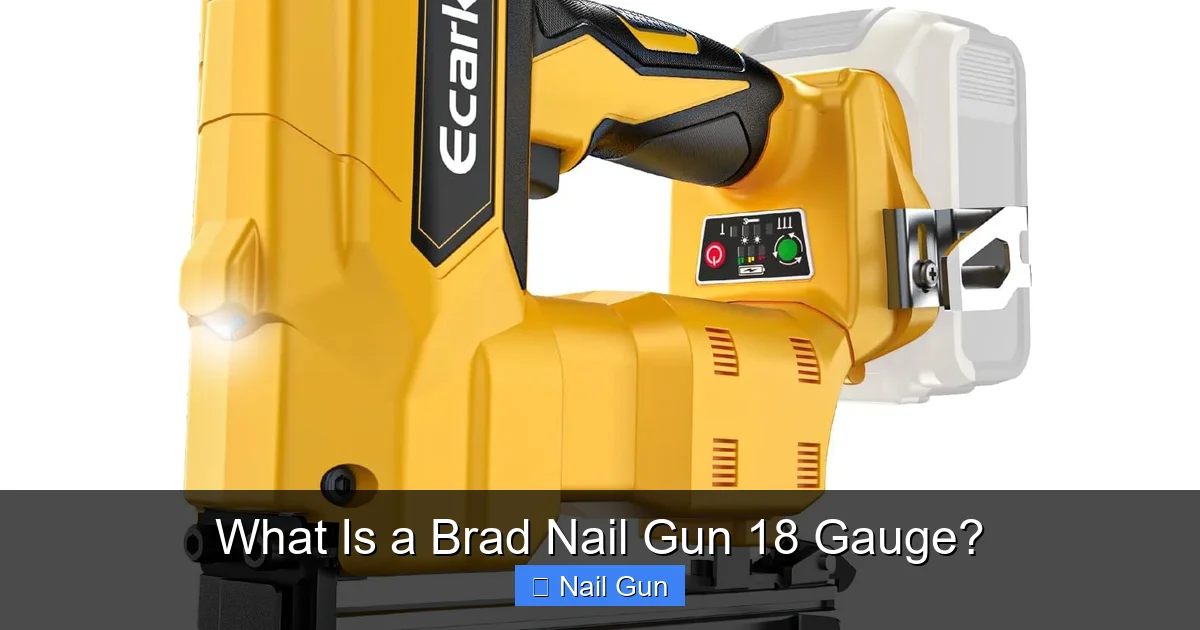
What Is a Brad Nail Gun 18 Gauge?
If you’ve ever worked on trim, molding, or small woodworking projects, you’ve probably heard of a brad nail gun. But what exactly is an 18-gauge brad nail gun, and why is it so popular among carpenters and DIY enthusiasts?
Simply put, an 18-gauge brad nail gun is a specialized power tool designed to drive thin, lightweight nails—called brads—into wood without splitting it. The “18-gauge” refers to the thickness of the nail, which is measured on a standardized scale. The higher the gauge number, the thinner the nail. So, an 18-gauge nail is quite slender, making it perfect for delicate applications where appearance and precision are key.
Unlike framing nailers that use thick, heavy-duty nails for structural work, brad nailers are built for finesse. They’re commonly used in finish carpentry, such as installing baseboards, crown molding, door and window casings, and assembling cabinets or furniture. Because the nails are so thin, they leave behind tiny holes that are easy to hide with a bit of wood filler or paint.
How Does an 18-Gauge Brad Nail Gun Work?
Visual guide about What Is a Brad Nail Gun 18 Gauge?
Image source: m.media-amazon.com
Brad nail guns come in two main types: pneumatic (air-powered) and cordless (battery-powered). Both operate on the same basic principle—using pressure to drive a nail into wood—but they differ in power source and portability.
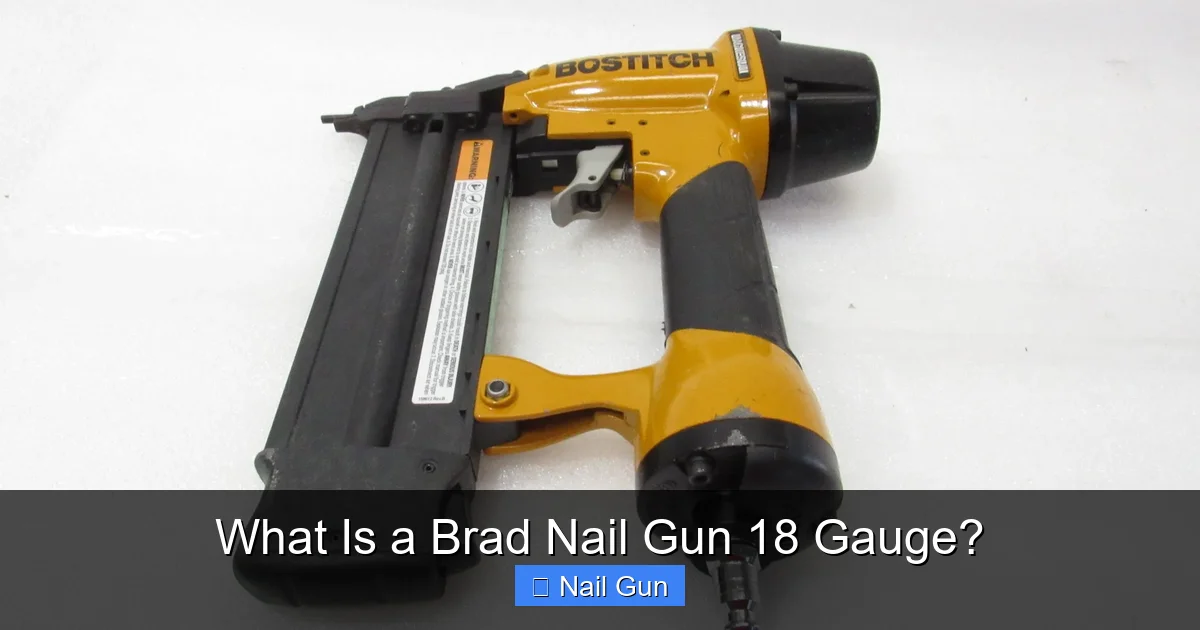
Pneumatic Brad Nail Guns
These models require an air compressor to function. The compressor builds up air pressure, which is then released when you pull the trigger, driving the nail into the material. Pneumatic brad nailers are known for their consistent power and reliability, making them a favorite among professional carpenters. However, they do require a hose connection, which can limit mobility on job sites.
Cordless Brad Nail Guns
Cordless models run on rechargeable lithium-ion batteries and use internal combustion or electric motors to drive nails. They offer greater freedom of movement and are ideal for quick touch-ups or jobs where setting up an air compressor isn’t practical. While they may not have the same raw power as pneumatic versions, modern cordless brad nailers are impressively strong and efficient.
Regardless of the type, most brad nail guns feature adjustable depth settings, allowing you to control how deeply the nail is driven. This is especially useful when working with different wood types or when you want the nail head to sit just below the surface for a clean finish.
Why Choose an 18-Gauge Brad Nailer?
Visual guide about What Is a Brad Nail Gun 18 Gauge?
Image source: assets.pawnamerica.com
You might be wondering: why 18-gauge? Why not a 16-gauge or 23-gauge nailer? The answer lies in the balance between holding power and subtlety.
Thinner Than 16-Gauge
A 16-gauge finish nailer uses thicker nails and provides more holding strength, which is great for heavier trim or outdoor projects. However, the larger nails can split delicate wood or leave noticeable holes. The 18-gauge brad nailer strikes a sweet spot—offering enough strength for most interior trim work while minimizing surface damage.
Stronger Than 23-Gauge
A 23-gauge pin nailer is even thinner and leaves almost no visible hole, but it lacks the holding power needed for most trim applications. It’s best for very light materials like veneers or small moldings. The 18-gauge brad nailer, on the other hand, provides a solid grip without being overkill.
Versatility and Precision
Because 18-gauge brads are strong yet subtle, they’re ideal for a wide range of projects. Whether you’re installing baseboards, attaching decorative trim, or building a bookshelf, this tool gives you professional results with minimal effort.
Common Uses for an 18-Gauge Brad Nail Gun
The 18-gauge brad nailer is a workhorse in the world of finish carpentry. Here are some of the most common applications:
Installing Baseboards and Trim
Baseboards and door casings are classic uses for a brad nailer. The thin nails hold the trim securely without splitting the wood, and the small holes are easy to conceal. For best results, space nails every 12 to 16 inches and angle them slightly for added grip.
Crown Molding
Crown molding can be tricky to install because it’s often made of hard, dense wood. An 18-gauge brad nailer allows you to secure the molding without cracking it. Use two nails per stud—one angled upward into the ceiling and one downward into the wall—for maximum hold.
Cabinet and Furniture Assembly
When building or repairing cabinets, drawers, or small furniture, brad nails provide a clean, strong joint. They’re especially useful for attaching face frames, back panels, or decorative elements.
Paneling and Wainscoting
For wall paneling or wainscoting projects, a brad nailer ensures a tight, secure fit without damaging the thin wood panels. The nails hold the material in place while you adjust for alignment.
Decorative Woodwork
Rosettes, corner blocks, and other decorative trim pieces are often too delicate for thicker nails. The 18-gauge brad nailer lets you attach them neatly and securely.
How to Use an 18-Gauge Brad Nail Gun: Step-by-Step
Using a brad nail gun is simple, but a few best practices can help you get professional results every time.
Step 1: Choose the Right Nails
Make sure you’re using 18-gauge brad nails that match the length recommended by your nailer’s manual. Common lengths range from 5/8″ to 2″. For most trim work, 1″ to 1-1/4″ nails work well.
Step 2: Prepare the Tool
If you’re using a pneumatic model, connect it to your air compressor and set the pressure according to the manufacturer’s guidelines—usually between 70 and 120 PSI. For cordless models, ensure the battery is fully charged.
Step 3: Adjust the Depth
Most brad nailers have a depth adjustment dial. Set it so the nail head sits just below the wood surface. Test on a scrap piece first to fine-tune the setting.
Step 4: Load the Nails
Open the magazine, insert the nail strip with the points facing down, and close the magazine until it clicks.
Step 5: Position and Fire
Hold the nailer firmly against the workpiece at a 90-degree angle. Press the nose firmly into the wood, then pull the trigger. The nail should drive in smoothly.
Step 6: Fill and Finish
After nailing, use a lightweight wood filler to cover the tiny holes. Once dry, sand lightly and paint or stain as needed for a flawless finish.
Tips for Best Results
- Use scrap wood for testing: Always test your nail depth and pressure on a scrap piece before starting your project.
- Keep the tool clean: Dust and debris can jam the mechanism. Wipe down the nailer regularly and lubricate moving parts if required.
- Wear safety gear: Safety glasses and hearing protection are essential, especially with pneumatic models.
- Work in good lighting: Proper lighting helps you see nail placement and avoid mistakes.
- Store nails properly: Keep brad nails in a dry, sealed container to prevent rust and feeding issues.
Troubleshooting Common Issues
Even the best tools can have hiccups. Here’s how to fix common brad nailer problems:
Nails Not Driving Fully
This is usually due to low air pressure (for pneumatic models) or a weak battery (for cordless). Check your PSI or charge the battery. Also, ensure the depth setting isn’t too shallow.
Jammed Nails
Turn off the tool and disconnect the power source. Open the magazine and remove any stuck nails. Check for bent nails or debris in the feed mechanism.
Double Firing or Misfires
This can happen if the trigger is pulled too quickly or the safety tip isn’t pressed firmly. Always press the nose fully against the wood before pulling the trigger.
Nails Bending
Bent nails often result from driving into very hard wood or using the wrong nail length. Try pre-drilling pilot holes or switching to a slightly longer nail.
Conclusion
An 18-gauge brad nail gun is an essential tool for anyone serious about finish carpentry. Its combination of precision, power, and subtlety makes it perfect for trim, molding, and detailed woodworking projects. Whether you’re a DIYer tackling home improvements or a pro on the job site, this versatile tool delivers clean, professional results with minimal effort.
By understanding how it works, choosing the right nails, and following best practices, you’ll get the most out of your brad nailer—and your projects will look better than ever.