

Choosing the right nails for concrete is crucial for strong, durable fastening. This guide covers the best nail types, sizes, and tools to use on concrete surfaces, helping you avoid common mistakes and ensure professional-quality results every time.
Key Takeaways
- Use hardened steel or stainless steel nails: These materials resist corrosion and can penetrate dense concrete without bending or breaking.
- Opt for concrete nails with fluted or ribbed shanks: The ridges increase grip and reduce the chance of nails pulling out over time.
- Match nail length to material thickness: Choose nails that are long enough to anchor securely but not so long they damage underlying structures.
- Use a powder-actuated or hammer drill nail gun: Standard nail guns won’t work on concrete; you need specialized tools designed for masonry.
- Pre-drill pilot holes when necessary: For extremely hard concrete or precision work, drilling a small guide hole prevents cracking and improves accuracy.
- Wear safety gear: Always use eye protection, gloves, and hearing protection when working with concrete and power tools.
- Check local building codes: Some applications may require specific fasteners or installation methods for compliance.
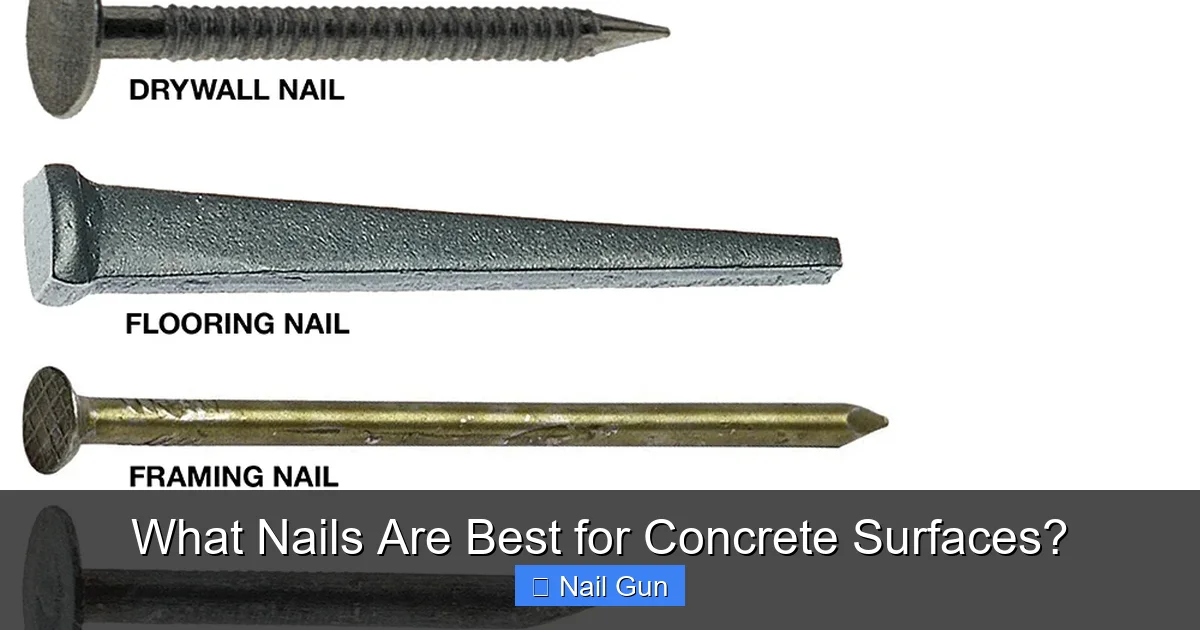
What Nails Are Best for Concrete Surfaces?
If you’re working on a project that involves attaching materials to concrete—like framing, installing furring strips, or securing baseboards—you’ve probably wondered: *What nails are best for concrete surfaces?* The answer isn’t as simple as grabbing any old box of nails from the hardware store. Concrete is tough, dense, and unforgiving, so using the wrong fastener can lead to bent nails, cracked concrete, or weak connections that fail over time.
In this guide, you’ll learn everything you need to know about choosing the right nails for concrete, including the best materials, types, and tools to use. Whether you’re a DIY enthusiast or a professional contractor, this step-by-step guide will help you get strong, reliable results every time.
Why Standard Nails Won’t Work on Concrete
Visual guide about What Nails Are Best for Concrete Surfaces?
Image source: contentgrid.homedepot-static.com
Before diving into the best options, it’s important to understand why regular nails—like those used for wood framing—are a poor choice for concrete.
Concrete is much harder than wood. Standard steel nails are designed to bend slightly when driven into softer materials, which helps them hold. But when you try to hammer a regular nail into concrete, it’s likely to either bend, break, or simply not penetrate at all. Even if you manage to get it in, the hold will be weak and prone to loosening over time.
Additionally, concrete can be abrasive and corrosive, especially in outdoor or high-moisture environments. Nails made from untreated steel will rust quickly, compromising the integrity of your project.
That’s why you need specialized fasteners designed specifically for concrete applications.
Types of Nails and Fasteners for Concrete

Visual guide about What Nails Are Best for Concrete Surfaces?
Image source: say.com.sg
Not all fasteners are created equal. Here are the most effective types of nails and fasteners used for concrete surfaces:
1. Concrete Nails
Concrete nails are the most common choice for light to medium-duty applications. They’re made from hardened steel, which makes them strong enough to penetrate concrete without bending.
These nails typically have a fluted or ribbed shank—ridges that run along the length of the nail. These ridges increase friction and help the nail grip the concrete tightly, reducing the risk of pull-out.
Concrete nails come in various lengths, usually ranging from 1 inch to 4 inches. For most projects, 2- to 3-inch nails are ideal. They’re commonly used for attaching wood furring strips, electrical boxes, or lightweight trim to concrete walls or floors.
2. Powder-Actuated Fasteners
For heavy-duty applications, powder-actuated fasteners (often called “P.A. nails”) are the go-to solution. These aren’t traditional nails—they’re driven into concrete using a specialized nail gun powered by gunpowder charges, similar to a nail gun but much more powerful.
Powder-actuated tools use .22 caliber cartridges to generate the force needed to drive hardened steel pins deep into concrete. These fasteners are commonly used in commercial construction for securing steel framing, heavy-duty brackets, or concrete formwork.
Because they’re so powerful, powder-actuated tools require training and safety precautions. They’re not recommended for beginners, but they offer unmatched holding strength.
3. Masonry Nails
Masonry nails are similar to concrete nails but are often used in softer masonry like brick or block. However, they can work on concrete in certain situations, especially for temporary or light-duty tasks.
They’re typically made of hardened steel and have a square or fluted cross-section for better grip. While not as strong as concrete nails or P.A. fasteners, they’re a budget-friendly option for non-structural applications.
4. Screw-In Concrete Anchors (Not Nails, But Worth Mentioning)
While not technically nails, concrete screws (like Tapcon screws) are another popular option. These are threaded fasteners that screw directly into pre-drilled holes in concrete.
They’re easy to install with a standard drill and offer excellent holding power. Unlike nails, they can be removed and reinstalled if needed. However, they require precise drilling and aren’t suitable for high-impact applications.
Choosing the Right Nail Material
The material of the nail is just as important as its type. Here’s what to look for:
Hardened Steel
Hardened steel nails are heat-treated to increase strength and durability. They’re ideal for driving into concrete because they resist bending and breaking under pressure.
However, untreated hardened steel can rust over time, especially in damp environments. For indoor or dry applications, they’re a great choice. But for outdoor use, consider a coated or stainless version.
Stainless Steel
Stainless steel nails offer the best corrosion resistance. They’re perfect for outdoor projects, basements, or areas exposed to moisture.
While more expensive than hardened steel, stainless steel nails last much longer and maintain their strength over time. If your project will be exposed to the elements, this is the best long-term investment.
Zinc-Coated or Galvanized Nails
Zinc-coated (electro-galvanized) or hot-dipped galvanized nails offer moderate rust protection at a lower cost than stainless steel. They’re a good middle-ground option for semi-exposed areas.
Just be aware that galvanized coatings can wear off over time, especially in harsh conditions.
How to Choose the Right Nail Length and Diameter
Selecting the correct nail size is crucial for a secure hold.
Nail Length
The general rule is that the nail should penetrate at least 1 inch into the concrete for a strong hold. For example, if you’re attaching a 1-inch thick wood board to a concrete wall, use a 2-inch nail.
For heavier materials or structural applications, go longer—up to 3 or 4 inches. But avoid going too long, as overly long nails can damage pipes, wires, or other materials behind the concrete.
Nail Diameter
Thicker nails (like 0.188-inch or 0.25-inch diameter) provide better holding power but require more force to drive. Thinner nails are easier to install but may not hold as well.
For most DIY projects, a 0.188-inch diameter concrete nail is a good balance of strength and ease of use.
Tools You’ll Need
Using the right tool makes all the difference. Here’s what you’ll need:
Powder-Actuated Nail Gun
For heavy-duty work, a powder-actuated tool is essential. These guns use explosive charges to drive fasteners into concrete. They’re fast, powerful, and ideal for professional applications.
Note: These tools require proper training and safety certification in many areas. Always follow manufacturer guidelines and local regulations.
Hammer Drill with Masonry Bit
If you’re using concrete screws or need to pre-drill pilot holes, a hammer drill is a must. It combines rotation with a pounding action to break through concrete.
Use a carbide-tipped masonry bit that matches the diameter of your fastener.
Sledgehammer or Heavy Hammer
For driving concrete nails by hand, a heavy hammer (like a 20-ounce framing hammer or a small sledgehammer) is necessary. Regular hammers don’t deliver enough force.
Safety Gear
Always wear:
– Safety glasses to protect your eyes from flying debris
– Work gloves to protect your hands
– Hearing protection if using loud tools
– A dust mask when drilling or hammering
Step-by-Step: How to Install Nails in Concrete
Follow these steps for a successful installation:
Step 1: Mark Your Spot
Use a pencil or chalk to mark where you want to drive the nail. Double-check measurements to ensure accuracy.
Step 2: Pre-Drill (If Needed)
For very hard concrete or when using screws, drill a pilot hole slightly smaller than the nail diameter. This reduces the risk of cracking and makes driving easier.
Use a hammer drill and masonry bit for best results.
Step 3: Choose the Right Tool
– For concrete nails: Use a heavy hammer or a hammer drill with a nail-driving attachment.
– For powder-actuated fasteners: Load the correct charge and fastener into the tool.
– For concrete screws: Use a drill with a screw-driving bit.
Step 4: Drive the Nail
– Hold the nail straight and tap it gently to start.
– Use steady, firm blows to drive it in. Avoid hitting too hard at once, which can bend the nail.
– For powder-actuated tools, place the tip firmly against the surface and pull the trigger.
Step 5: Check the Hold
Once the nail is in, test it by gently pulling or wiggling the attached material. If it moves, the nail may not be deep enough or the concrete may be too soft.
Troubleshooting Common Problems
Nail Bends or Won’t Go In
This usually means the nail isn’t hardened enough or the concrete is too hard. Try a longer, thicker hardened steel nail or pre-drill a pilot hole.
Concrete Cracks
Cracking can happen if you drive nails too close to the edge or use too much force. Maintain at least 2 inches from edges and avoid over-driving.
Nail Pulls Out Over Time
This indicates poor grip. Switch to fluted concrete nails or use a powder-actuated fastener for better holding power.
Rust or Corrosion
If nails are rusting, you’re likely using untreated steel in a damp area. Upgrade to stainless steel or galvanized nails.
Conclusion
Choosing the best nails for concrete surfaces doesn’t have to be complicated. By selecting the right type—such as hardened steel concrete nails or powder-actuated fasteners—and using the proper tools, you can achieve strong, lasting results.
Remember to match the nail material to your environment, choose the correct length and diameter, and always prioritize safety. Whether you’re building a deck, installing trim, or securing framing, the right fastener makes all the difference.
With this guide, you’re now equipped to tackle any concrete nailing project with confidence. Happy building!