
Attaching baseboard to drywall without a nail gun is simple with the right tools and techniques. In this guide, you’ll learn how to securely install baseboards using manual tools, ensuring a clean and professional look. Whether you’re a DIYer or need a quick fix, these tips will help you complete the job confidently.
Key Takeaways
- Use a Hammer and Nails: Manual nailing is an effective alternative when you don’t have a nail gun.
- Choose the Right Nails: Use finishing nails to minimize damage and provide a clean look.
- Measure and Cut Accurately: Precise measurements and cuts ensure a snug fit and reduce adjustments.
- Pre-Drill Holes: Drilling small pilot holes prevents splitting of the drywall or baseboard.
- Utilize Adhesive: Applying construction adhesive can strengthen the hold and reduce the number of nails needed.
- Finish with Caulk and Paint: Sealing gaps with caulk and painting gives a polished appearance.
- Safety First: Always wear safety glasses and handle tools carefully to avoid injury.
Introduction
Attaching a baseboard to drywall can seem tricky without a nail gun, but it’s definitely doable. Whether you don’t own a nail gun, want to save money, or prefer a quieter approach, this guide will walk you through the process step-by-step. You’ll learn how to use basic tools like a hammer, finishing nails, adhesive, and other supplies to get a professional-looking finish. Let’s dive into the simple, effective methods to attach your baseboards securely and neatly.
Tools and Materials Needed
- Hammer – a standard claw hammer works best
- Finishing nails – 1.25 to 2 inches long
- Measuring tape
- Pencil or chalk
- Power drill and drill bits – for pre-drilling
- Construction adhesive – optional but recommended
- Level or straightedge
- Caulk and caulk gun – for finishing
- Sandpaper or sanding block – for smoothing nail holes
- Paint or touch-up supplies – for finishing touches
Step 1: Measure and Plan
Measure the Wall Lengths
Start by measuring the length of each wall where you’ll install the baseboard. Use a tape measure and note down the measurements. Accurate measurements ensure your cuts are precise and your baseboard fits well.

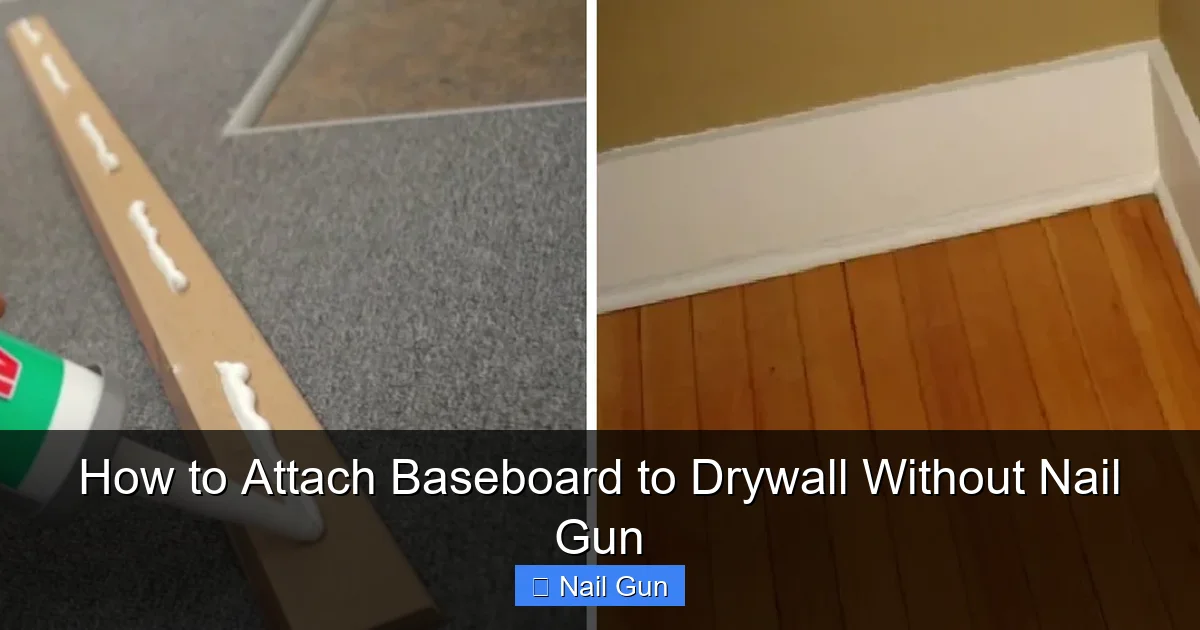
Visual guide about How to Attach Baseboard to Drywall Without Nail Gun
Image source: i0.wp.com
Visual guide about How to Attach Baseboard to Drywall Without Nail Gun
Image source: woodfixes.com
Cutting the Baseboard
Cut the baseboard to length using a saw. For inside corners, miter cuts at 45°. For outside corners, cut the baseboard to fit snugly against the adjoining piece. Use a miter box or a miter saw for clean, accurate cuts.
Tip: Always double-check your measurements before cutting to avoid mistakes.
Step 2: Prepare the Wall and Baseboard
Clean the Surface
Remove any dust or debris from the drywall surface. A clean surface helps the adhesive bond better and ensures the baseboard stays securely attached.
Mark the Placement
Use a level or straightedge to draw a faint line where the top edge of the baseboard will sit. Mark the wall at the desired height, typically 3-4 inches above the floor.
Step 3: Apply Adhesive for Extra Hold
Choose the Right Adhesive
Pick a strong construction adhesive suitable for wood and drywall. Brands like Liquid Nails or PL Premium work well.
Apply the Adhesive
Run a continuous bead of adhesive along the back of the baseboard. Focus on the top and bottom edges and the middle for a secure hold. Don’t overdo it—excess adhesive can squeeze out when pressed against the wall.
Step 4: Position the Baseboard
Align and Press
Carefully place the baseboard against the wall, aligning it with your markings. Press firmly to ensure good contact with the drywall and adhesive.
Use Clamps or Tape (Optional)
If needed, use painter’s tape or clamps to hold the baseboard in place while the adhesive sets. This is especially helpful for longer pieces or uneven walls.
Step 5: Nail the Baseboard
Pre-Drill Pilot Holes
Pre-drilling helps prevent splitting of the wood and drywall. Mark nail spots every 16-24 inches along the length of the baseboard. Use a small drill bit to create pilot holes at these marks.
Nail the Baseboard
Using a hammer, gently tap finishing nails into the pilot holes. Drive nails about 1/8 inch below the surface of the wood. Keep the nails straight and evenly spaced for a neat appearance.
Secure Nails Properly
Ensure nails are flush or slightly below the surface. You can use a nail set to countersink nails for a cleaner finish.
Step 6: Finish and Cover Nail Holes
Sanding
Lightly sand over the nail holes to smooth out any protrusions or rough spots. This prepares the surface for painting or touch-up.
Caulking
Apply a thin bead of caulk along the top and bottom edges of the baseboard to fill in gaps. Smooth the caulk with a damp finger or caulk tool for a seamless look.
Painting and Touch-Ups
If needed, paint or touch up the baseboard to match your décor. Use a small brush for neat finishing.
Troubleshooting Tips
- Nails Not Going In Fully? Ensure you’re using the right size nails and pre-drilling properly. Use a nail set to countersink nails if needed.
- Baseboard Not Staying in Place? Increase the amount of adhesive or clamp the piece until it sets.
- Gaps or Misalignments? Use shims or small wedges to adjust the position before nailing.
- Splitting Wood? Use pre-drilled pilot holes and avoid driving nails too close to the edges.
Conclusion
Attaching baseboards without a nail gun is straightforward. With a few basic tools—hammer, nails, adhesive, and a little patience—you can achieve a professional-looking finish. Remember to measure carefully, pre-drill to prevent splitting, and finish with caulk and paint for a polished look. This method is cost-effective, quiet, and perfect for DIY projects at home.
Final Tips
- Take your time during measurements and cuts for the best fit.
- Use high-quality finishing nails for a cleaner look.
- Patience and precision are key to a professional result.
- Always prioritize safety—wear goggles and handle tools carefully.
🎥 Related Video: How To Install Baseboard Without a Nail Gun or Fasteners!
📺 The Funny Carpenter
A quick look at how to install baseboards without a nail gun. The process involves using a primary long lasting glue, and quick …