
In this guide, you’ll learn how to connect a nail gun to an air compressor safely and efficiently. We cover all the essential steps, from selecting the right equipment to troubleshooting common issues. Whether you’re a beginner or experienced, this guide will help you get your nail gun ready for your project in no time.
Key Takeaways
- Compatibility is key: Ensure your nail gun and air compressor are compatible in terms of pressure and fittings.
- Gather the right tools: You need a hose, fittings, and possibly a regulator to connect everything securely.
- Check pressure settings: Adjust the air compressor to the correct PSI to prevent damage and ensure optimal performance.
- Secure connections: Use the proper fittings and tighten connections to avoid leaks during operation.
- Test before use: Always test the connection with the nail gun off to check for leaks before firing nails.
- Troubleshoot common issues: Learn how to fix leaks, insufficient pressure, or fitting problems quickly.
- Safety first: Wear safety gear and follow best practices when attaching and using your nail gun.
How to Attach Nail Gun to Air Compressor
If you’re working on a woodworking project, framing, or any task that requires a nail gun, connecting it properly to your air compressor is essential. A correct setup ensures safe operation, prevents leaks, and delivers the right amount of pressure for your nail gun. In this comprehensive guide, we’ll walk you through every step of attaching your nail gun to an air compressor, from preparing your equipment to troubleshooting common issues.
Understanding Your Equipment
Before starting, it’s important to understand the basic components involved:
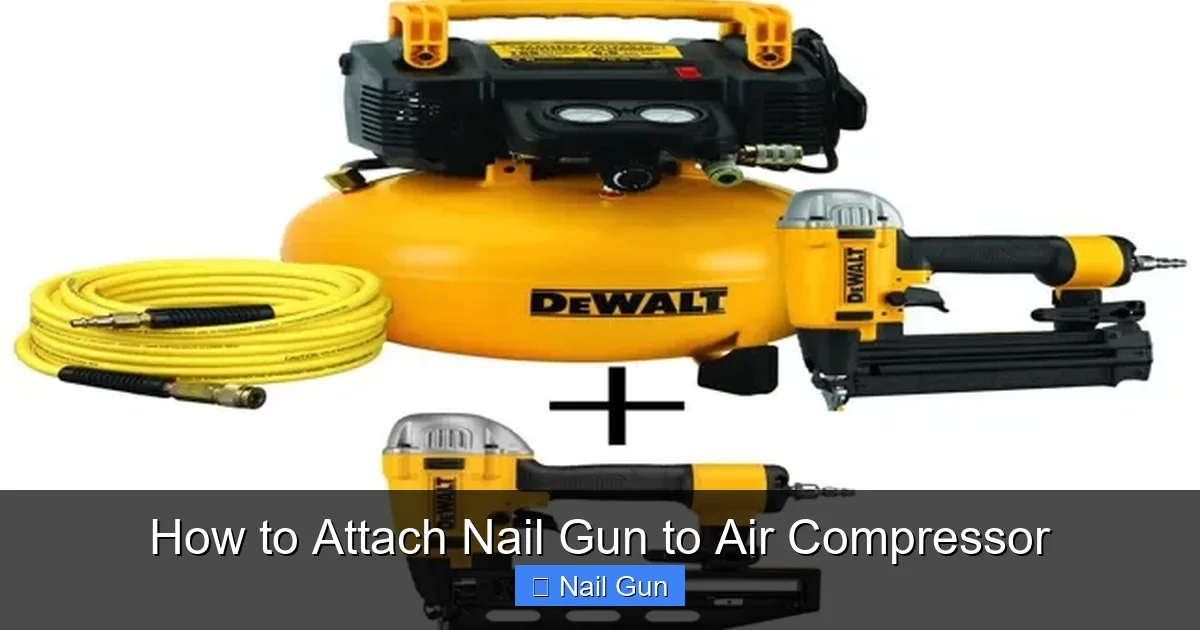
Visual guide about How to Attach Nail Gun to Air Compressor
Image source: toolsguide.org
- Nail Gun (Air-Powered): Requires compressed air to operate. Different models have different fittings and pressure requirements.
- Air Compressor: Provides the compressed air. Its capacity is measured in PSI (pressure per square inch) and CFM (cubic feet per minute).
- Hose and Fittings: Connects the air compressor to the nail gun. Must match the fittings on both devices.
Step 1: Gather Your Tools and Equipment
Before starting, collect everything you need:
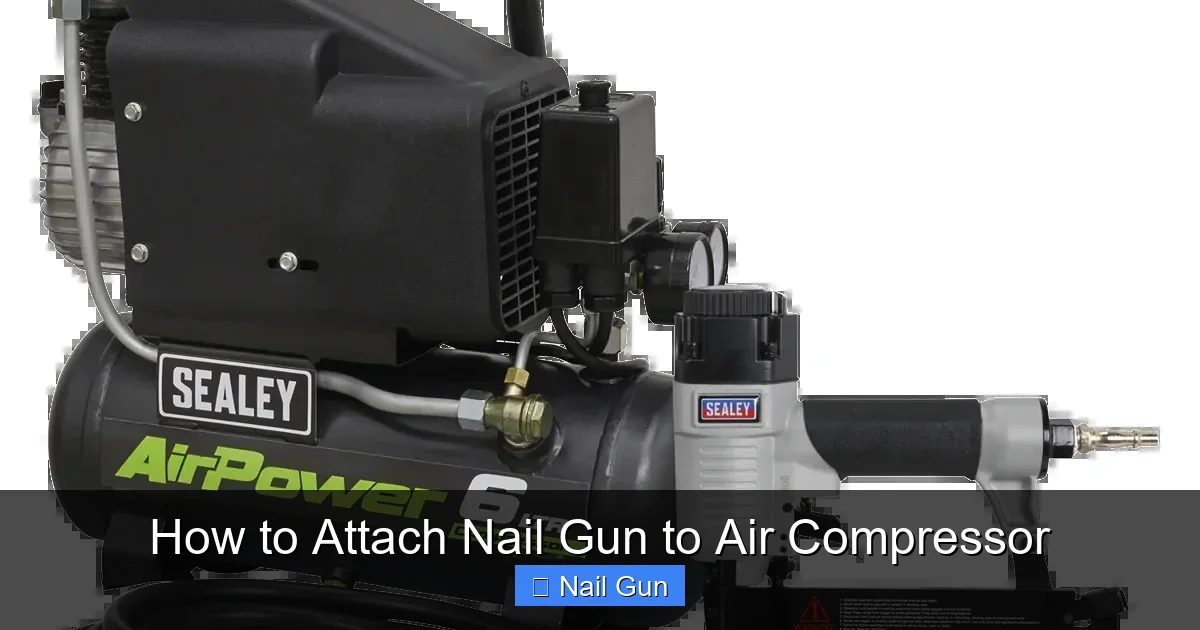
Visual guide about How to Attach Nail Gun to Air Compressor
Image source: huttie.com
- Air compressor
- Nail gun
- Air hose
- Fittings and adapters
- Regulator (if needed)
- Wrench or pliers
- Safety gear: safety glasses, ear protection
Having everything ready makes the process smoother and faster.
Step 2: Turn Off and Prepare the Air Compressor
Ensure Safety First
Always turn off your air compressor and disconnect it from power before attaching or detaching any hoses or tools. Release any residual pressure by opening the drain valve or relief valve.
Check Air Pressure Settings
Set the compressor’s pressure regulator to a level suitable for your nail gun. Usually, nail guns require between 70-120 PSI. Consult your nail gun’s manual for the exact pressure setting.
Step 3: Select the Correct Fittings
Matching the fittings on your hose, compressor, and nail gun is crucial. Common fittings include:
- Quick-connect fittings: Easy to connect/disconnect
- Barb fittings: Require clamps for secure connection
Make sure to use fittings that fit snugly and are rated for your pressure levels.
Step 4: Attach the Air Hose to the Compressor
Connect the Hose
Attach one end of the air hose to the compressor’s outlet. Tighten the fitting with a wrench or pliers to ensure a secure, leak-free connection. If using quick-connect fittings, push the hose into the fitting until it clicks into place.
Check for Leaks
After connecting, turn on the compressor briefly and listen for leaks. Tighten fittings if you hear hissing sounds or see air escaping.
Step 5: Attach the Hose to the Nail Gun
Connect the Fittings
Attach the other end of the hose to your nail gun’s air inlet fitting. Again, tighten securely. If your nail gun uses a different fitting, you may need an adapter.
Ensure Proper Fit
Make sure the connection is tight but avoid over-tightening, which can damage fittings.
Step 6: Adjust the Pressure and Conduct a Test
Set the Correct Pressure
Use the regulator to set the PSI to match your nail gun’s specifications. Always refer to the manual for the recommended pressure.
Test the Connection
Before firing nails, hold the nail gun away from your work surface and pull the trigger to check if it fires properly. Confirm there are no leaks or irregular sounds.
Step 7: Troubleshooting Common Problems
- Leakage: Tighten fittings or replace damaged hoses and fittings.
- Low pressure: Check the compressor’s PSI setting and ensure there are no leaks in the hose.
- Tool not firing: Verify the air supply is adequate and the nail gun is set to the correct pressure.
- Fittings won’t connect: Use the proper adapters or fittings designed for your equipment.
Safety Tips and Best Practices
- Always wear safety gear, including goggles and ear protection.
- Never point the nail gun at yourself or others.
- Turn off and unplug the compressor when attaching or detaching hoses.
- Regularly inspect hoses and fittings for wear and damage.
Conclusion
Attaching your nail gun to an air compressor might seem daunting at first, but with the right tools and steps, it’s straightforward. Remember to check compatibility, secure all fittings tightly, and test before use. Following these steps ensures safe operation and optimal performance of your nail gun for all your projects.
Additional Tips for Optimal Performance
- Use high-quality hoses and fittings for durability and safety.
- Keep your equipment clean and well-maintained.
- Practice safety at all times, especially when working with compressed air.
🎥 Related Video: Struggling to reload your brad-nailer or hook it up to an air compressor? 🛠️ #tooltips #diy
📺 Amber | Our Northern Home
Struggling to reload your nail gun or hook it up to an air compressor? 🛠️ In this quick how-to, I will walk you through changing …